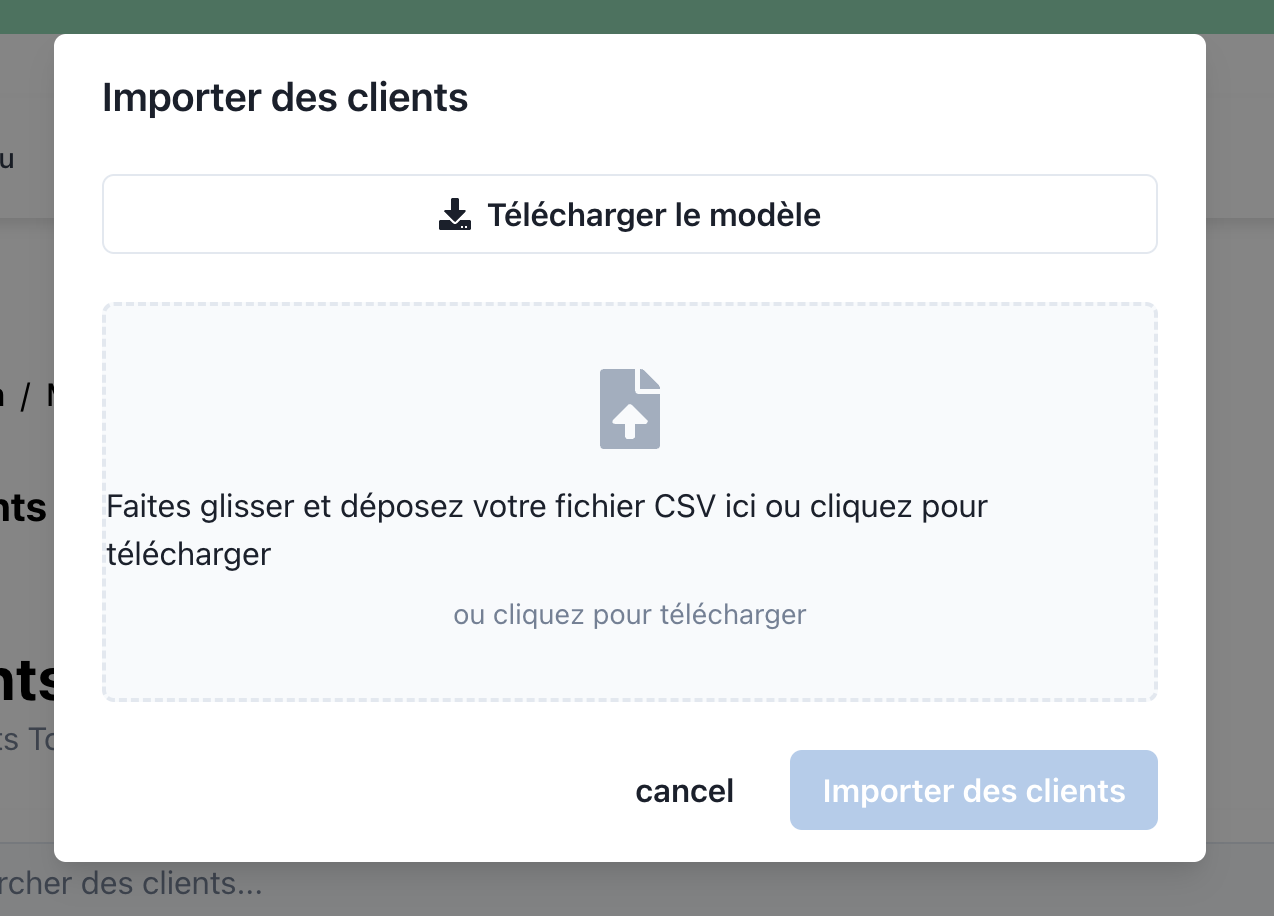
Import Clients via CSV
The Import Clients feature allows you to quickly populate your SmartCRM with customer data by uploading a CSV file. This ensures efficient organization and seamless onboarding.
Step 1: Prepare Your CSV File
- Create a CSV file with the required columns:
- Examples of required fields: Name, Email, Phone, etc.
- Optional fields: Company, Address, etc.
- Ensure the column headers match the structure required by SmartCRM.
Download the CSV template directly from the Import Clients section in SmartCRM to avoid format errors.
Step 2: Import the File
- Navigate to the Clients tab in SmartCRM.
- Click on the Import Clients button in the top-right corner.

- Select your CSV file :

- Click Import to begin the process.
Errors in the CSV (e.g., missing required fields) will prevent import. Review the error log provided to fix issues before re-uploading.
Step 3: Verify Imported Data
- After the import completes, the newly added clients will appear in the Clients tab.
- Clients are categorized based on their status:
- Active: Verified and ready for engagement.
- Prospect: Pending qualification or follow-up.
Use filters to view specific groups of clients (e.g., only "Active" clients).
Example Use Case
Imagine you are a marketing manager preparing a campaign for your clients:
- You export a list of customer data from your e-commerce platform.
- Format the data into a SmartCRM-compatible CSV file.
- Import the file into SmartCRM to:
- Segment clients into categories (e.g., "High-Value Customers," "New Subscribers").
- Send personalized email campaigns using templates.
Importing clients ensures all your customer data is centralized and actionable within SmartCRM.
Troubleshooting
Common Issues During Import
-
Error: Missing Required Fields
- Ensure all required fields (e.g., Name, Email) are included in the CSV.
-
Error: Invalid File Format
- Verify the file is saved in
.csvformat.
- Verify the file is saved in
Tips for Successful Import
- Validate the data in your CSV before importing.
- Use the sample template to minimize formatting errors.
Avoid uploading sensitive data (e.g., credit card numbers) unless necessary and compliant with privacy regulations.
Next Steps
Once your clients are imported:
- Organize them into categories for segmentation.
- Use email and SMS templates to engage them directly.
- Track their tasks, events, and engagement scores for improved follow-up.