Integrating the Chatbot
Putting the chat widget on your website takes a few minutes. You have two paths:
- Use a plugin if your site runs on WordPress, PrestaShop, Joomla or Shopify — one click, no code, the widget auto-injects.
- Paste the embed code for any other site (custom HTML, Webflow, Wix, static site, your own framework).
Both paths start from the Theme → Integrate step in the admin.
Path 1 — One-click plugin (recommended for CMS)
If your site uses one of these platforms, skip the embed code — the plugin handles everything:
| Platform | Plugin guide |
|---|---|
| WordPress / WooCommerce | WordPress integration |
| PrestaShop | PrestaShop integration |
| Joomla | Joomla integration |
| Shopify | Shopify integration |
| Webflow | Webflow integration |
The plugin connects your assistant via OAuth and pushes the widget to every page — no template editing, no FTP, no copy-paste.
Path 2 — Embed code (any other site)
For sites without a dedicated plugin:
- Open your assistant in the admin.
- Go to Theme → Integrate → Web Widget.
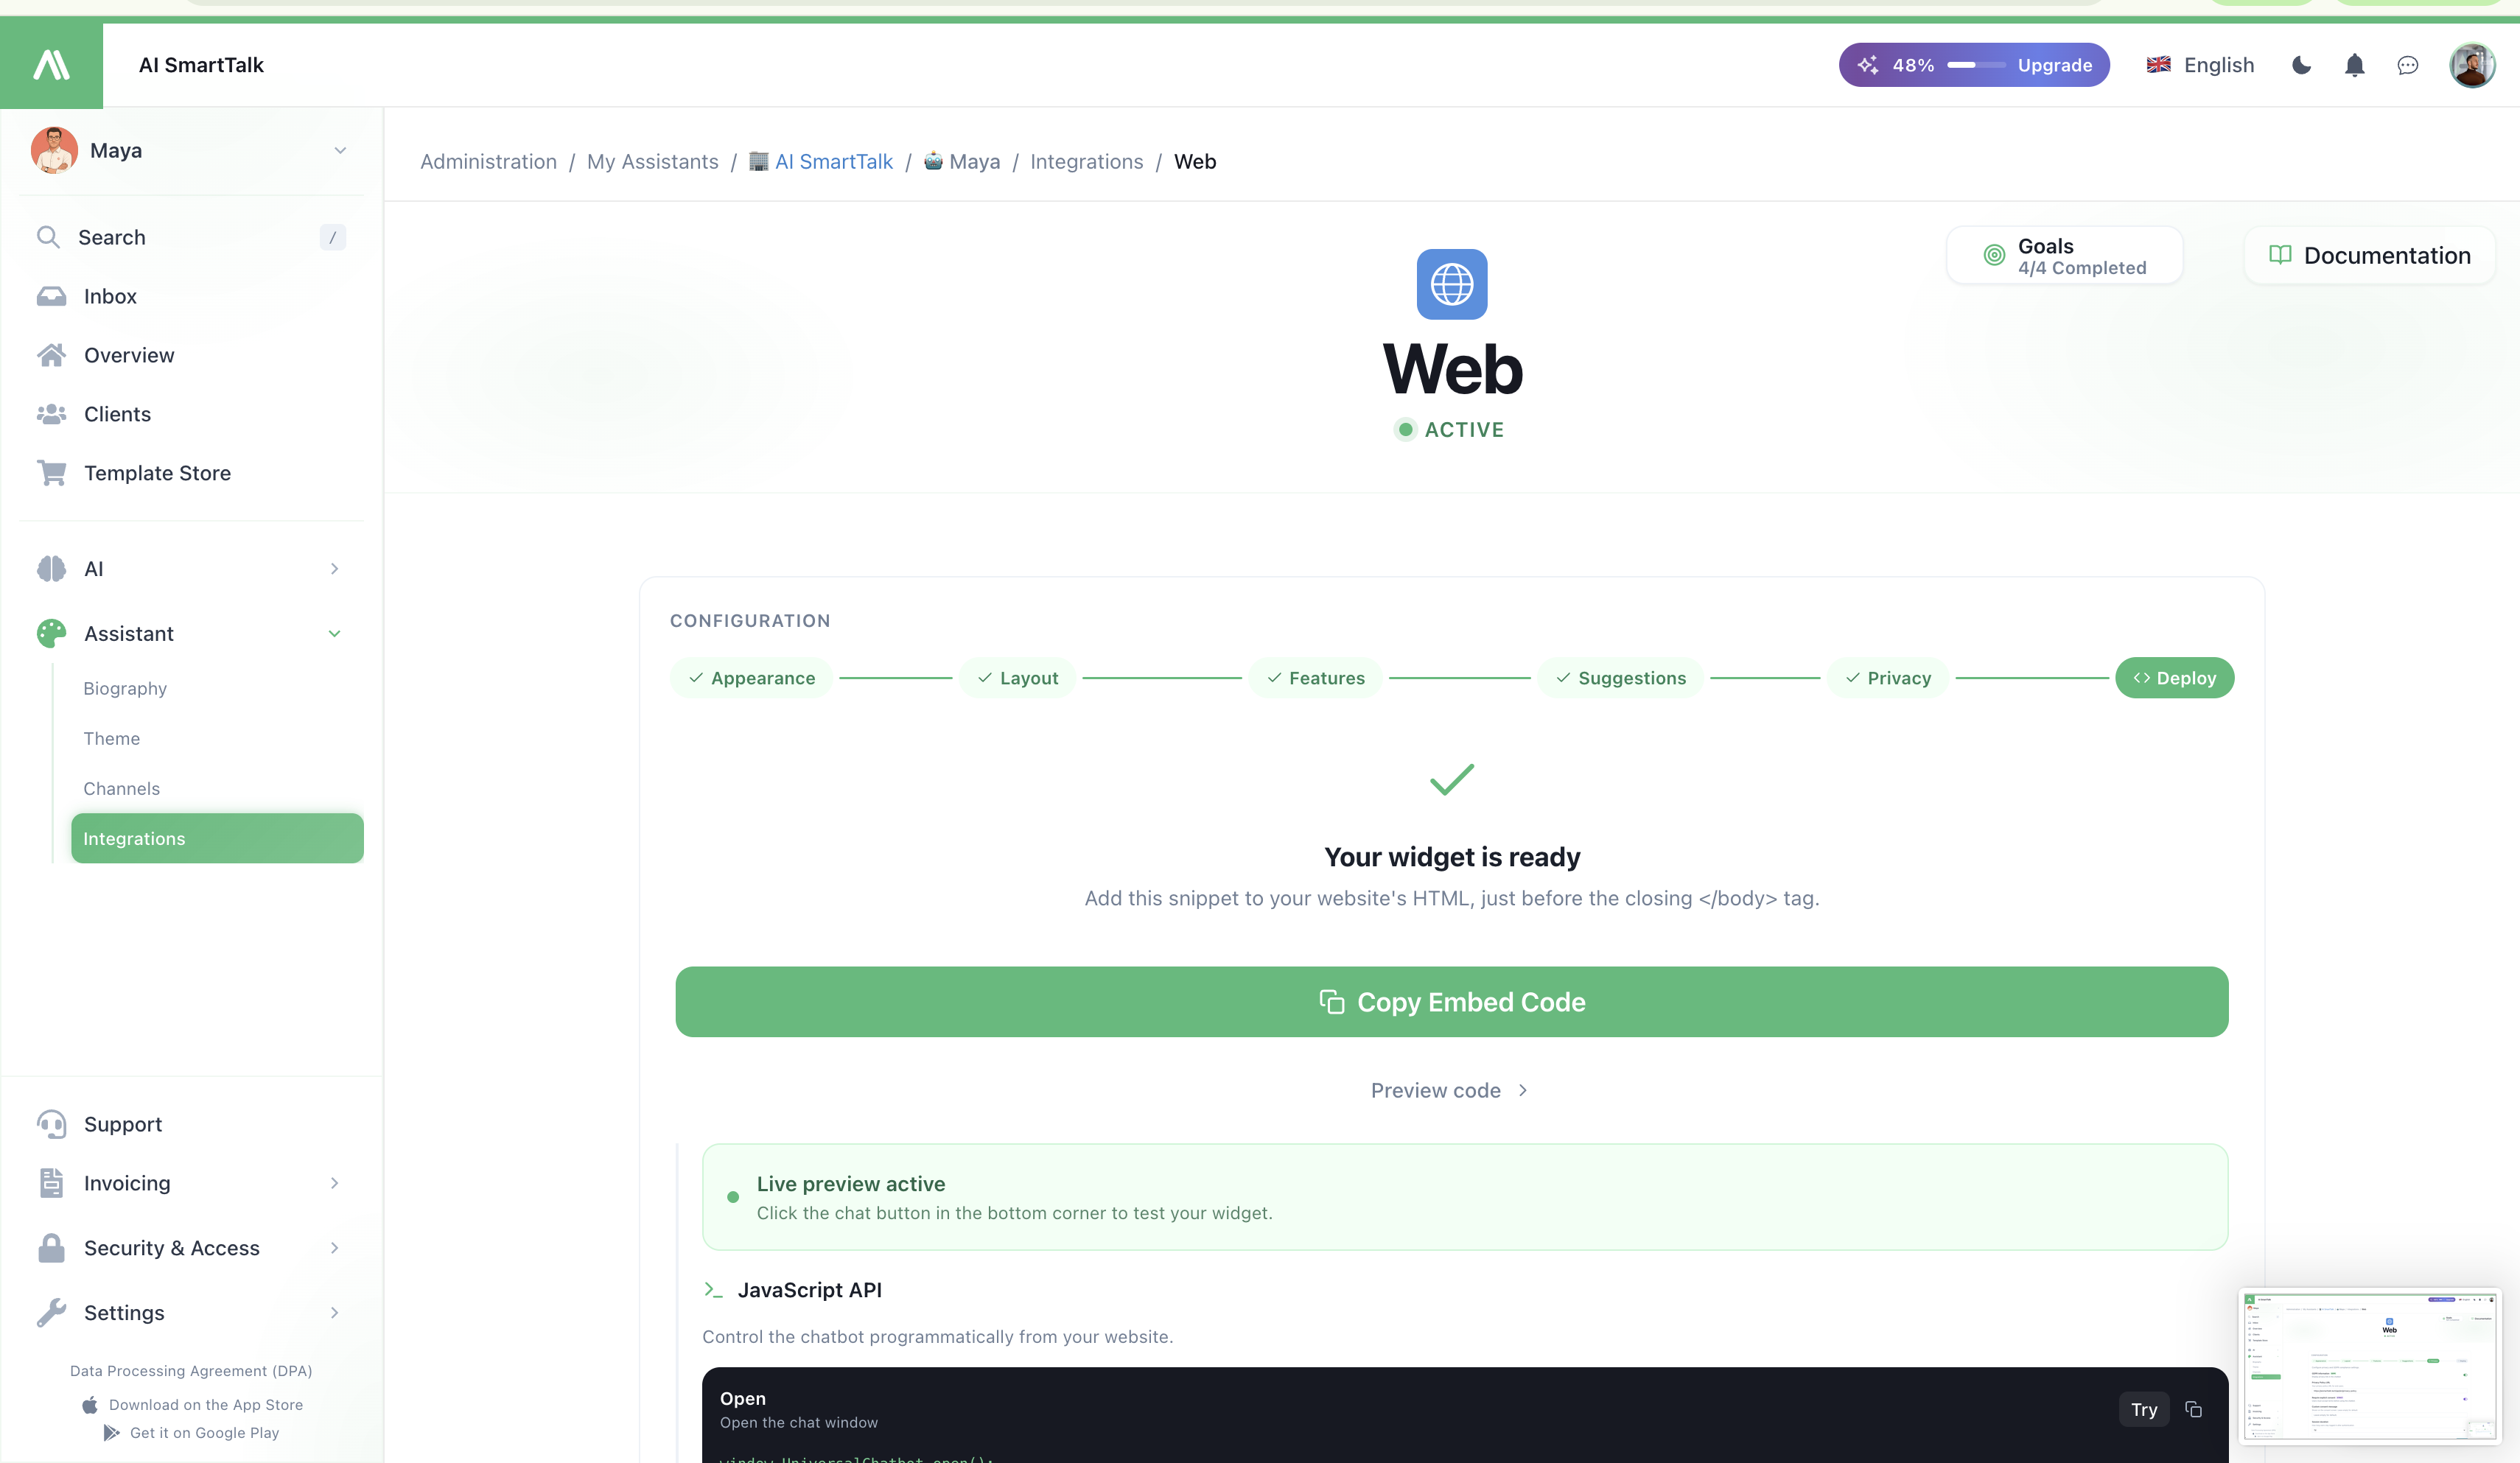
- Copy the snippet shown there.
- Paste it before the closing
</body>tag of your site's HTML — once, on any page template you want the widget to appear.
The widget shows up on the next page load. No build step, no NPM install.
The snippet is the same regardless of where you paste it. Same assistant, same knowledge base — wherever it runs.
Make it look right
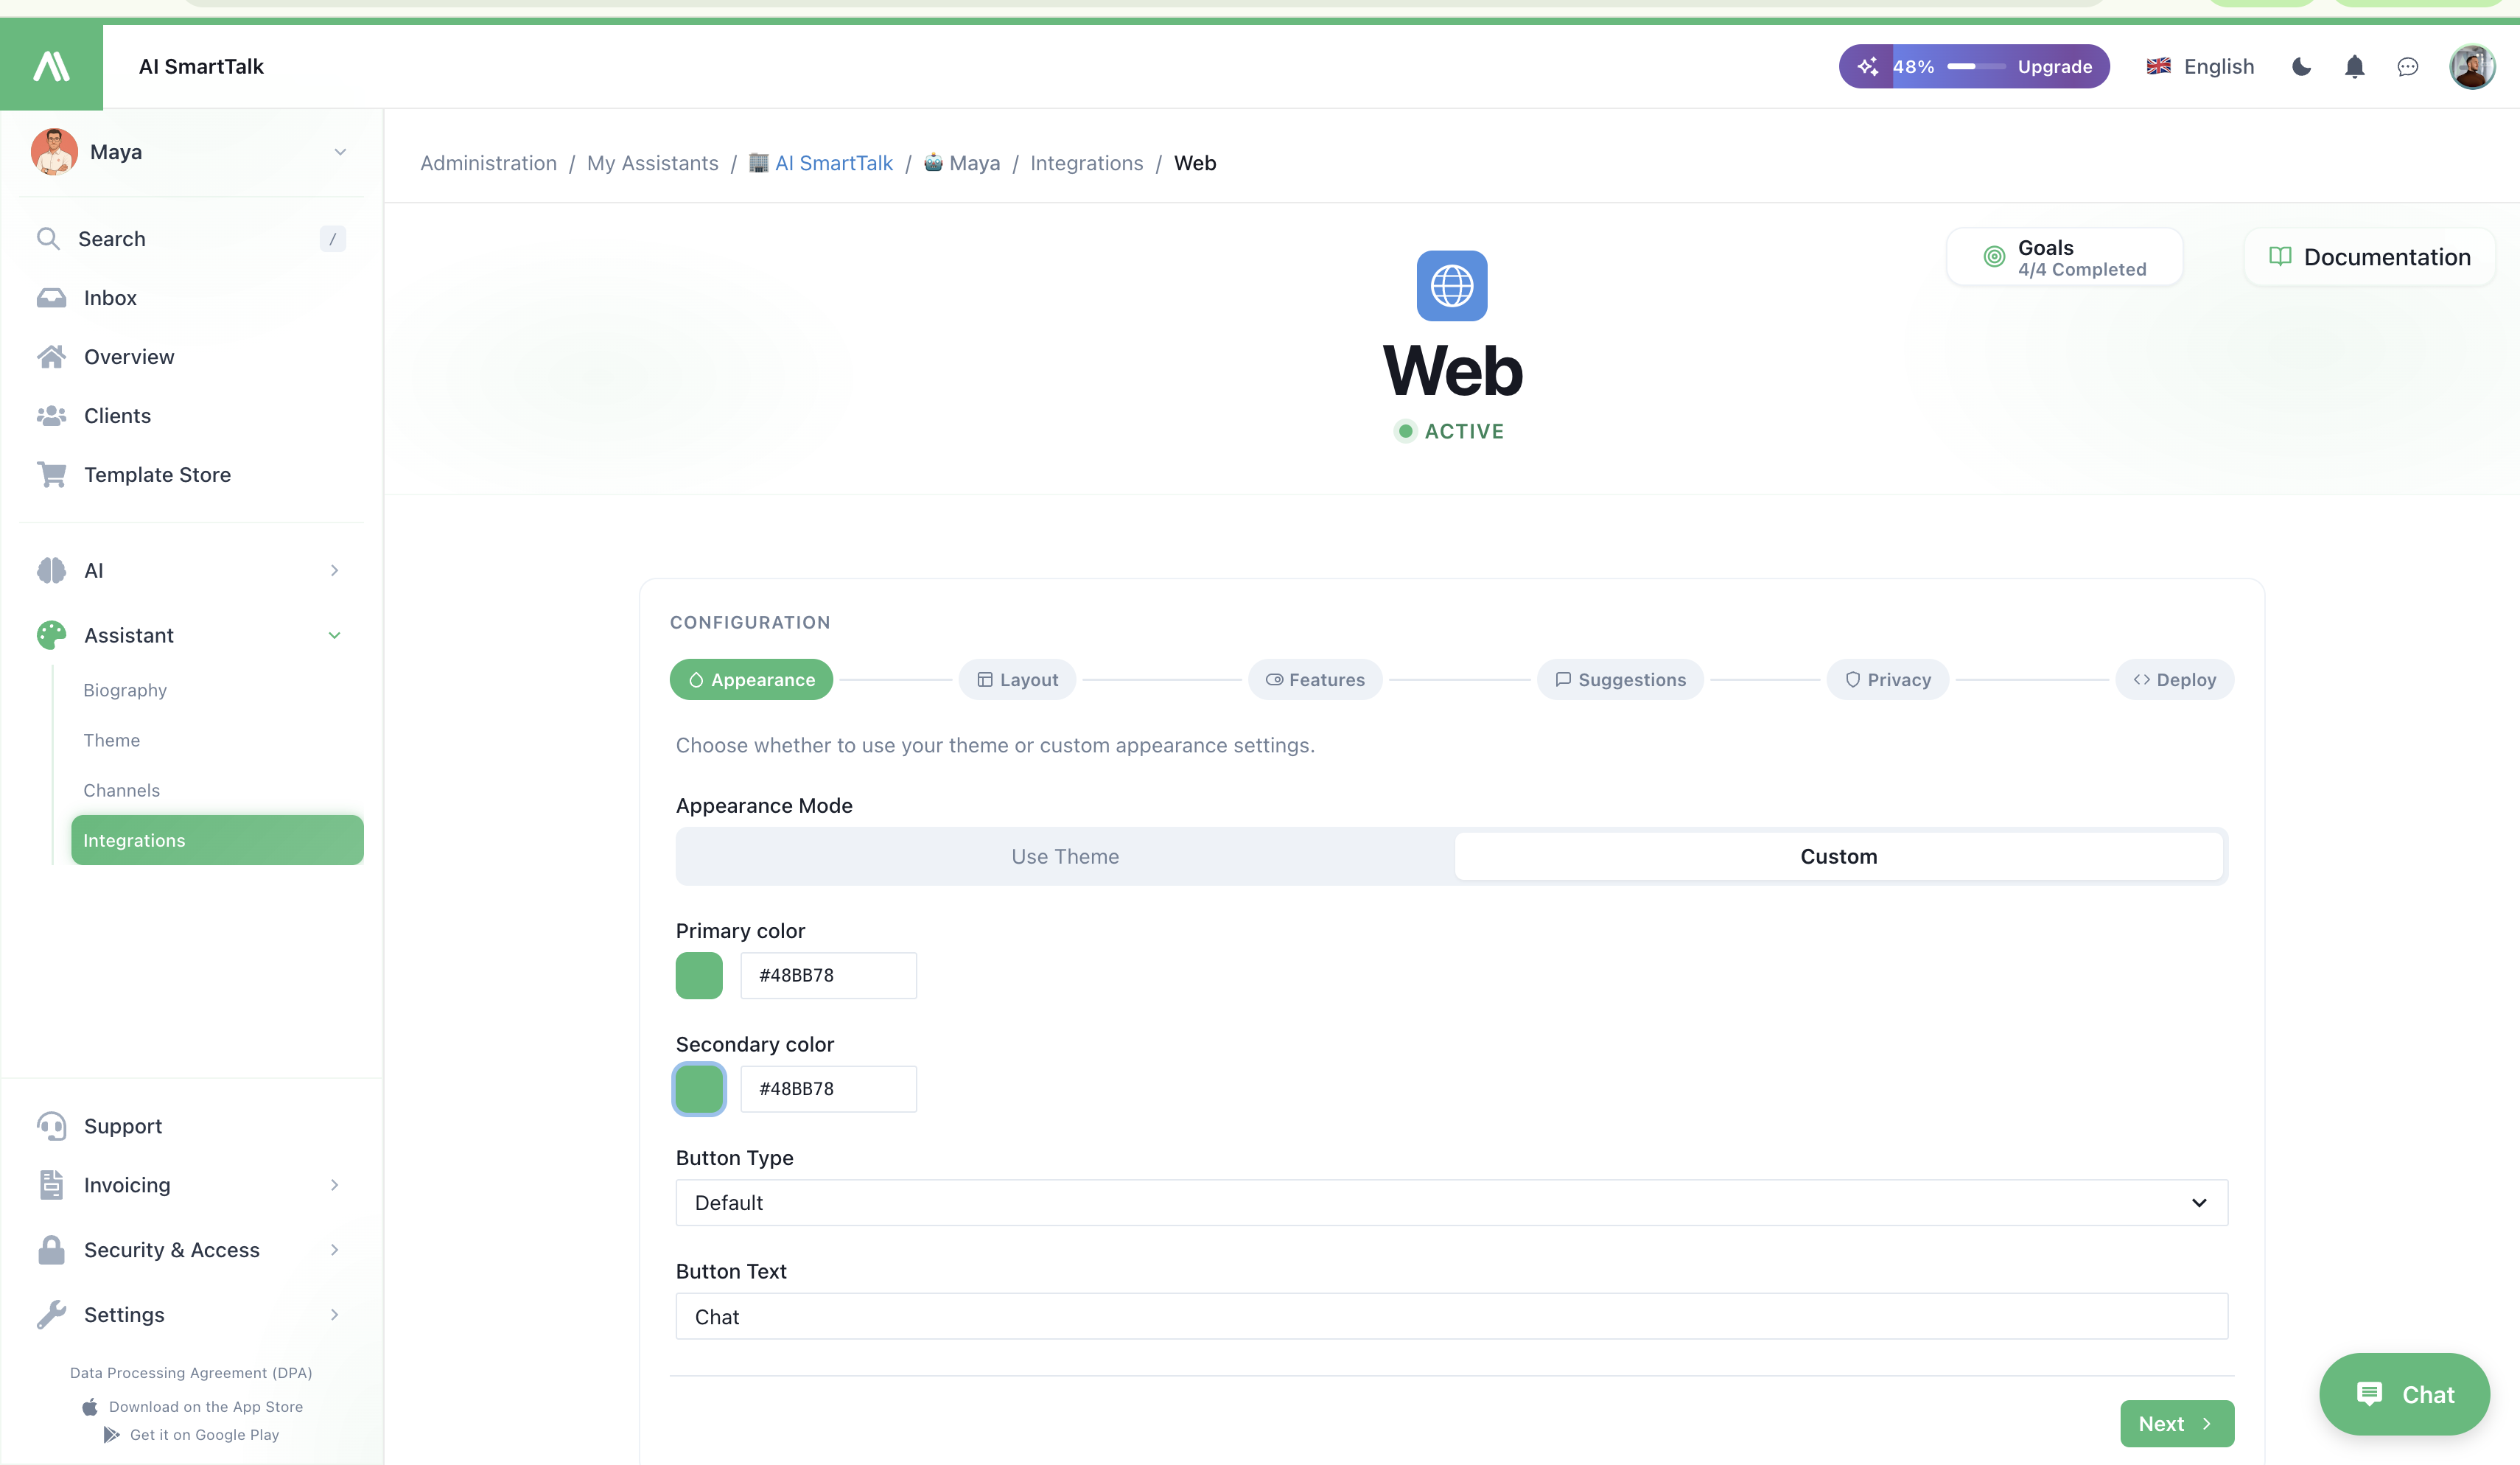
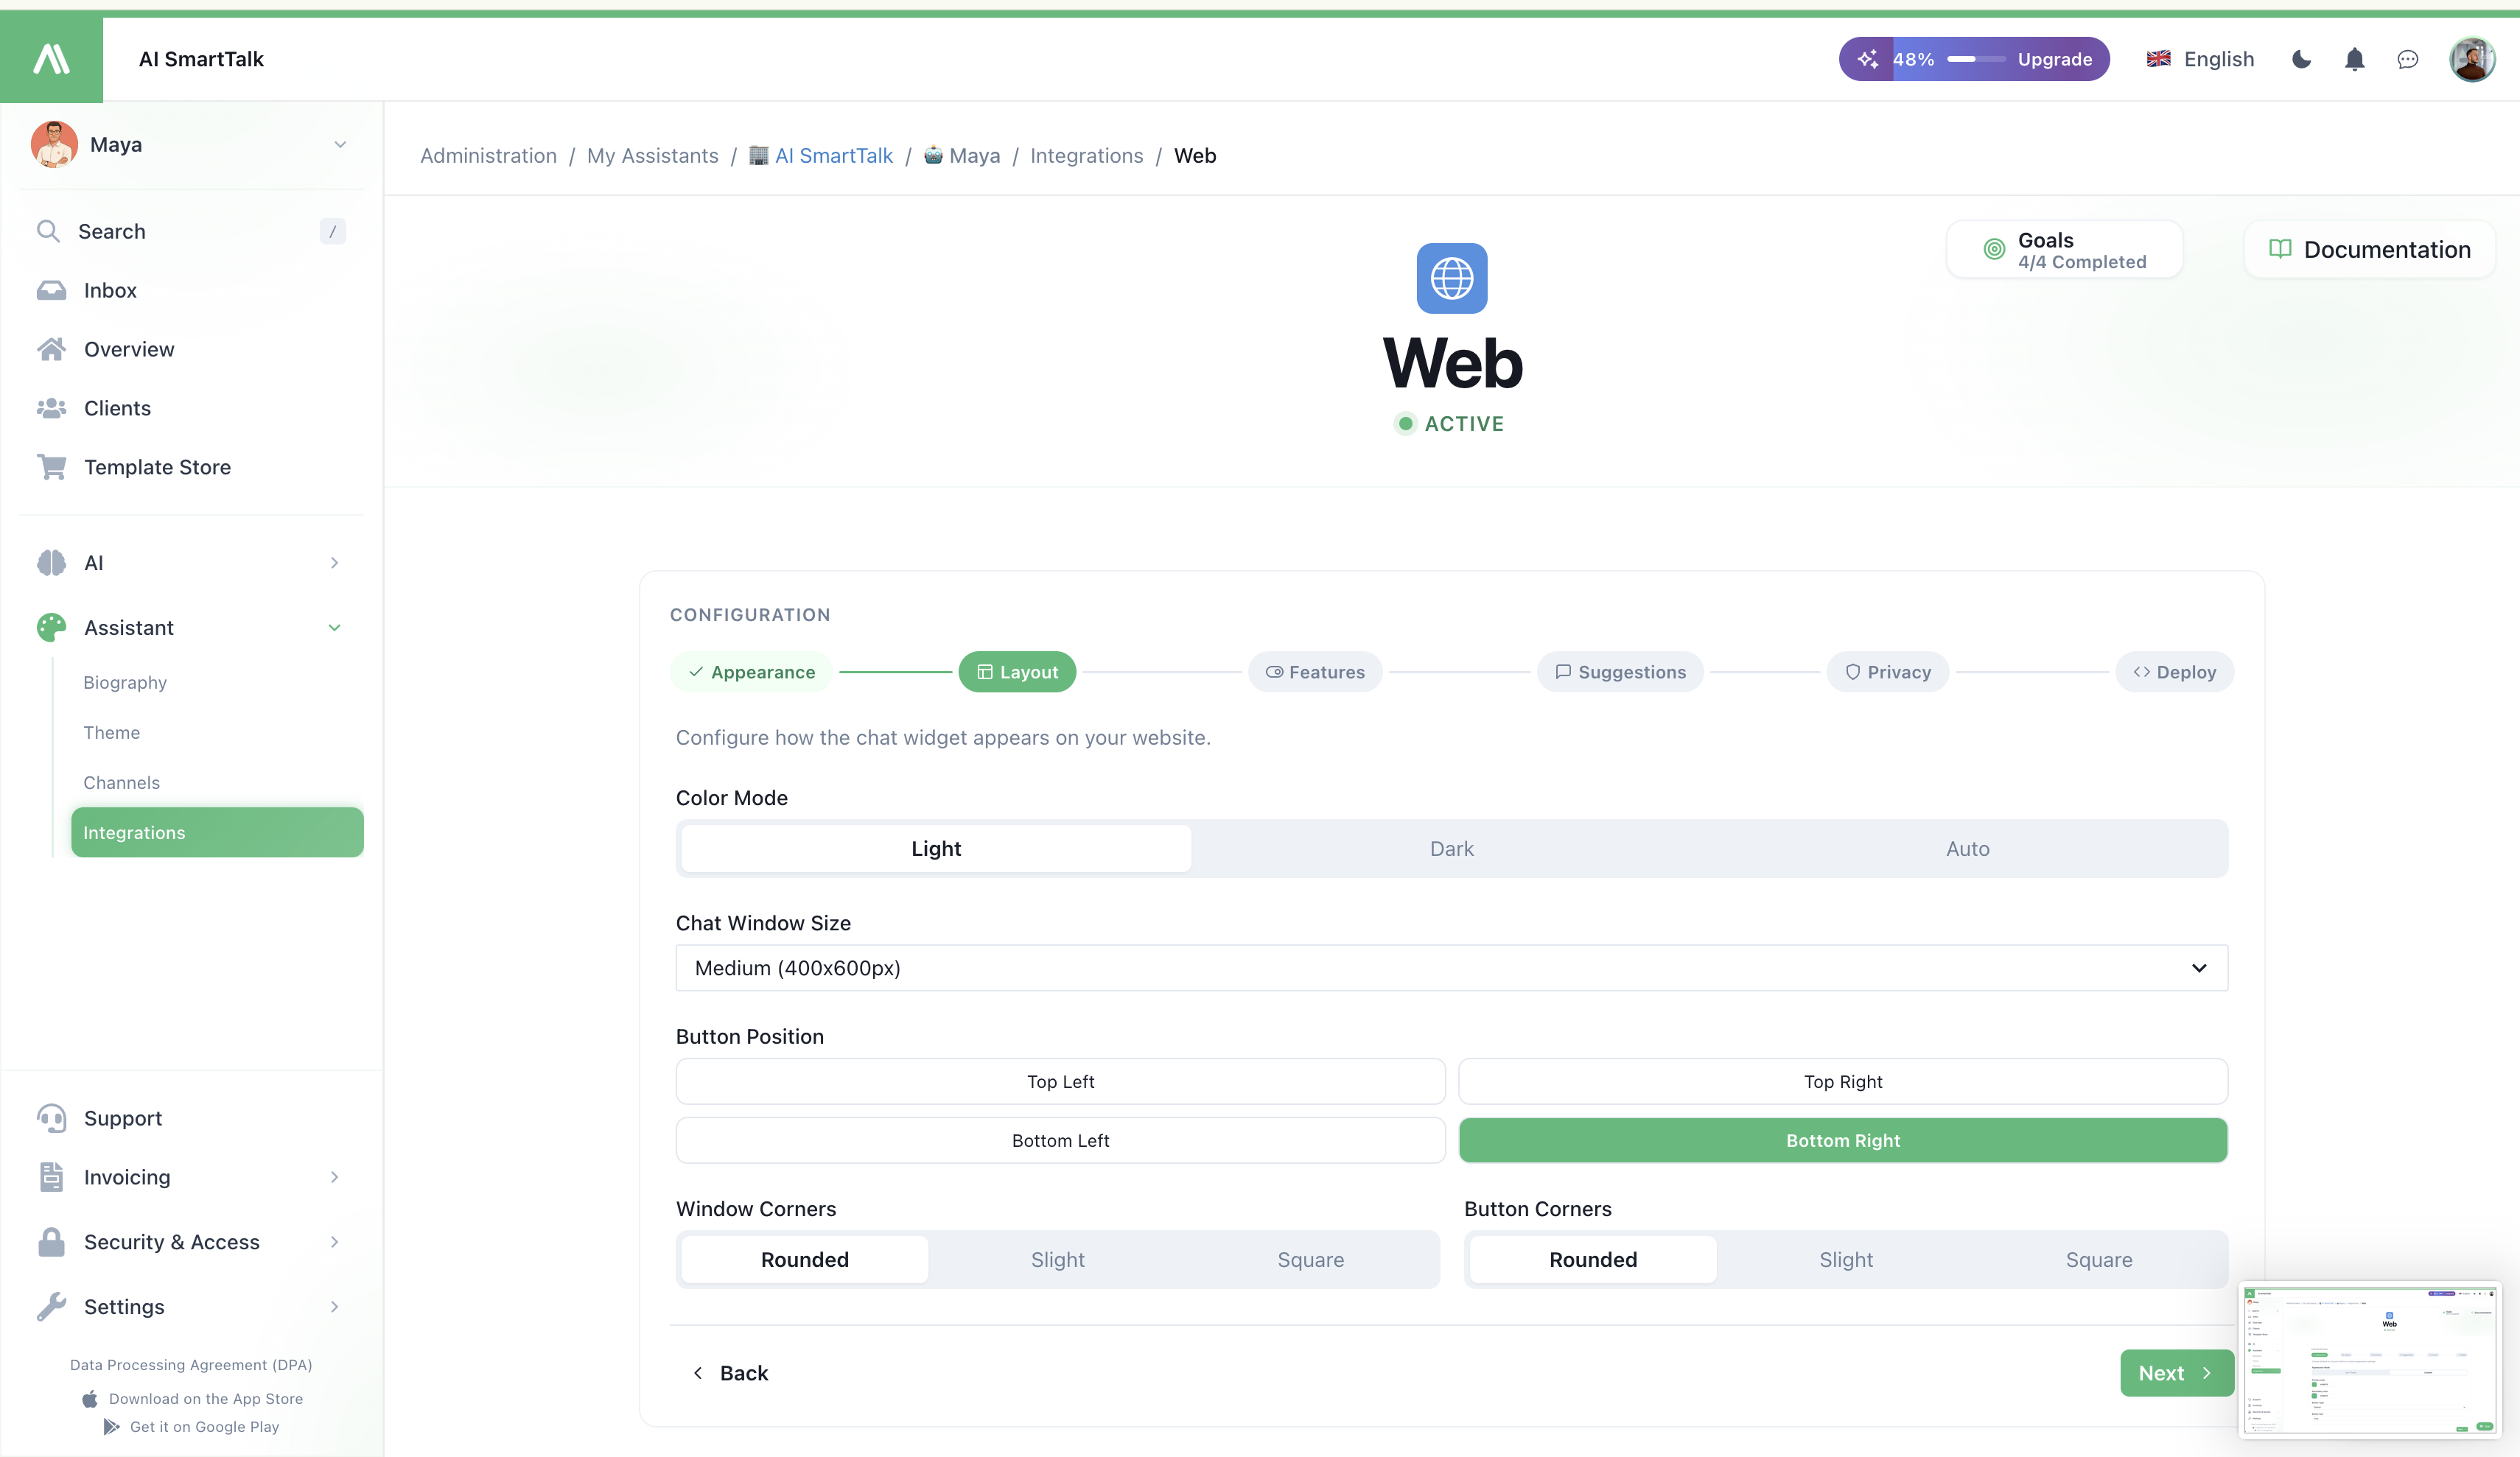
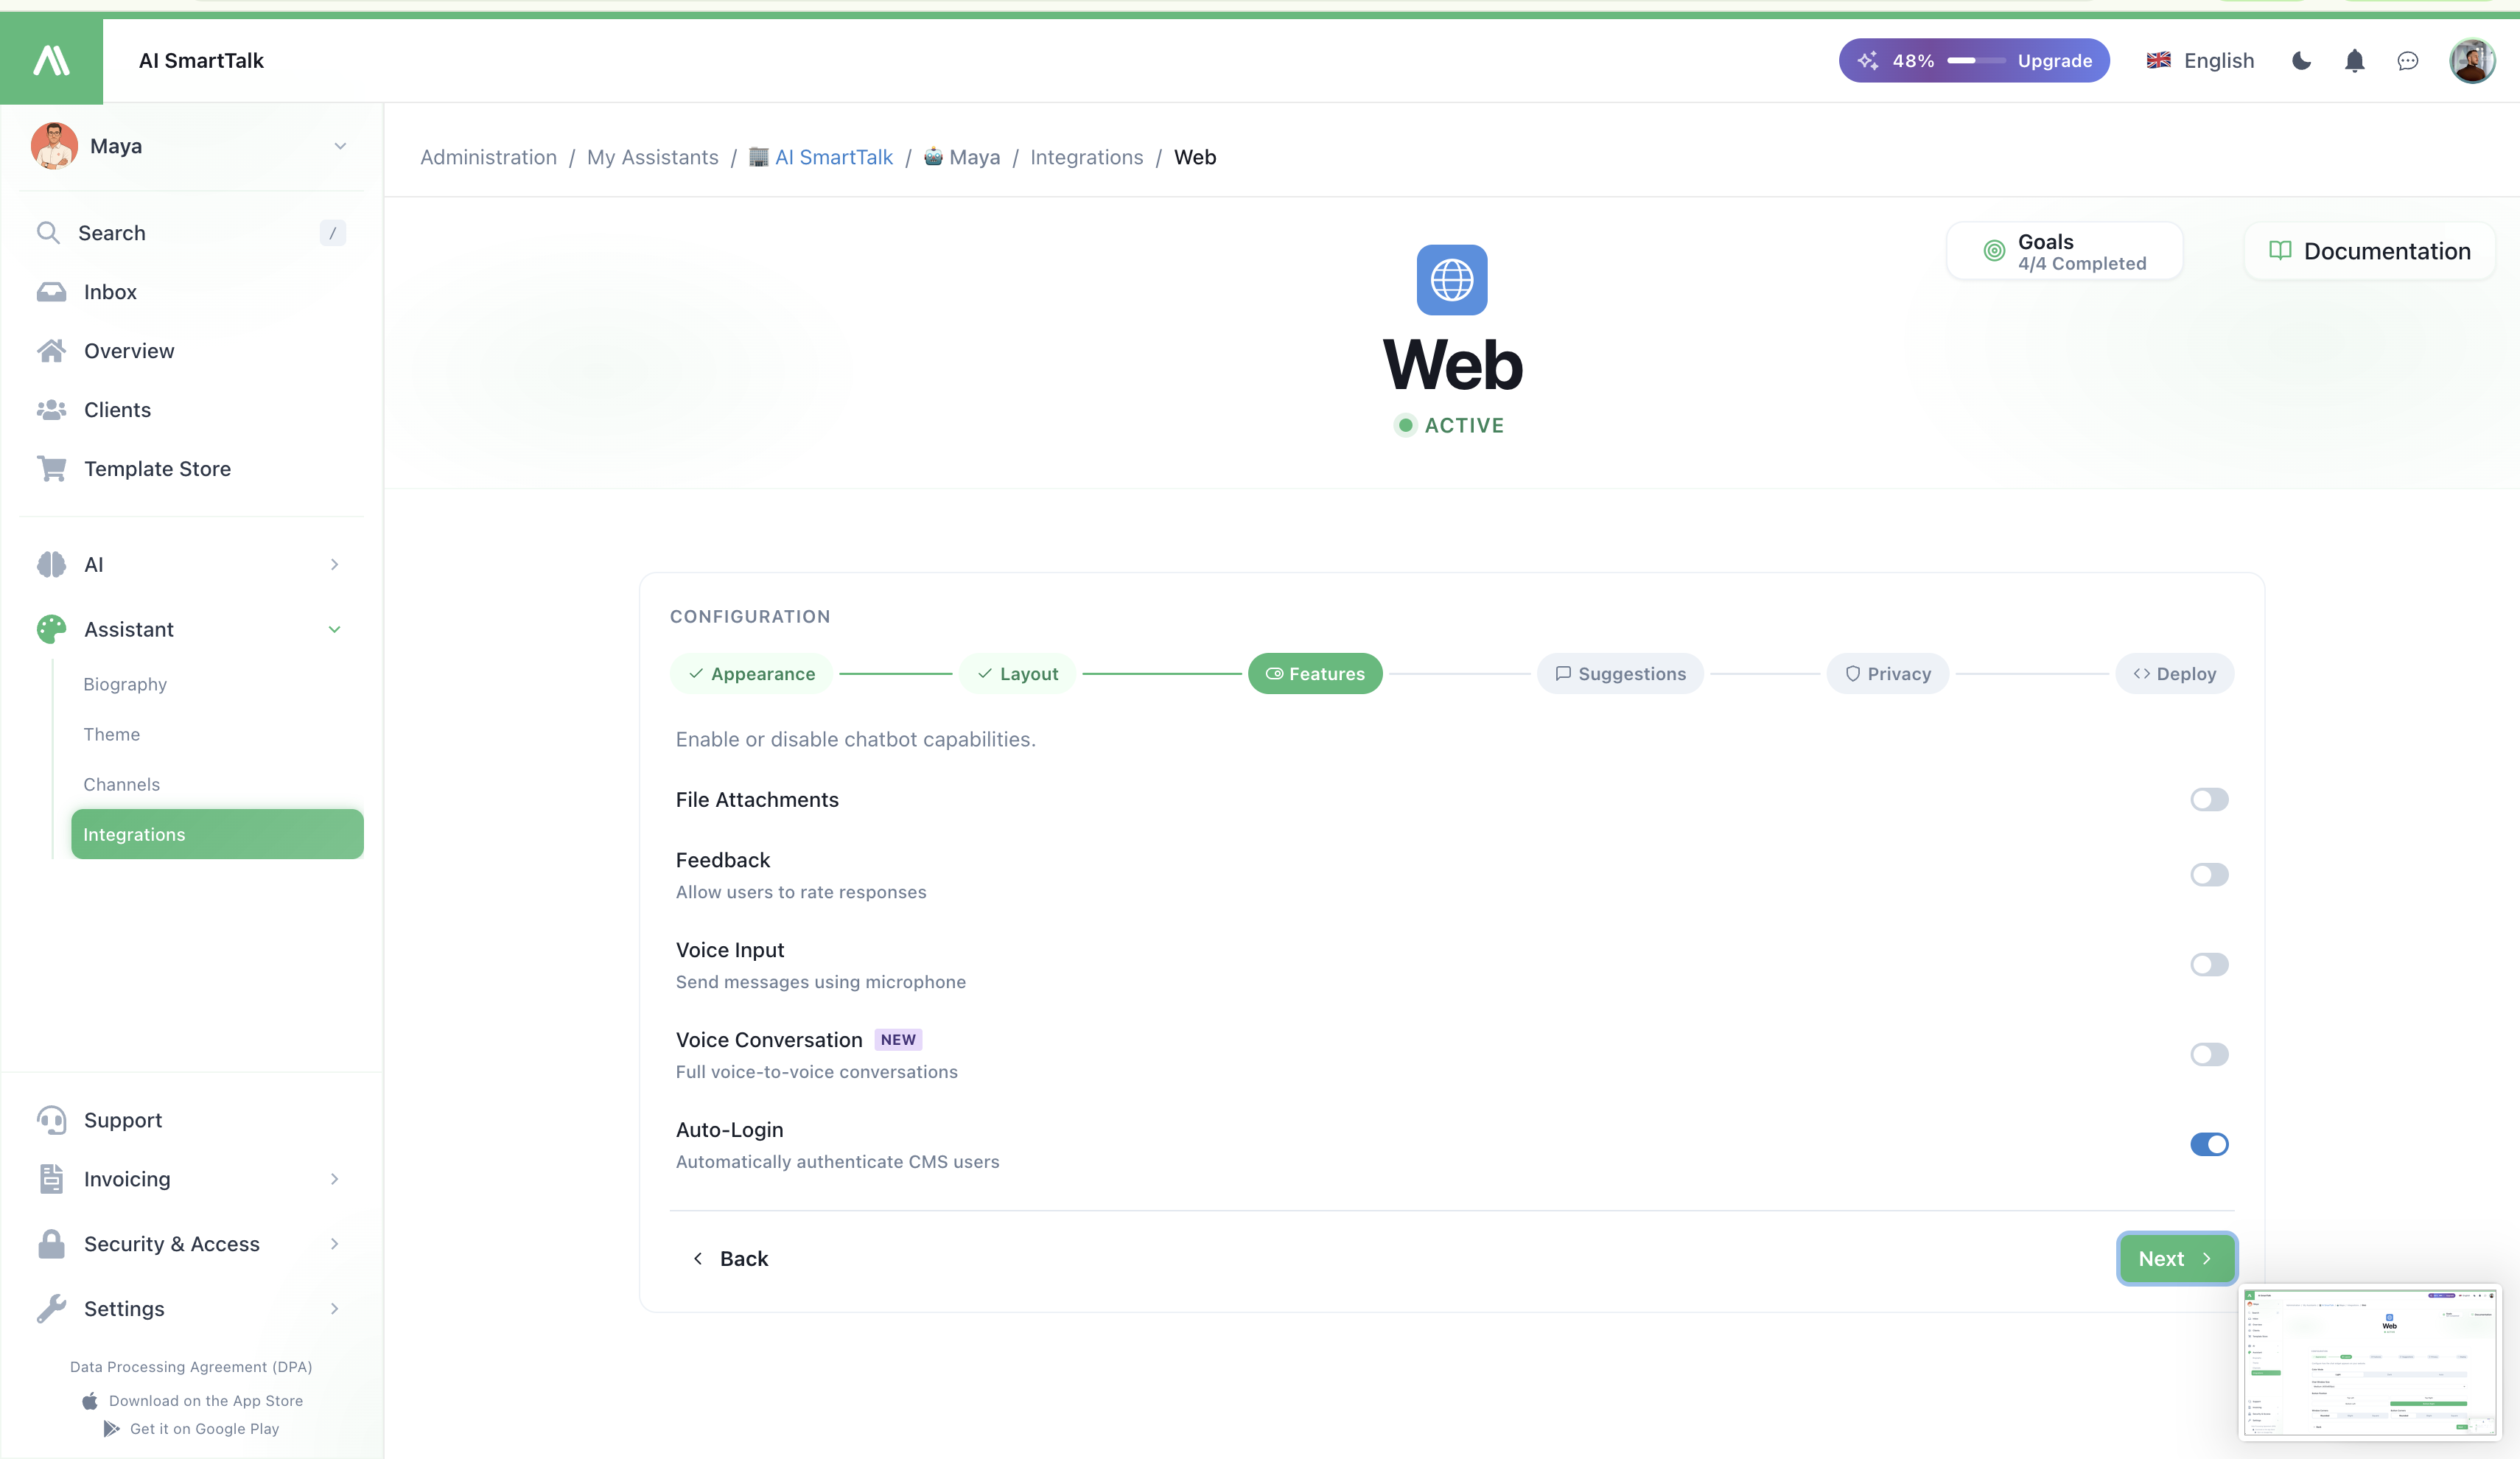
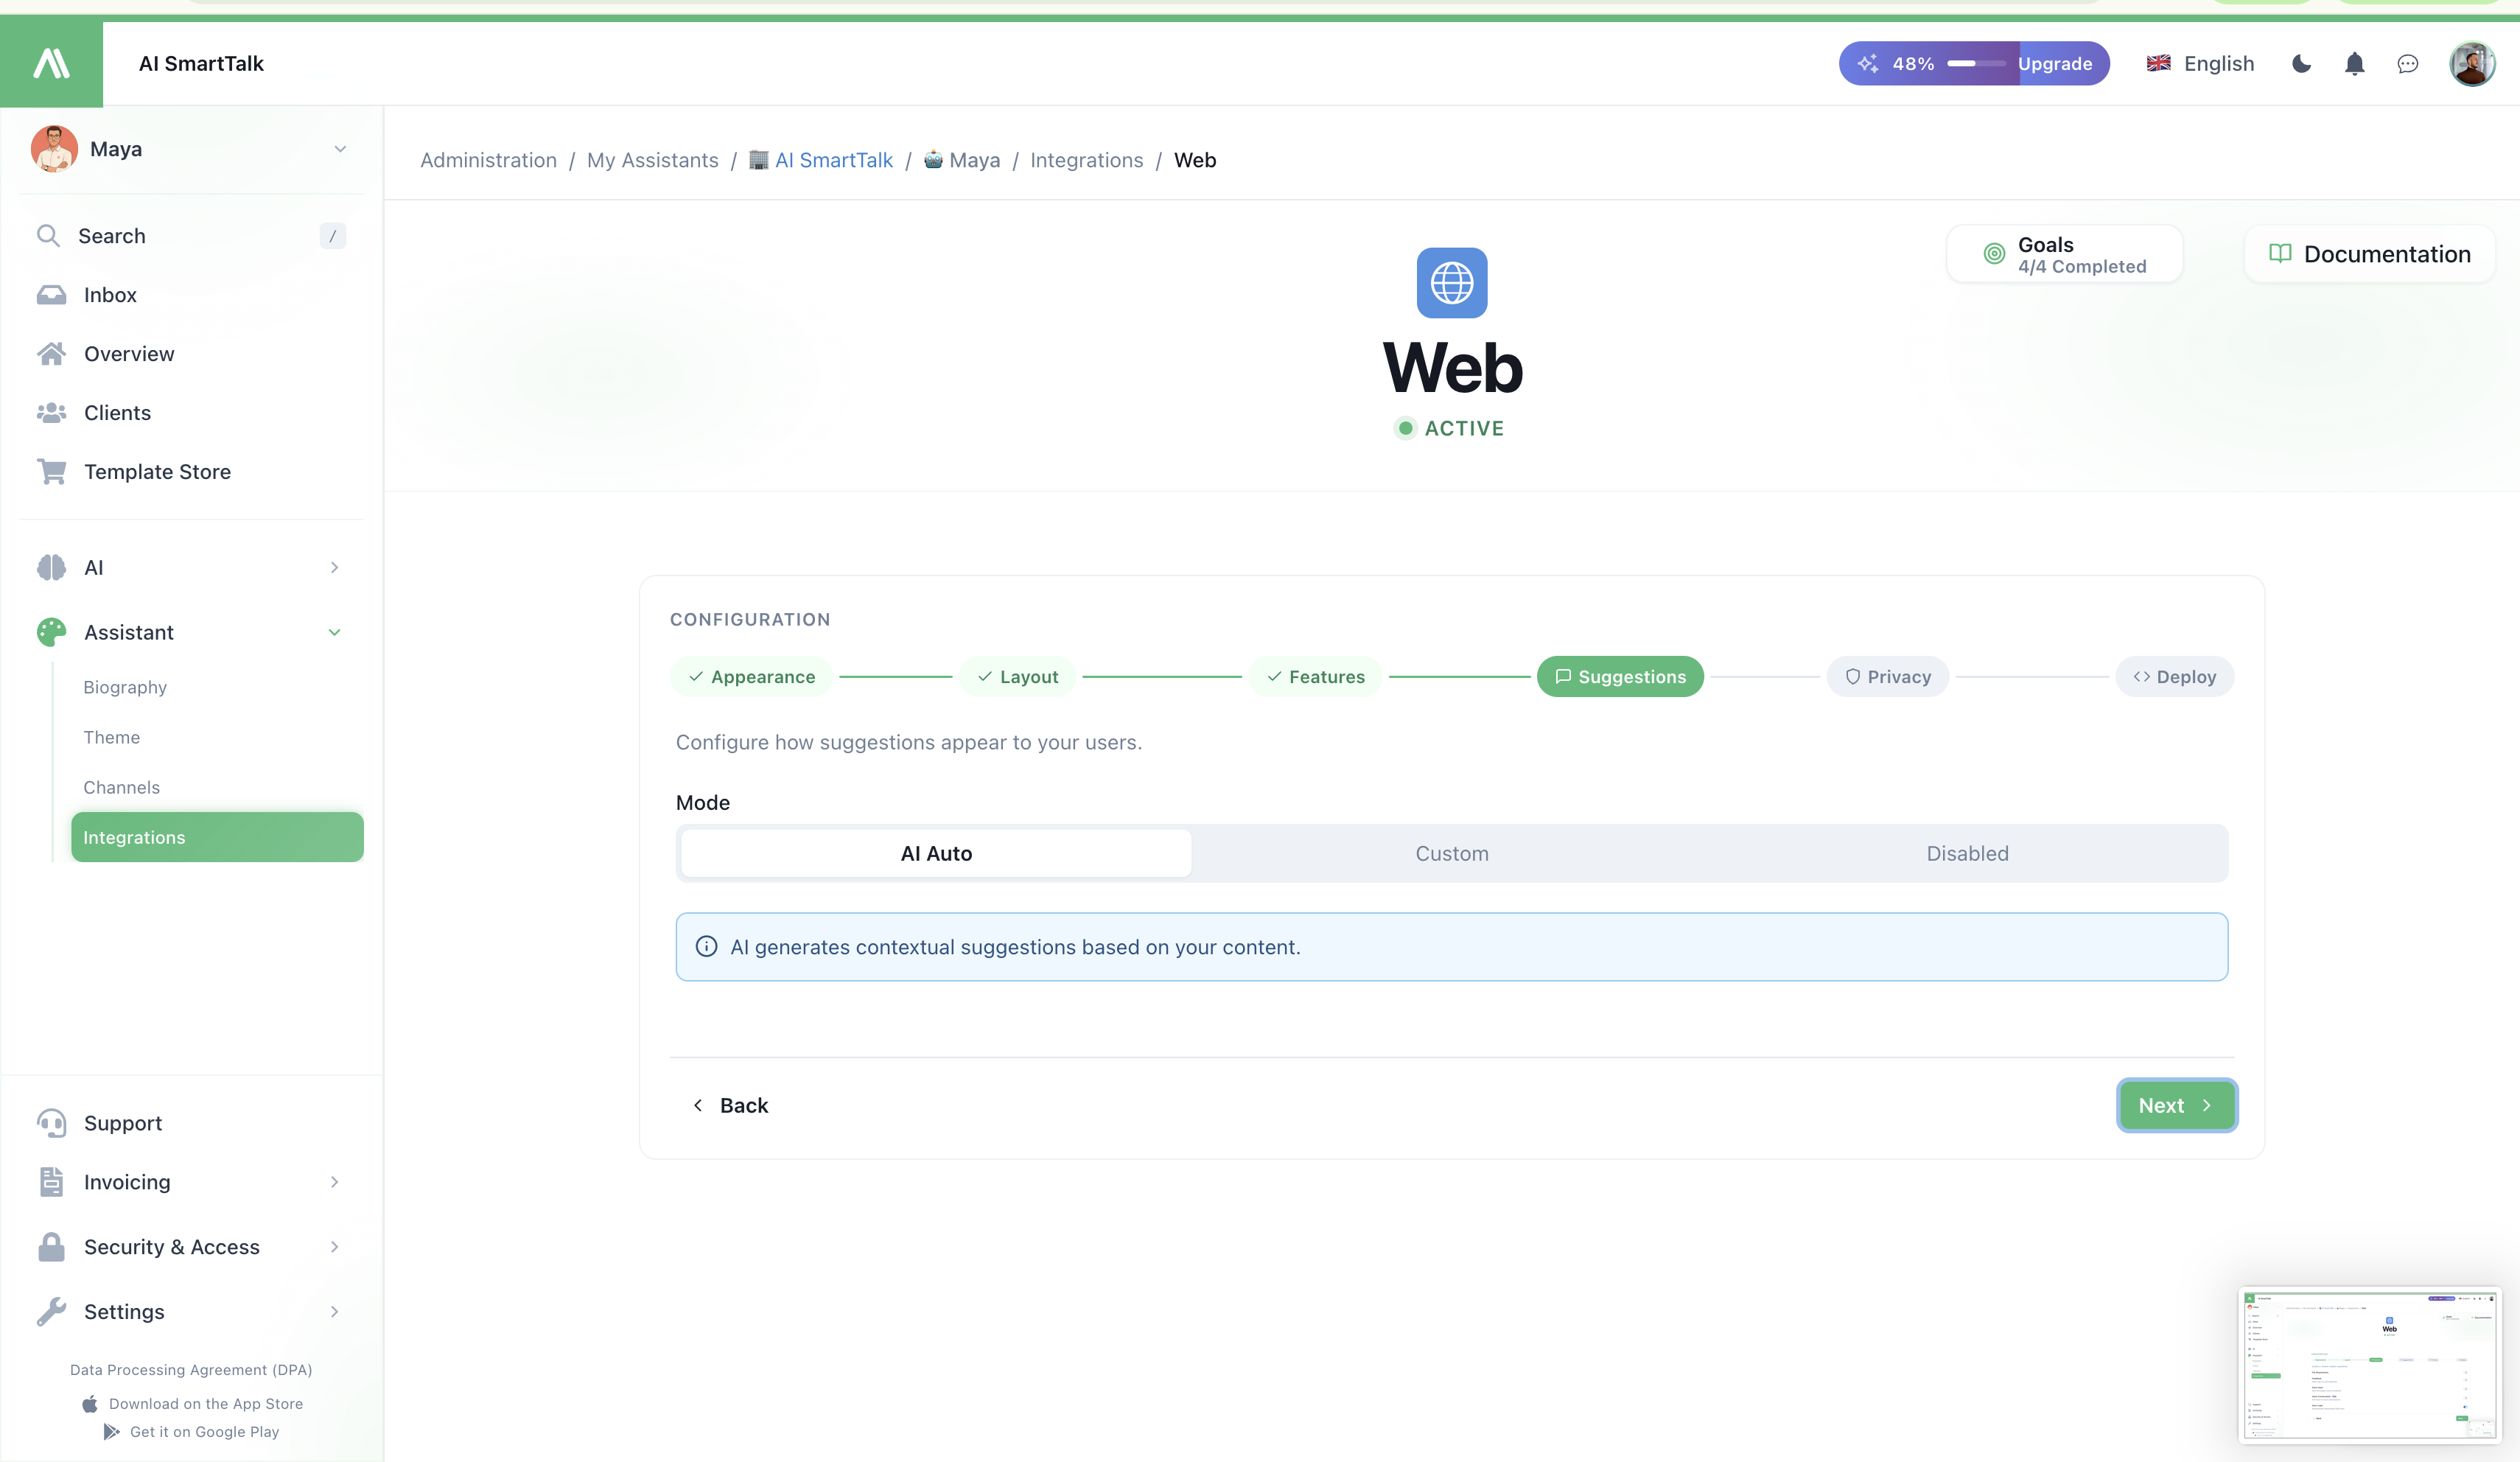
The widget reads its colors, avatar, and behavior from your assistant's settings — there's nothing to configure in the snippet itself.
- Colors & avatar → Theme
- Voice / tone → Biography
- What it can talk about → Knowledge Base
Change any of these and the widget updates everywhere it's installed — no redeploy needed.
GDPR consent
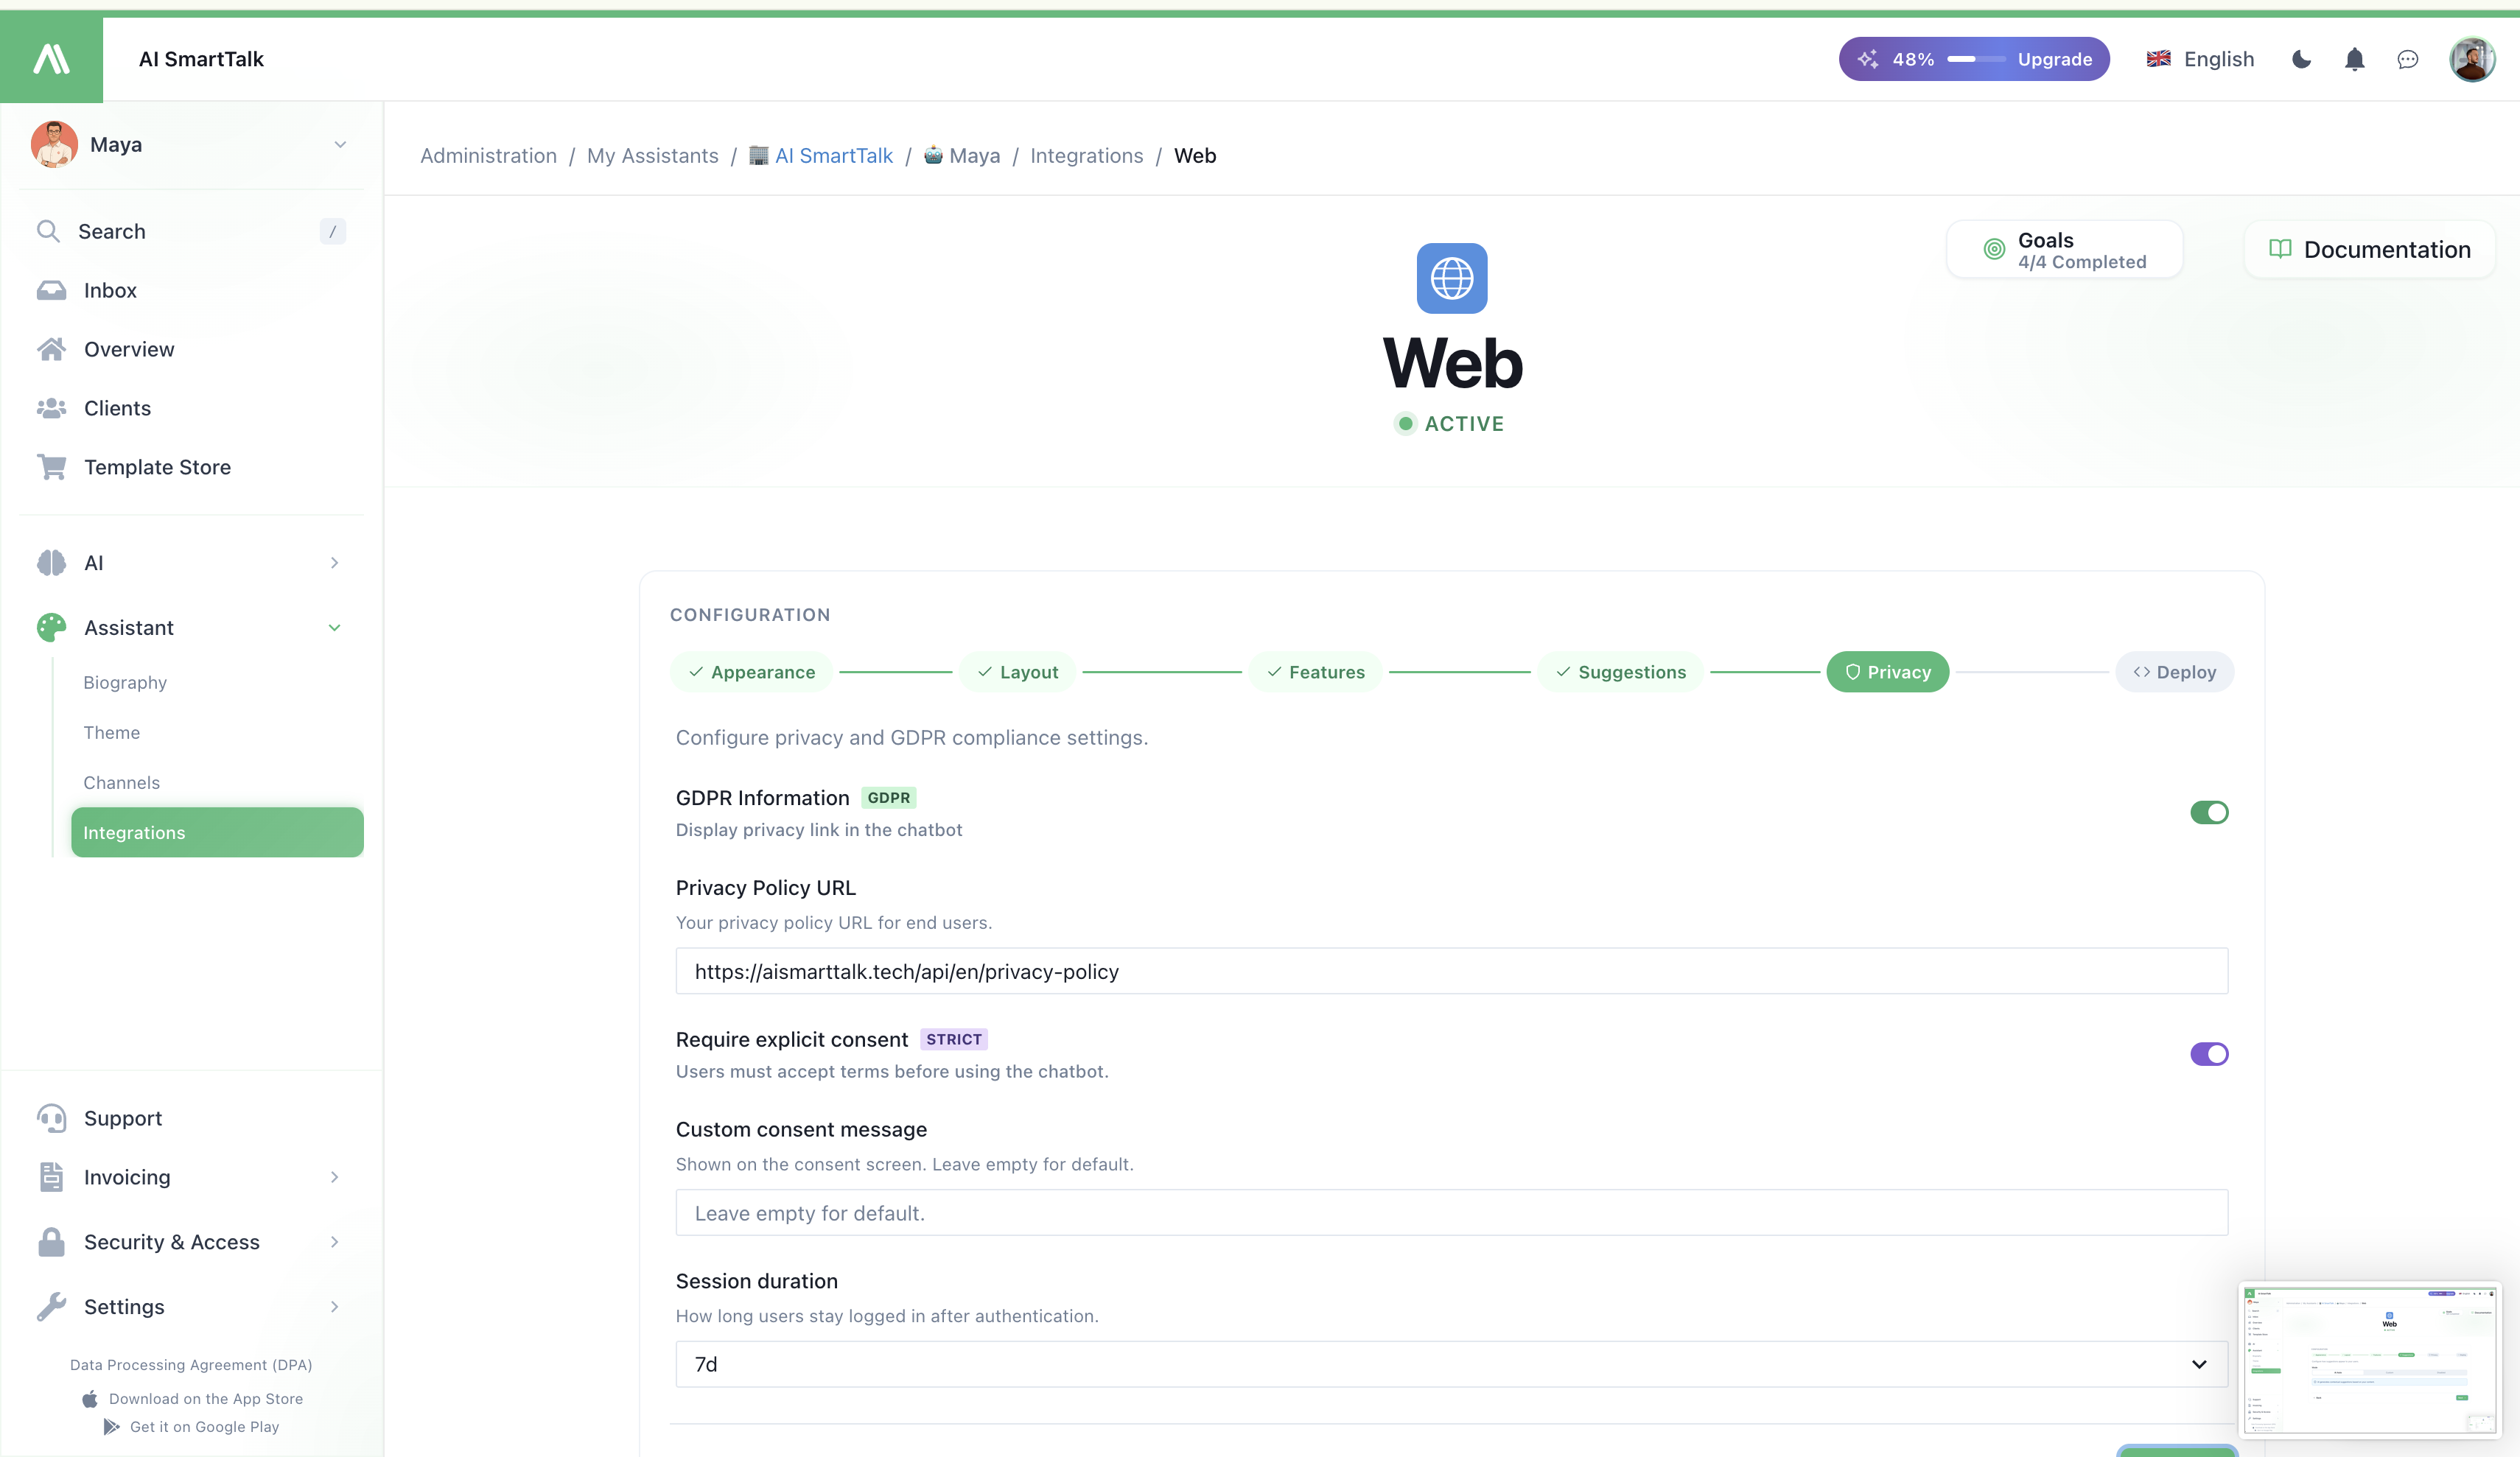
The first time a visitor opens the chat, a short consent screen explains what data is processed. Nothing is recorded before they accept. You can customize the consent wording from the Web integration page.
Lock it to your domains
Anyone could in theory paste your snippet on their own site and use your assistant's quota. Stop that by listing your domains:
- Go to Configuration → Allowed Domains.
- Add every domain where the snippet should work (e.g.
https://yoursite.com,https://staging.yoursite.com). - Save.
Requests from any other domain are rejected. This is also a requirement before going to production.
Multiple sites, one assistant
Paste the same snippet on as many sites as you want — they all share the same assistant, same knowledge base, same conversation history. Just remember to whitelist each domain in Allowed Domains.
Common problems
| Symptom | Likely cause |
|---|---|
| Widget doesn't appear | Snippet not before </body>, or your site has a content-blocker / strict CSP |
| Widget appears but won't open | Domain not in Allowed Domains |
| Wrong colors / avatar | Theme changes not saved, or the page is heavily cached — try a hard refresh |
| Visitors get a "blocked" error | Their IP / browser was banned from the Inbox — check Inbox → Ban list |
Related
- Web Chat channel — what the widget can do for visitors
- Theme & Appearance — colors, avatar, name
- All integrations — plugins for WordPress / PrestaShop / Shopify / Joomla / Webflow
- Access Control — who can edit the integration