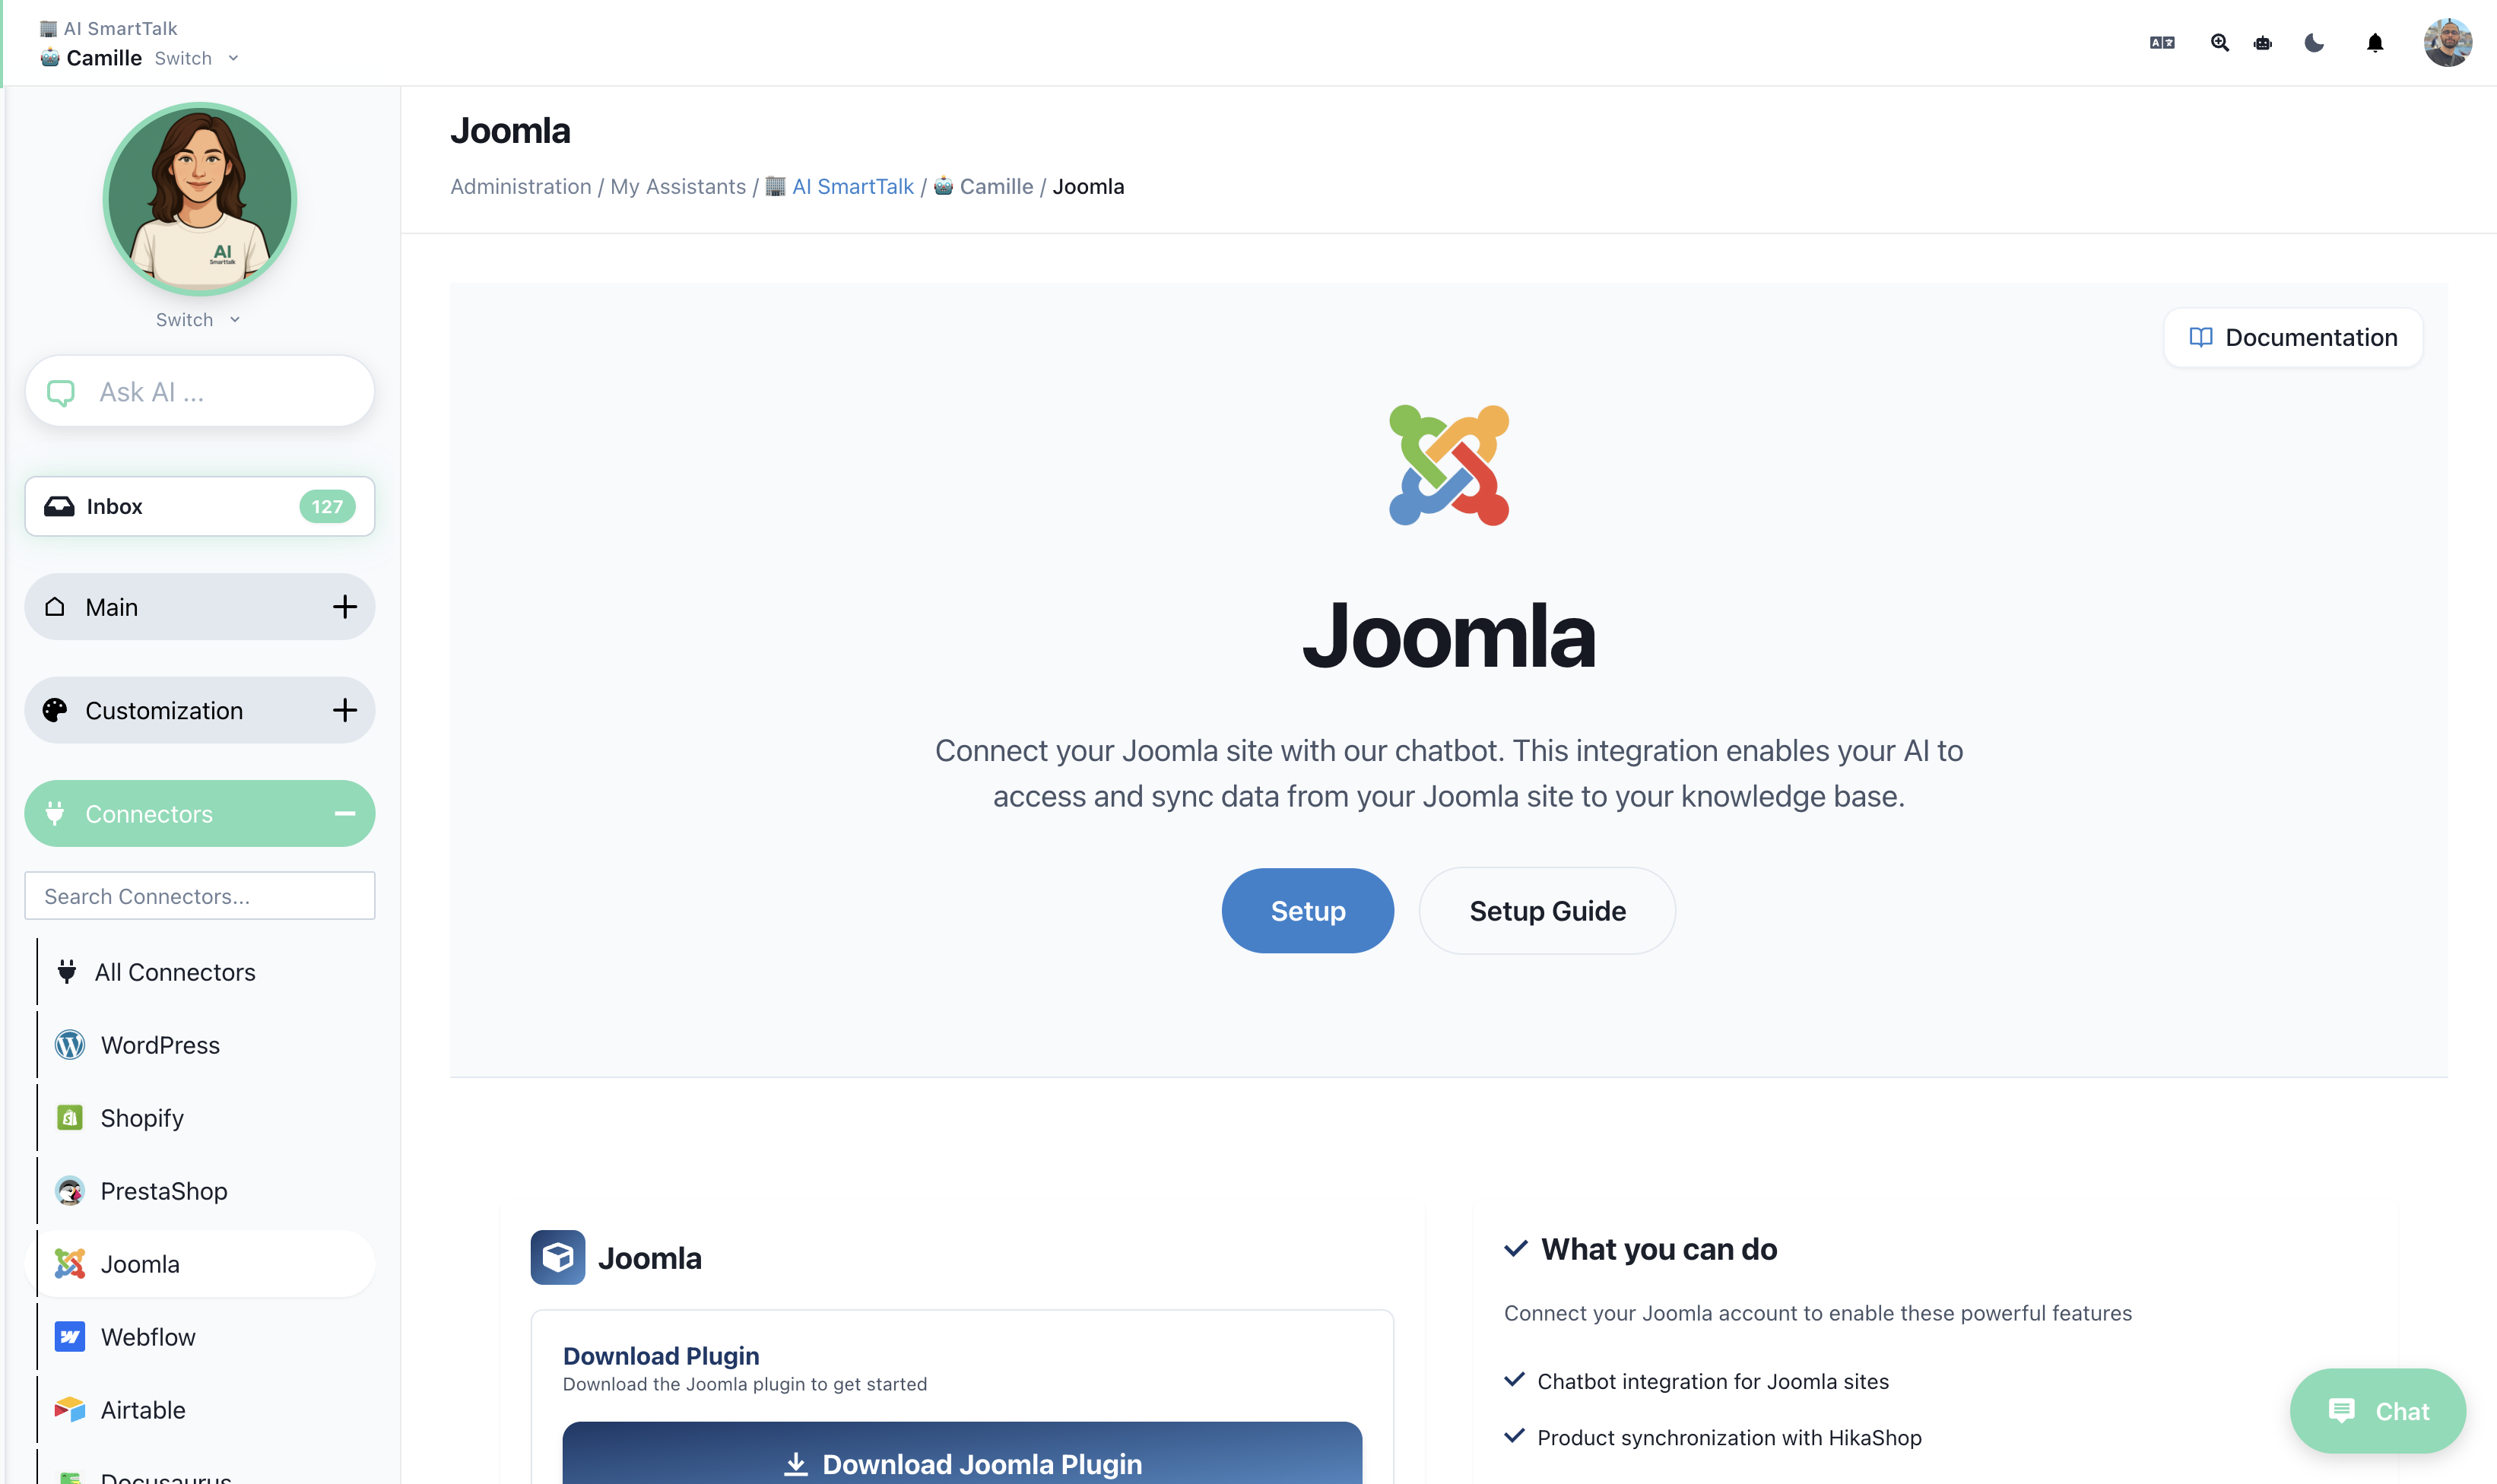
Joomla
Add an AI-powered chatbot to your Joomla website in just a few clicks. No technical knowledge required!
Prerequisites
- Joomla 4.x or 5.x
- Administrator access to your Joomla site
Installation
- Download the plugin from aismarttalk.tech → Integration → Joomla
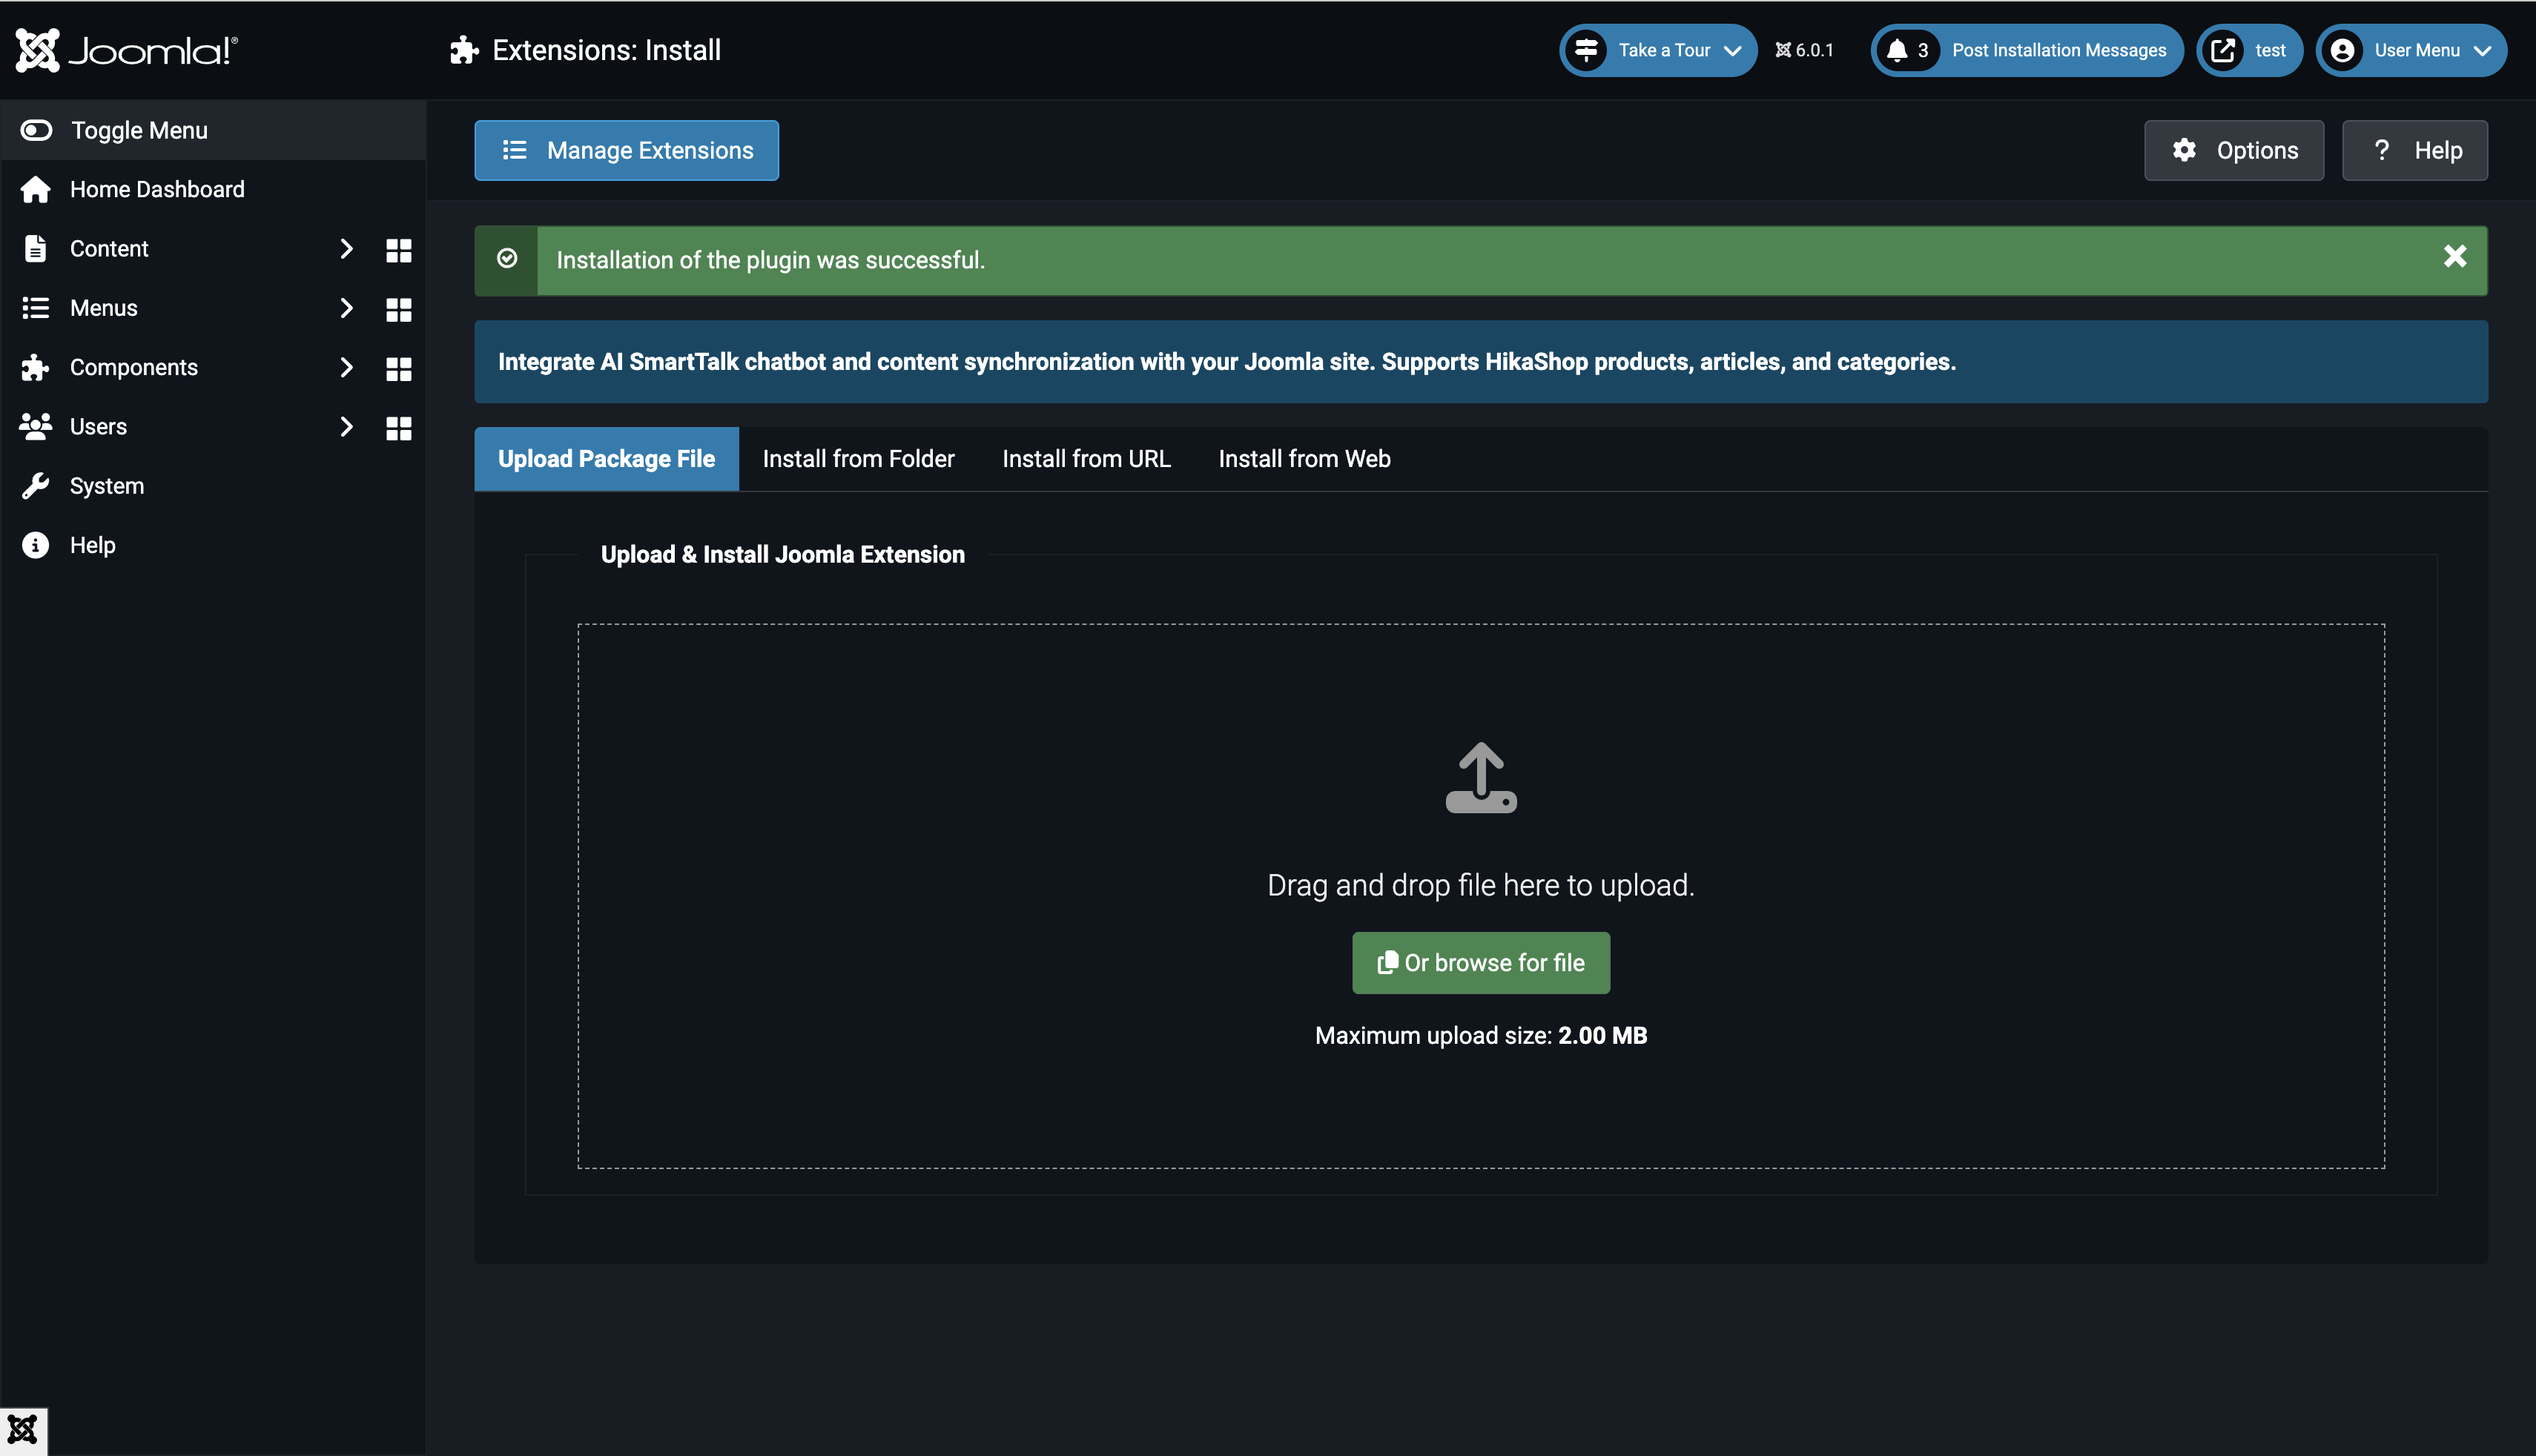
- In Joomla admin, go to System → Install → Extensions
- Upload the ZIP file
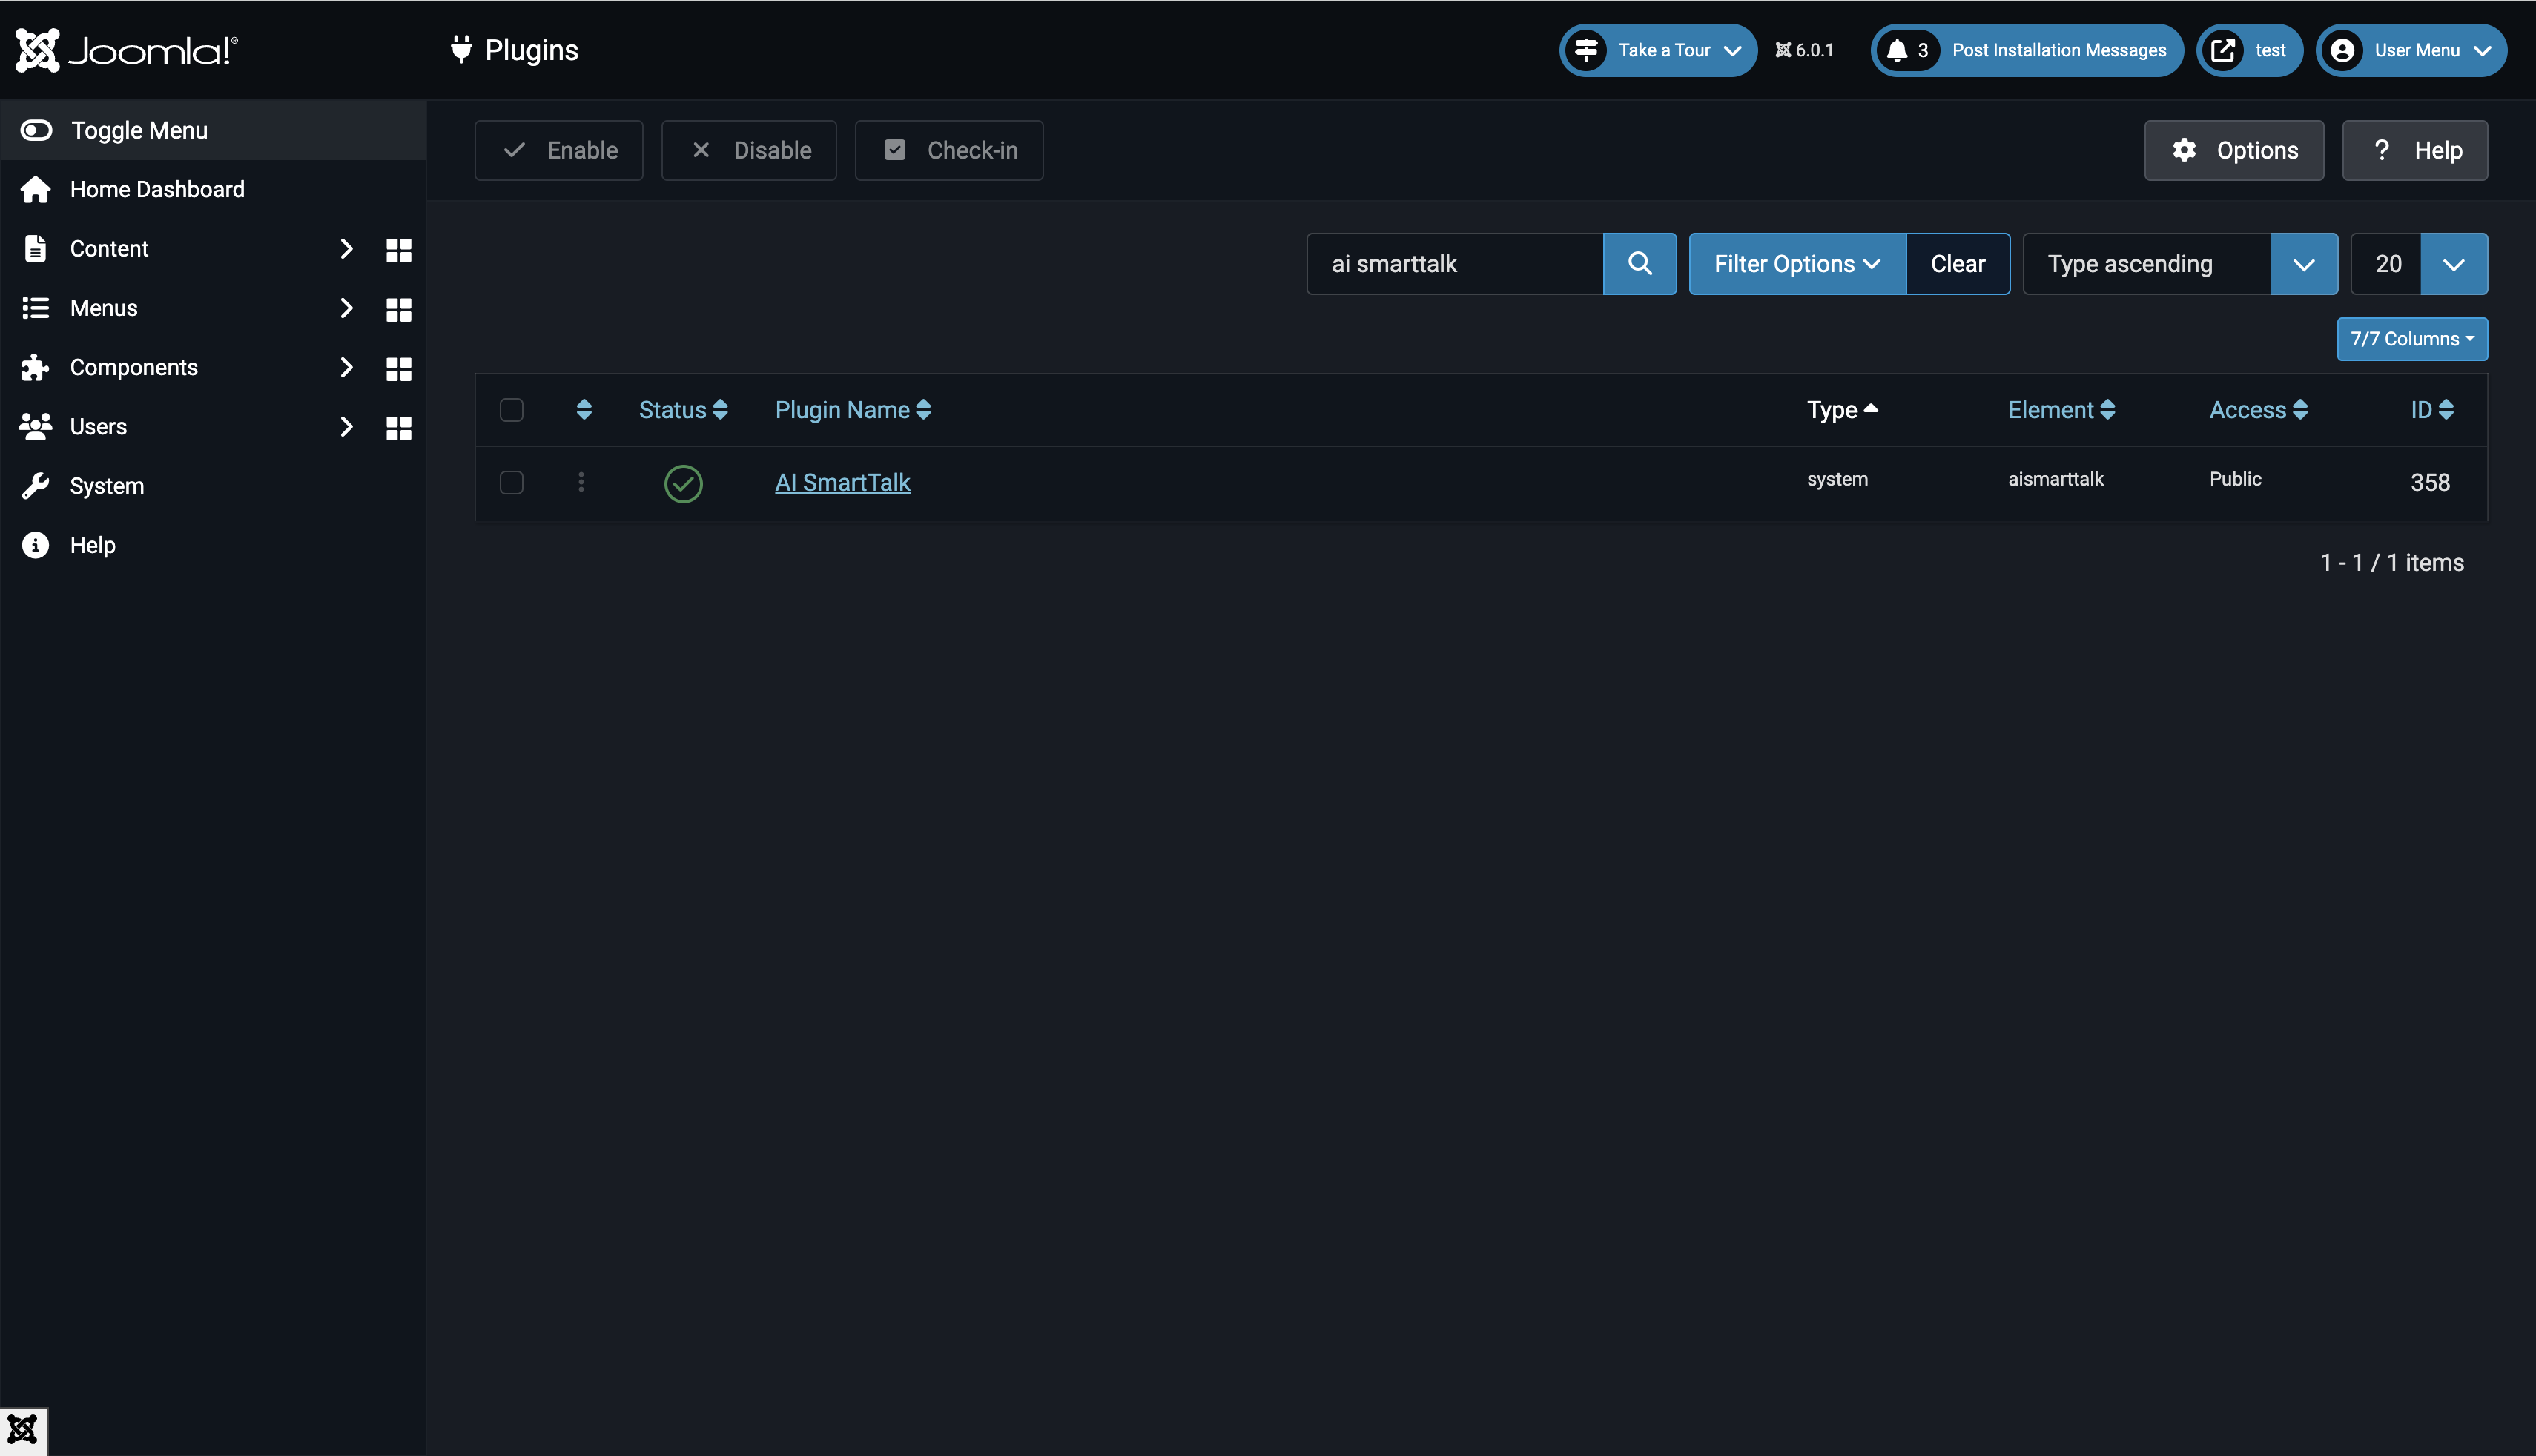
- Go to System → Manage → Plugins
- Search for "AI SmartTalk" and enable the plugin
Connect Your Account
- Click on the AI SmartTalk plugin to open settings
- Click Connect with AI SmartTalk
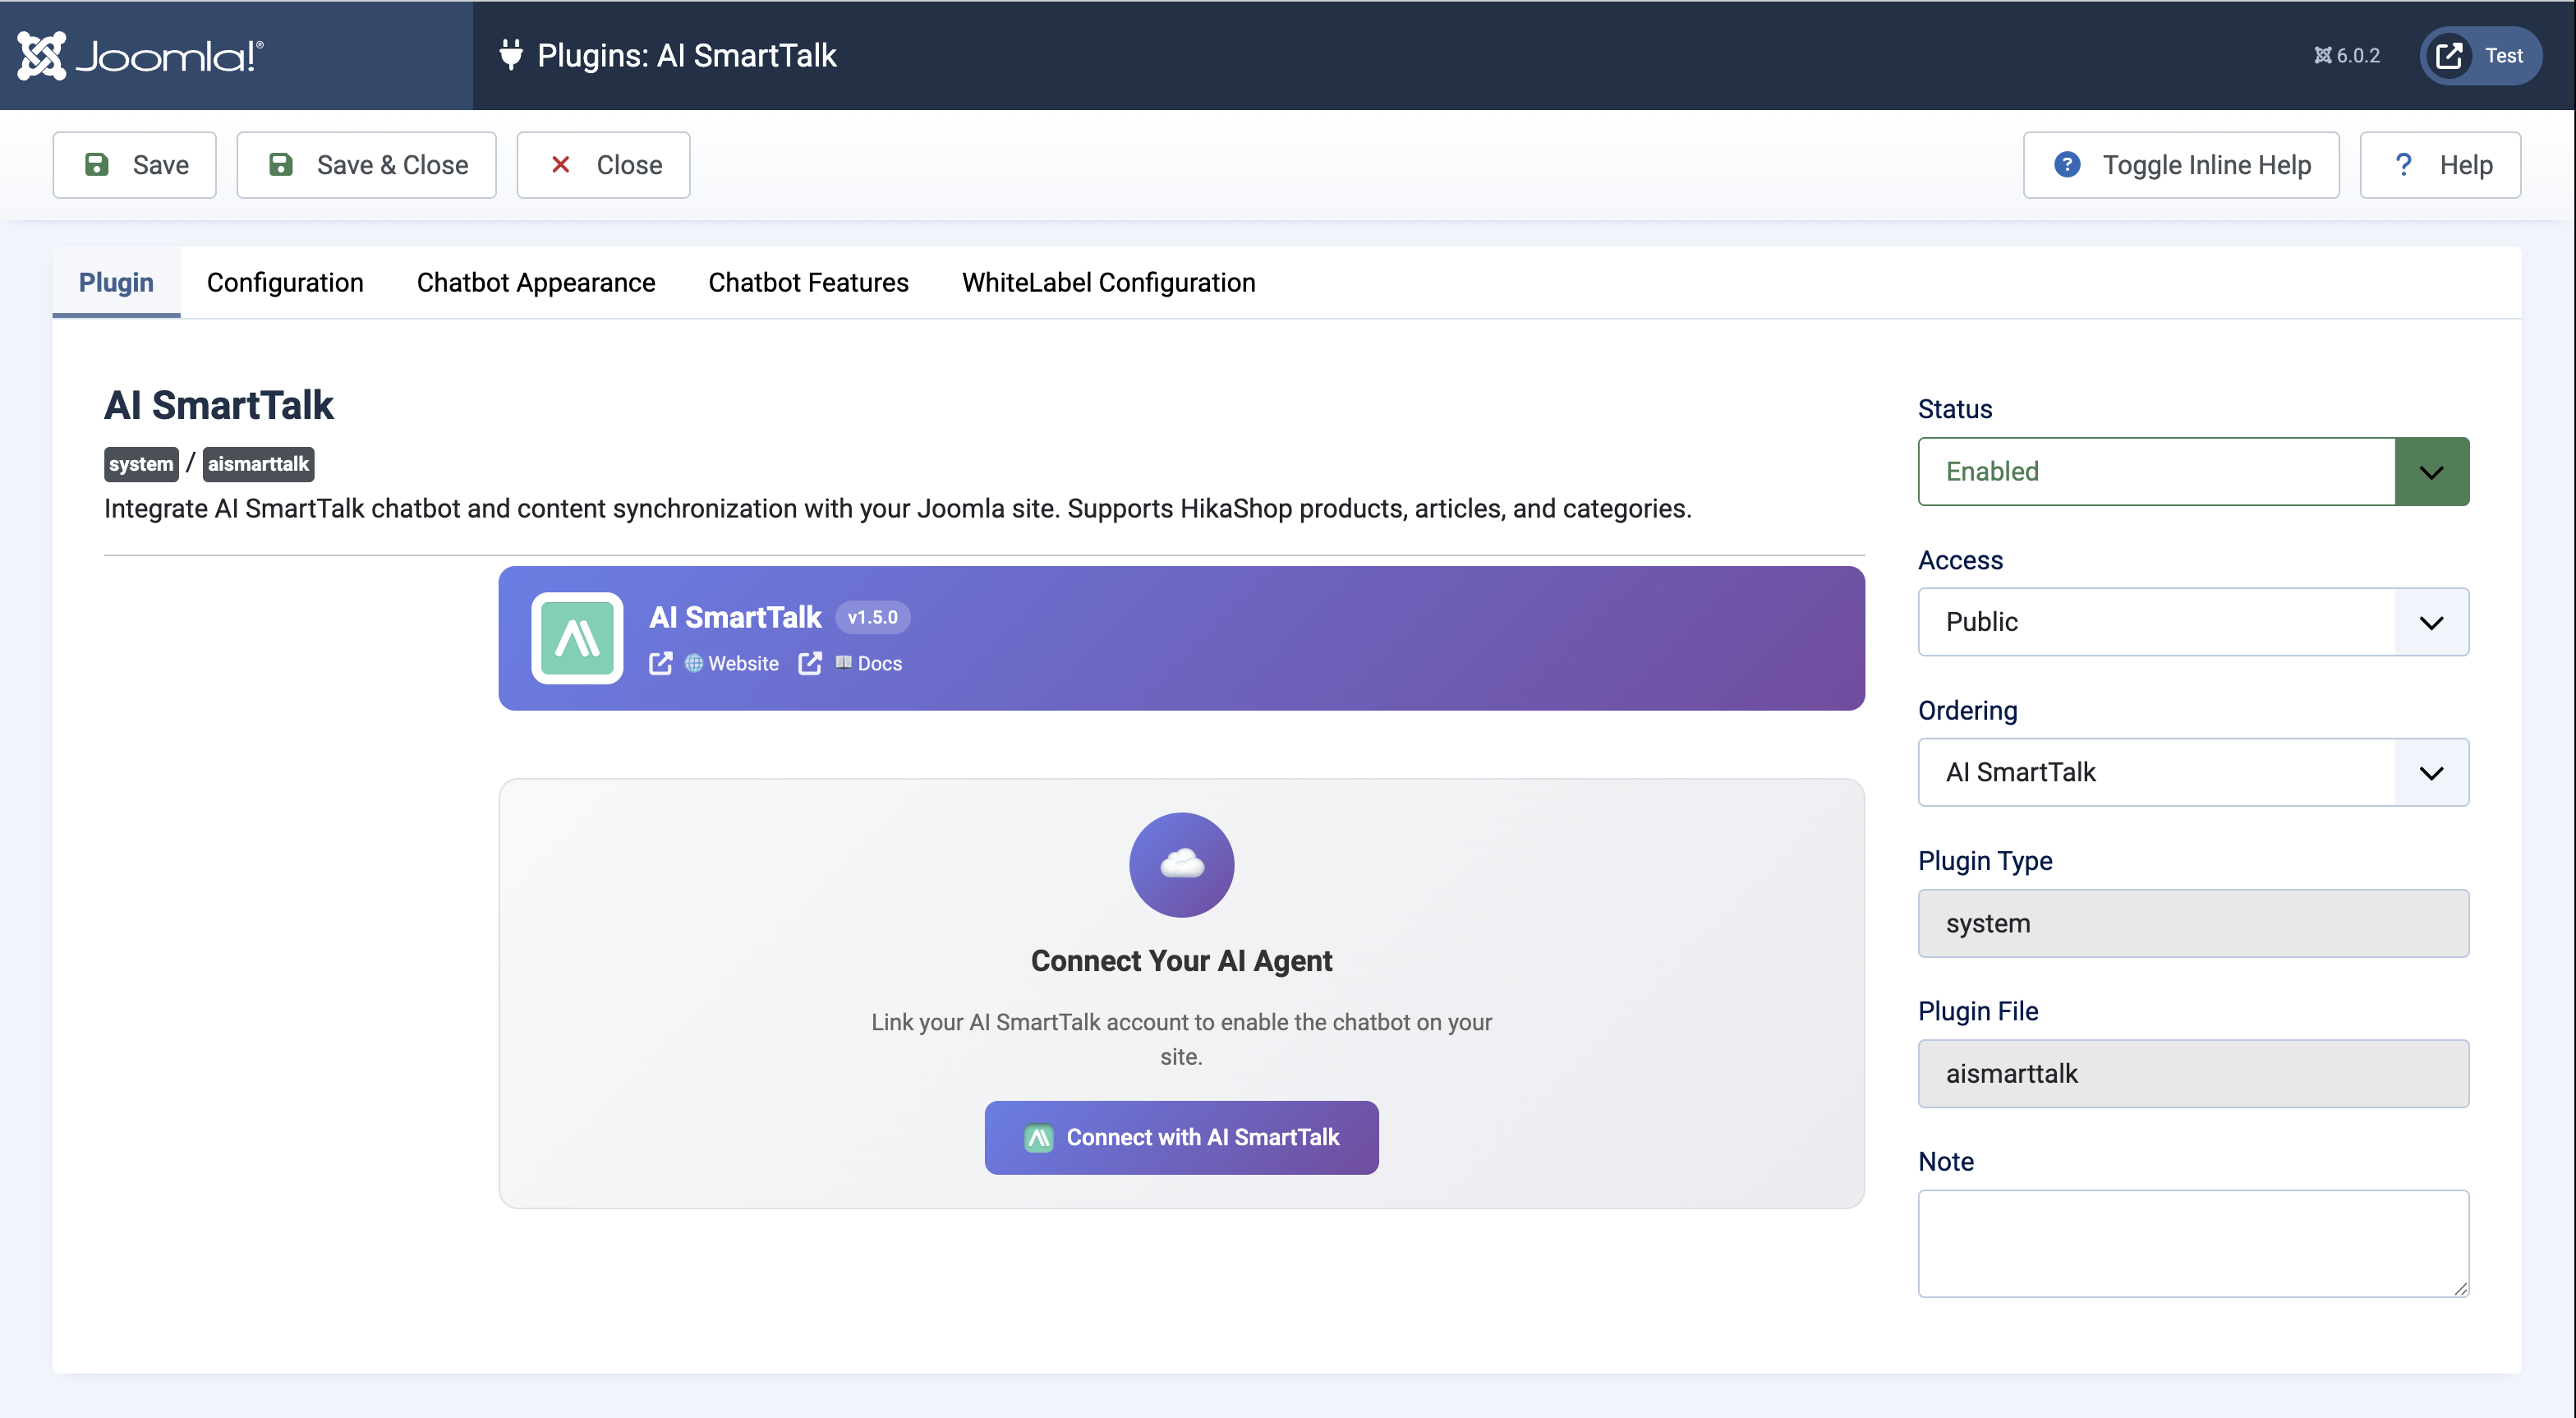
- Log in or create an account — you'll be redirected back automatically
Select Your AI Assistant
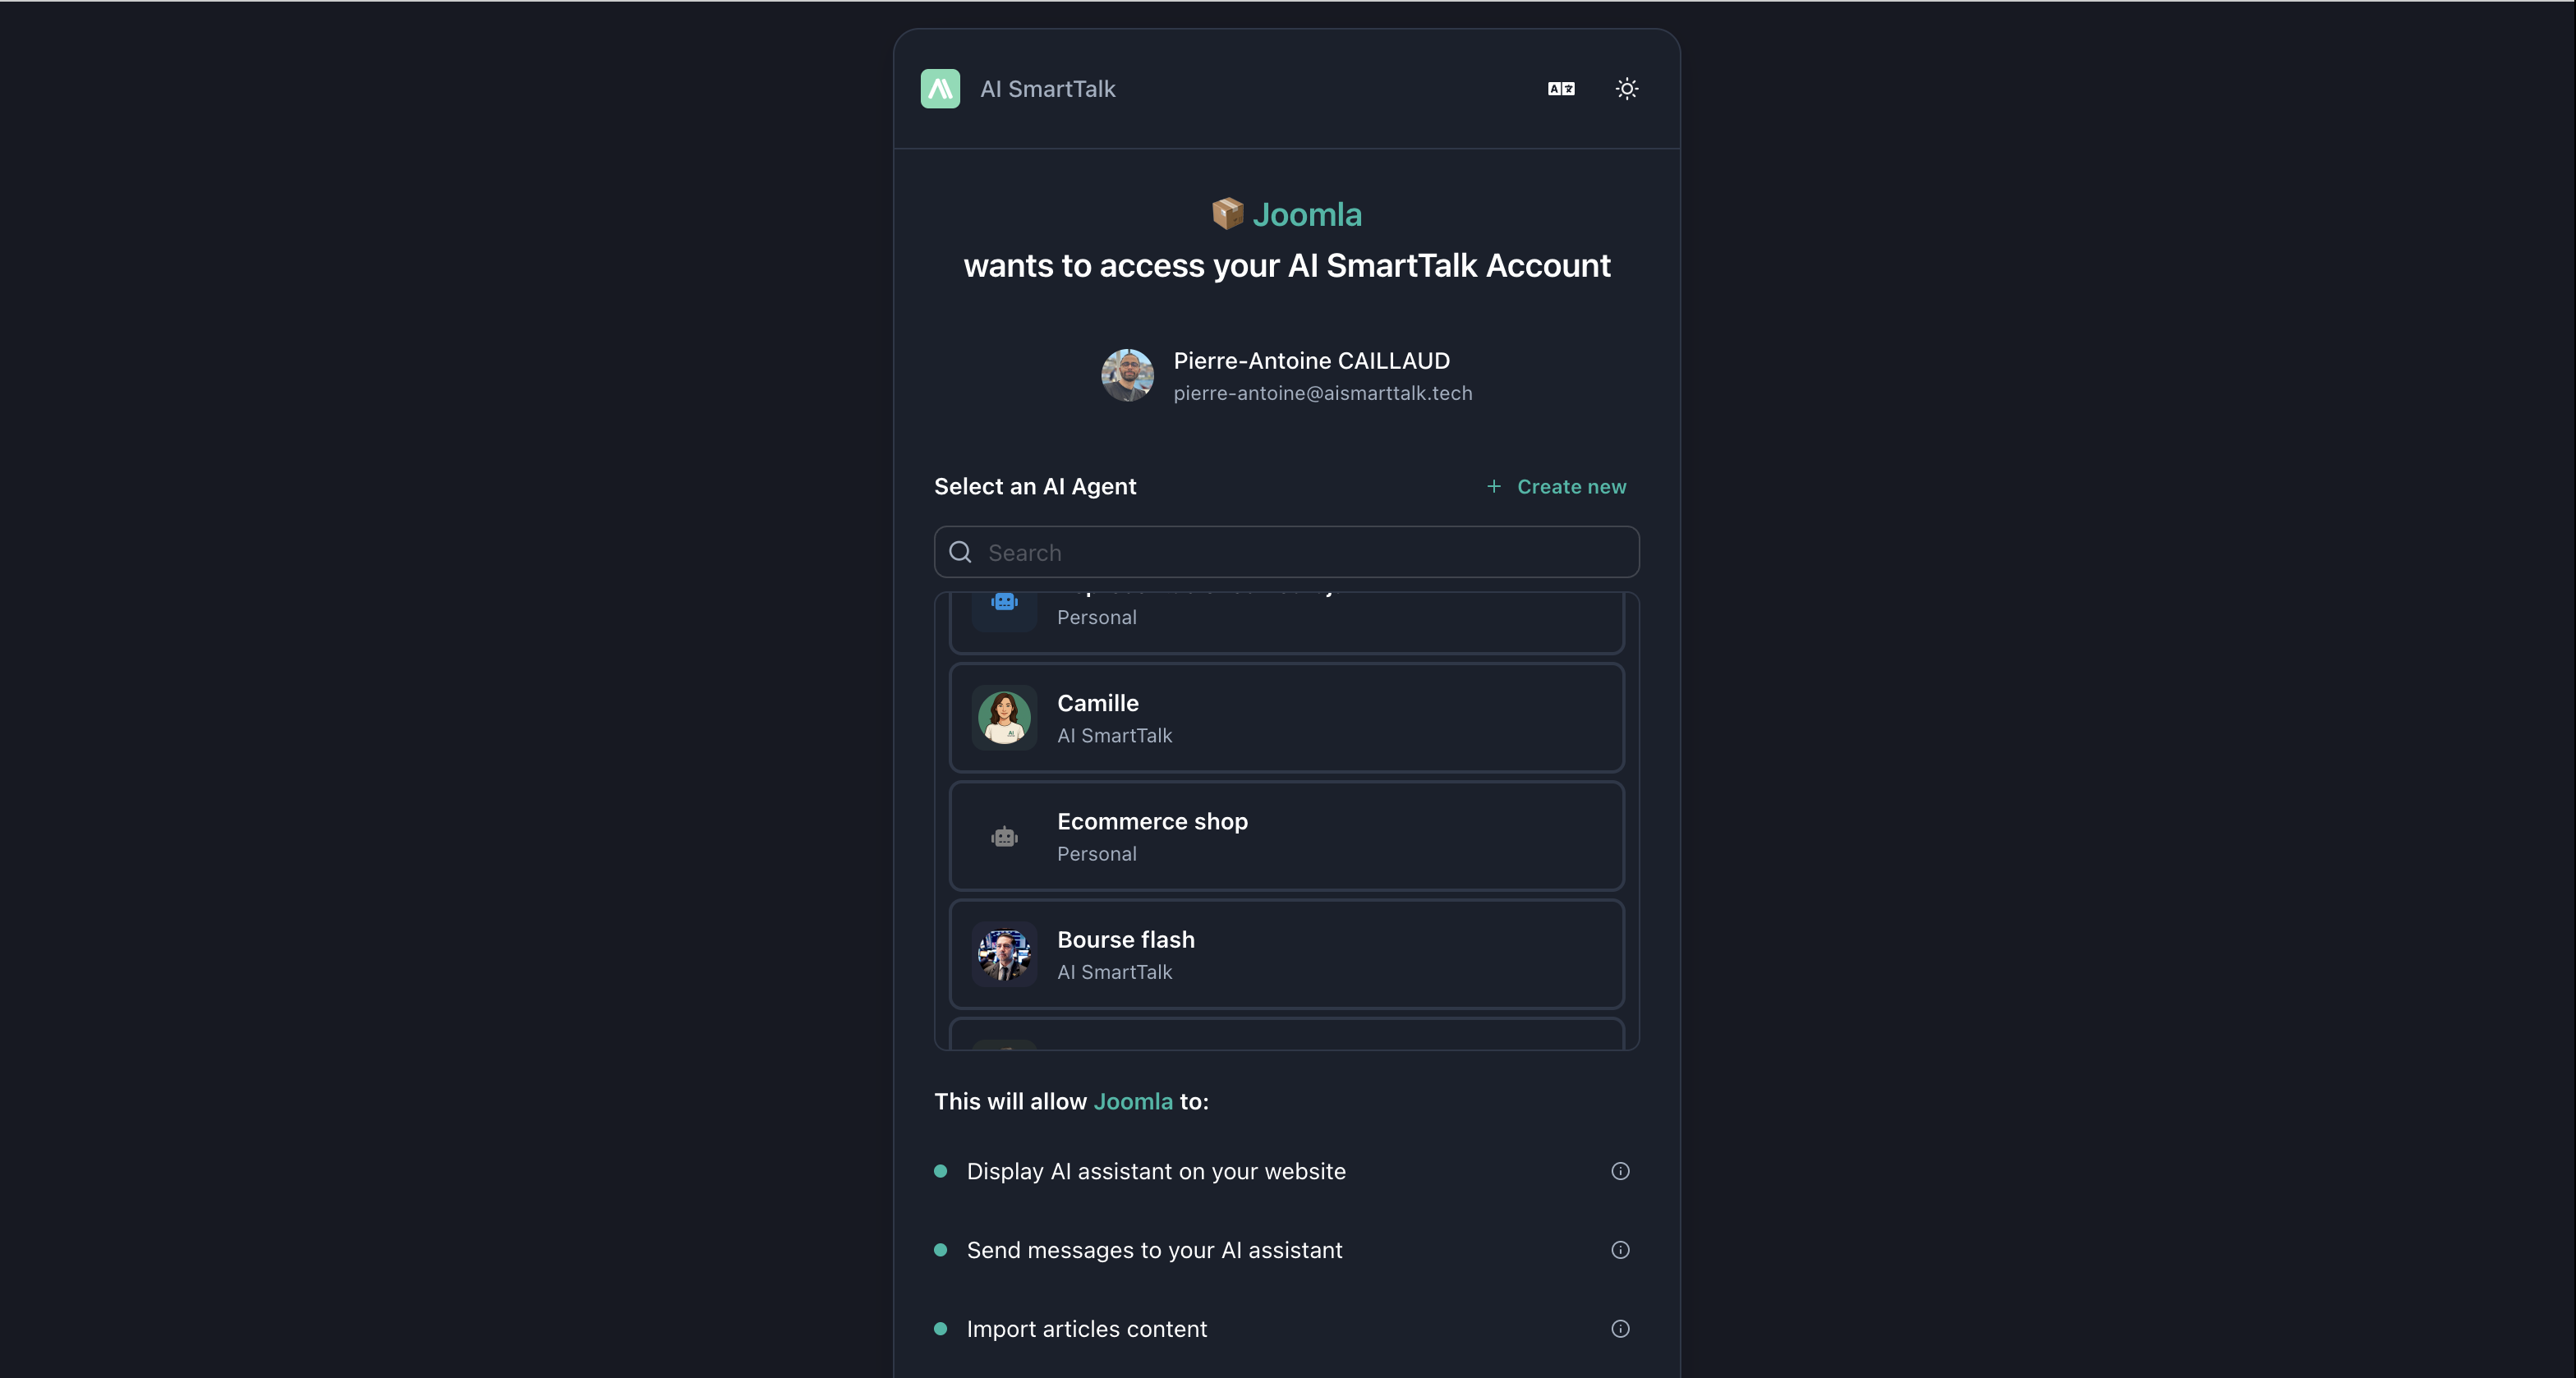
Choose an existing assistant from the dropdown, or create a new one:
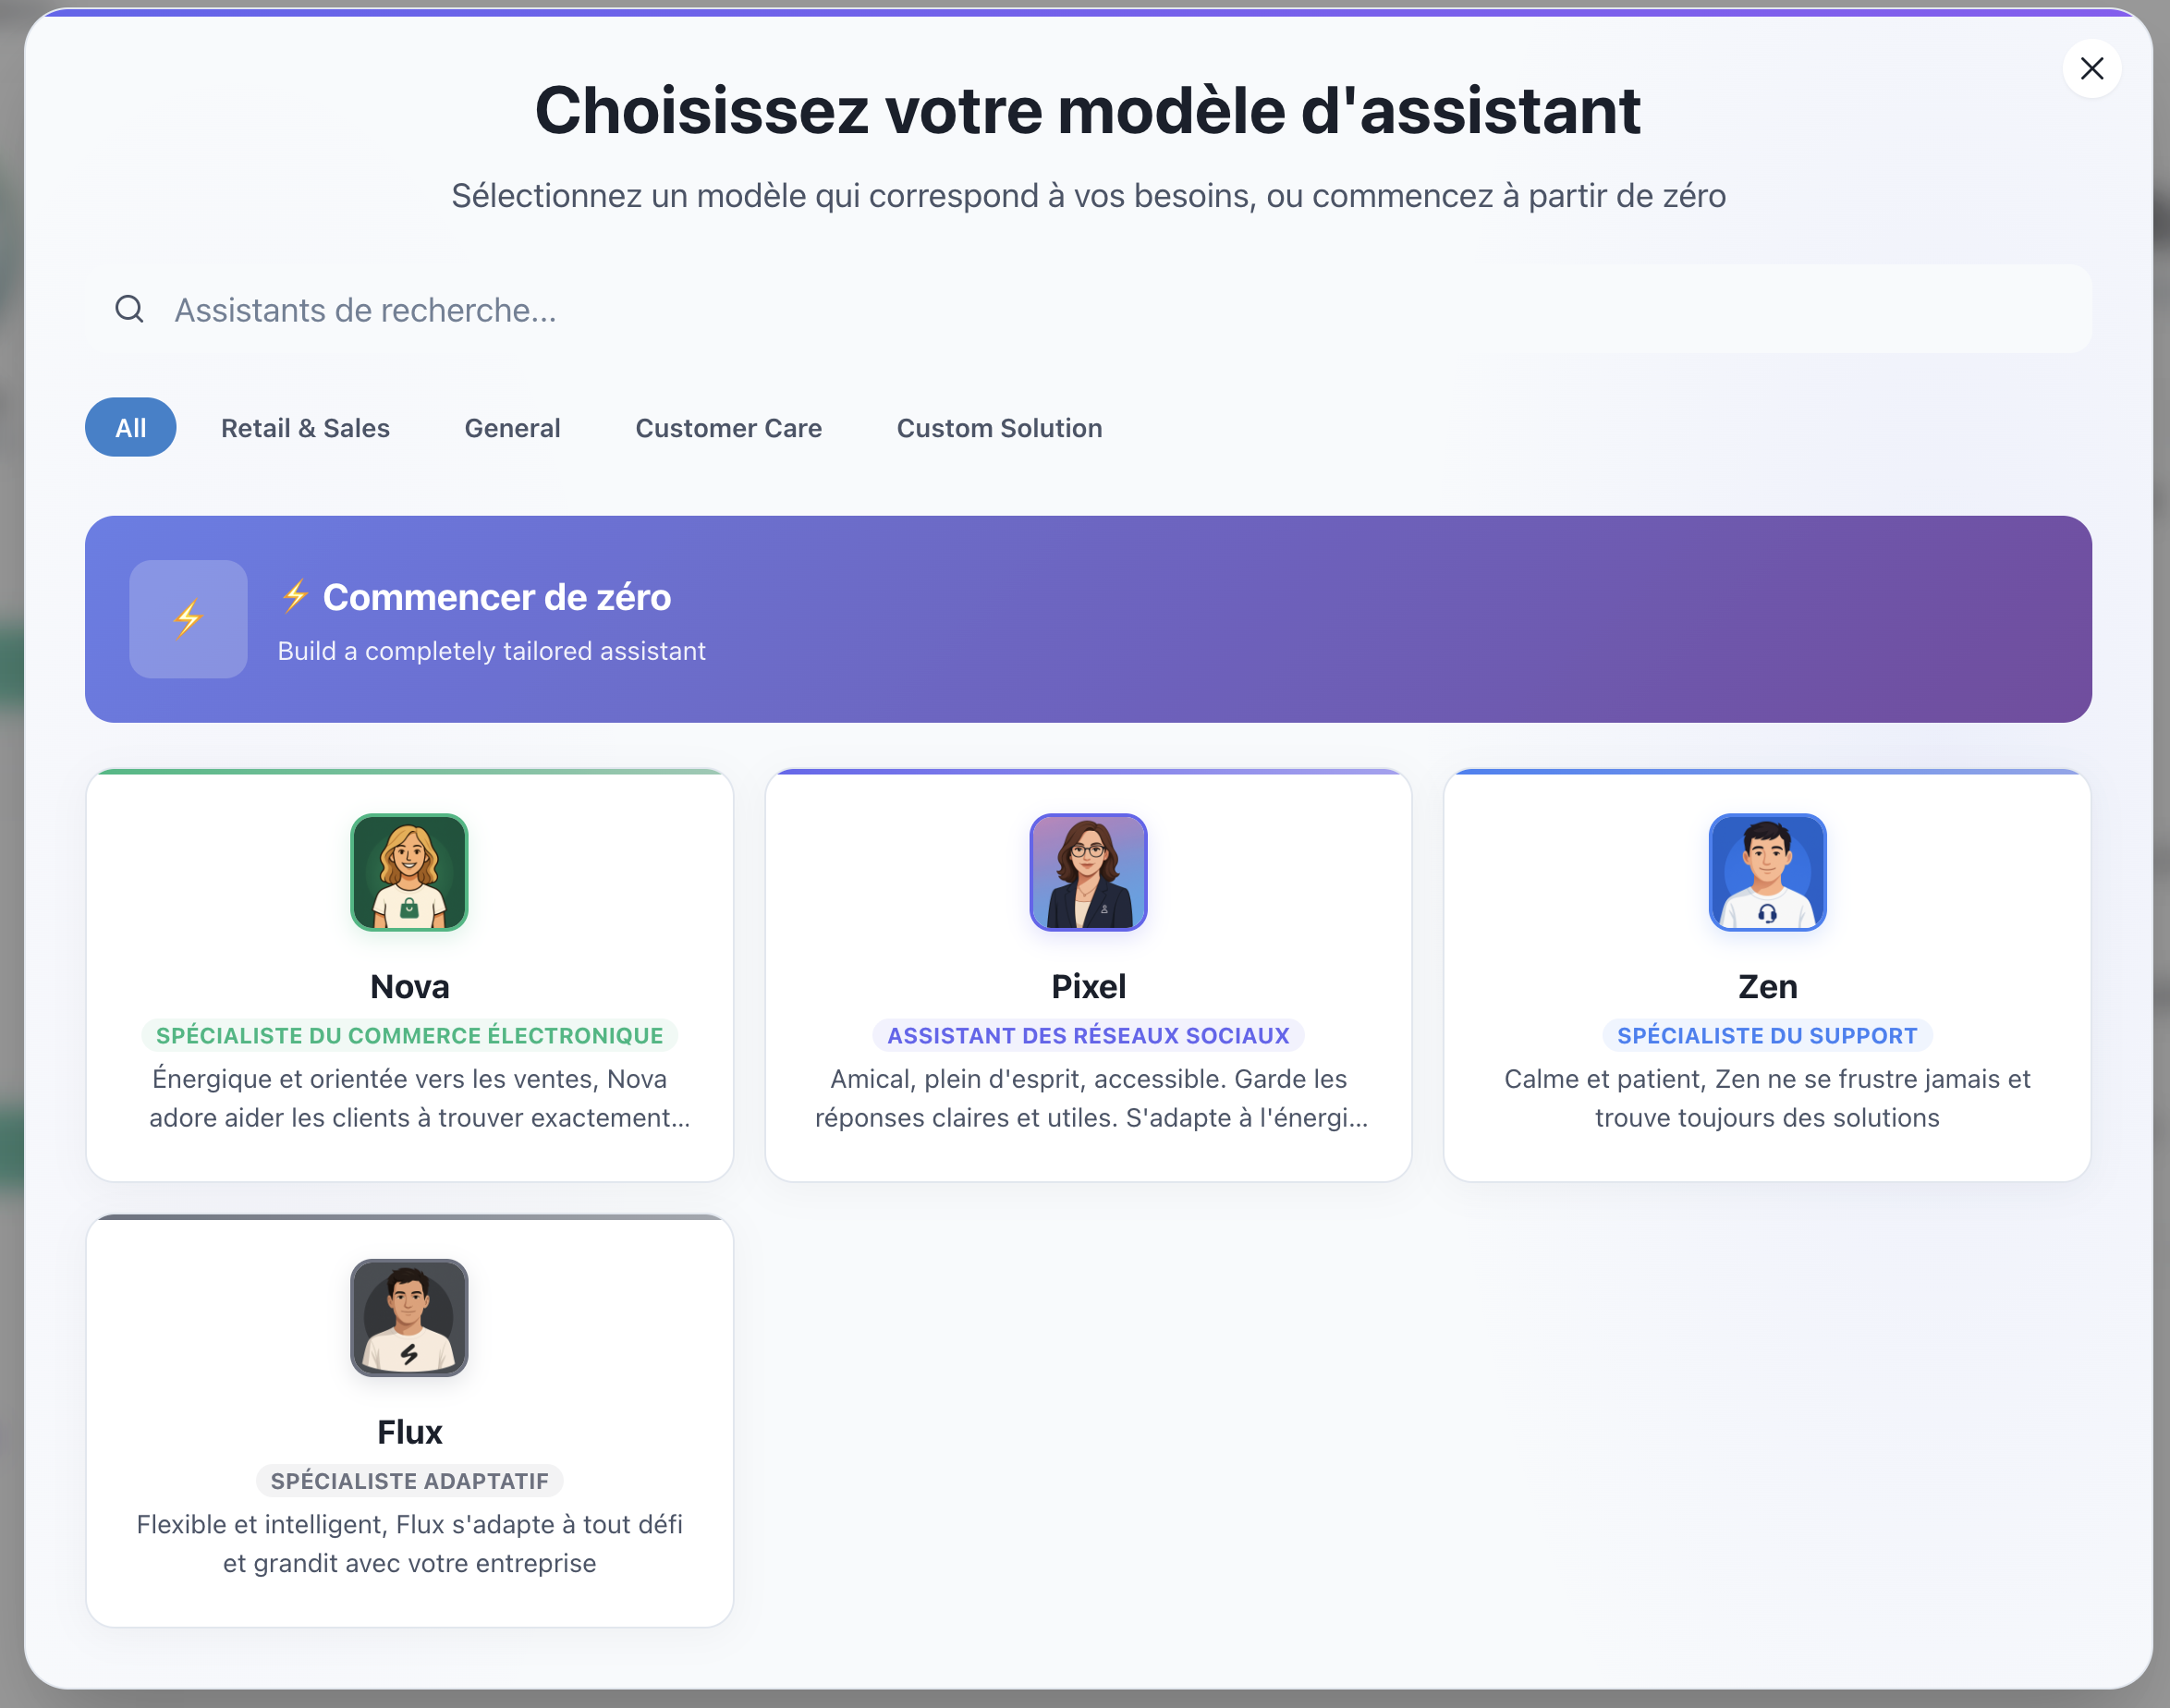
- Click Create
- Choose a template (Customer Support, E-commerce, etc.)
- Click Save & Close
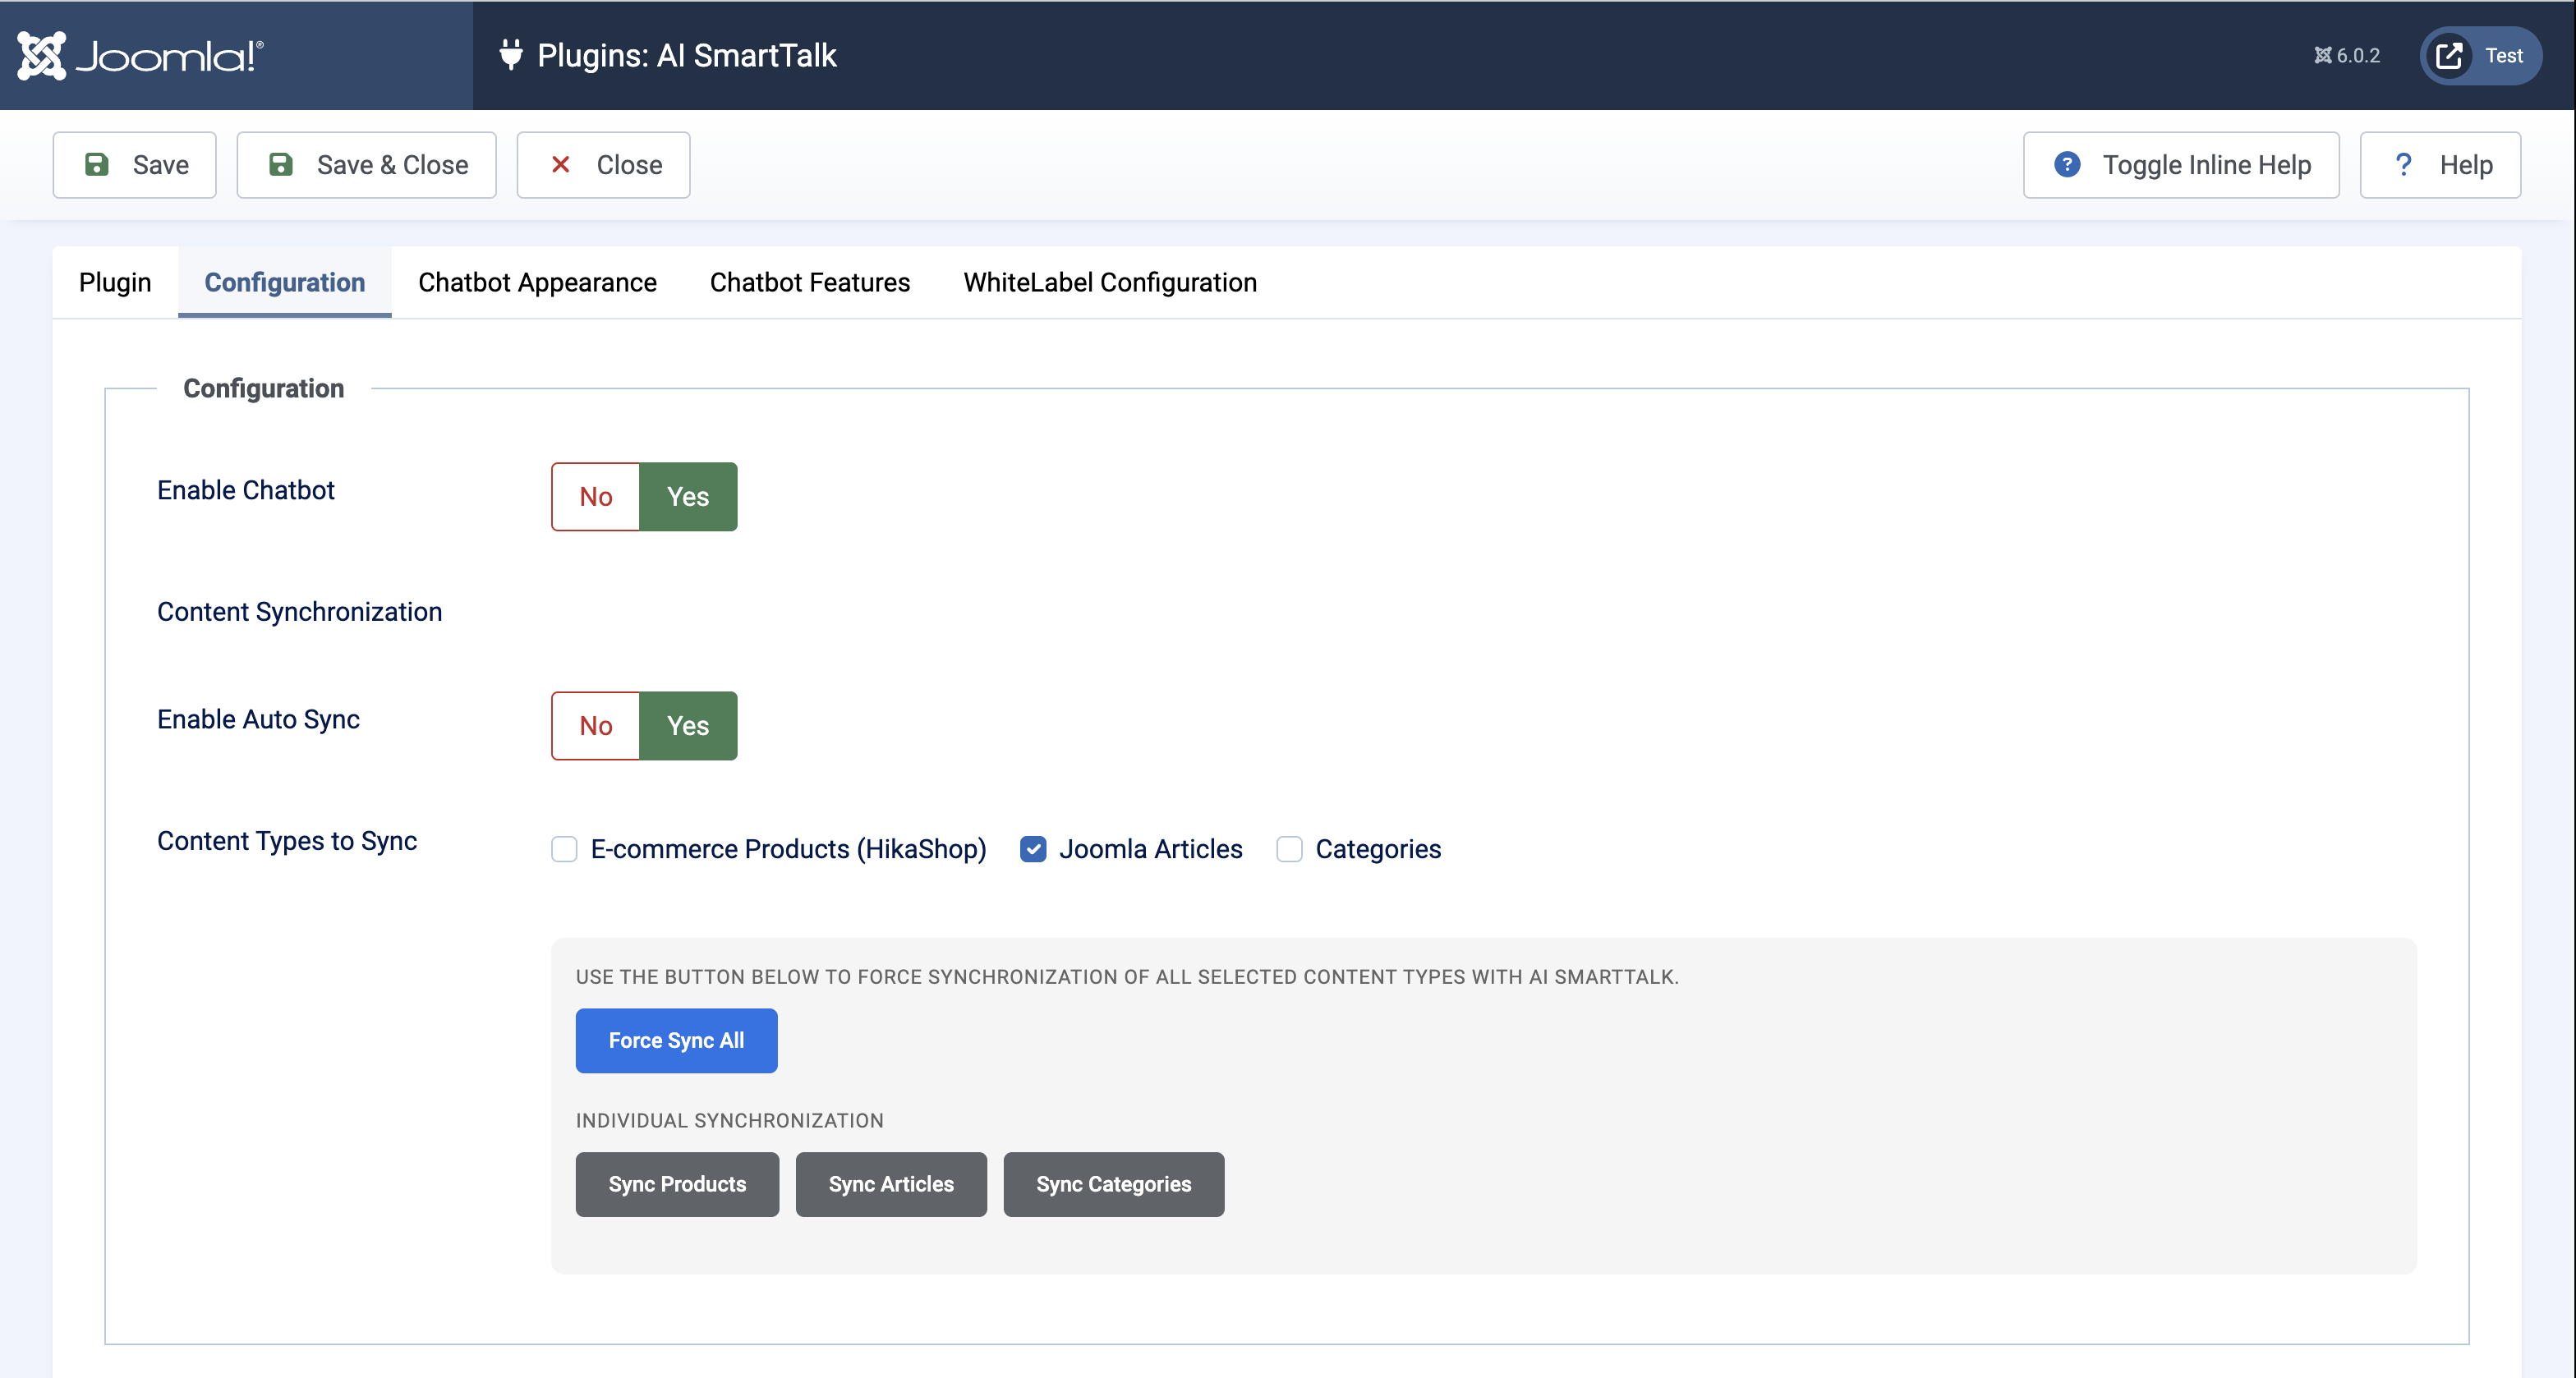
Configuration Tab
In the Configuration tab, configure your chatbot and content sync:
| Setting | Description |
|---|---|
| Enable Chatbot | Turn the chatbot on/off on your site |
| Auto Sync | Automatically sync content when articles/products change |
| Content Types | Select what to sync: Articles, Categories, Products (HikaShop) |
Manual Sync
Use the sync buttons to manually synchronize your content:
- Force Sync All — Sync all selected content types
- Sync Articles / Sync Products / Sync Categories — Sync individually
Check the content type boxes and click the sync button — no need to save first!
Chatbot Appearance Tab
Customize how the chatbot looks on your site. Leave options as "API Default" to use your AI SmartTalk dashboard settings.
Button Style
| Setting | Options |
|---|---|
| Button Type | Default (Icon + Text), Icon Only, Avatar, Minimal |
| Button Text | Custom text (e.g., "Chat", "Help") |
Layout & Colors
| Setting | Options |
|---|---|
| Chat Size | Small (350×500), Medium (400×600), Large (450×700) |
| Position | Bottom Right, Bottom Left |
| Color Mode | Light, Dark, Auto (follows system) |
Brand Colors
- Primary Color — Main chatbot color
- Secondary Color — Accent color
Chatbot Features Tab
Override your dashboard settings for this Joomla site:
| Feature | Description |
|---|---|
| File Attachments | Allow users to upload files in chat |
| Feedback | Enable thumbs up/down on responses |
| Voice Input | Allow microphone input |
| Voice Conversation | Full voice-to-voice mode |
WhiteLabel Tab
For enterprise/whitelabel deployments only. Contact support for custom URLs.
That's It!
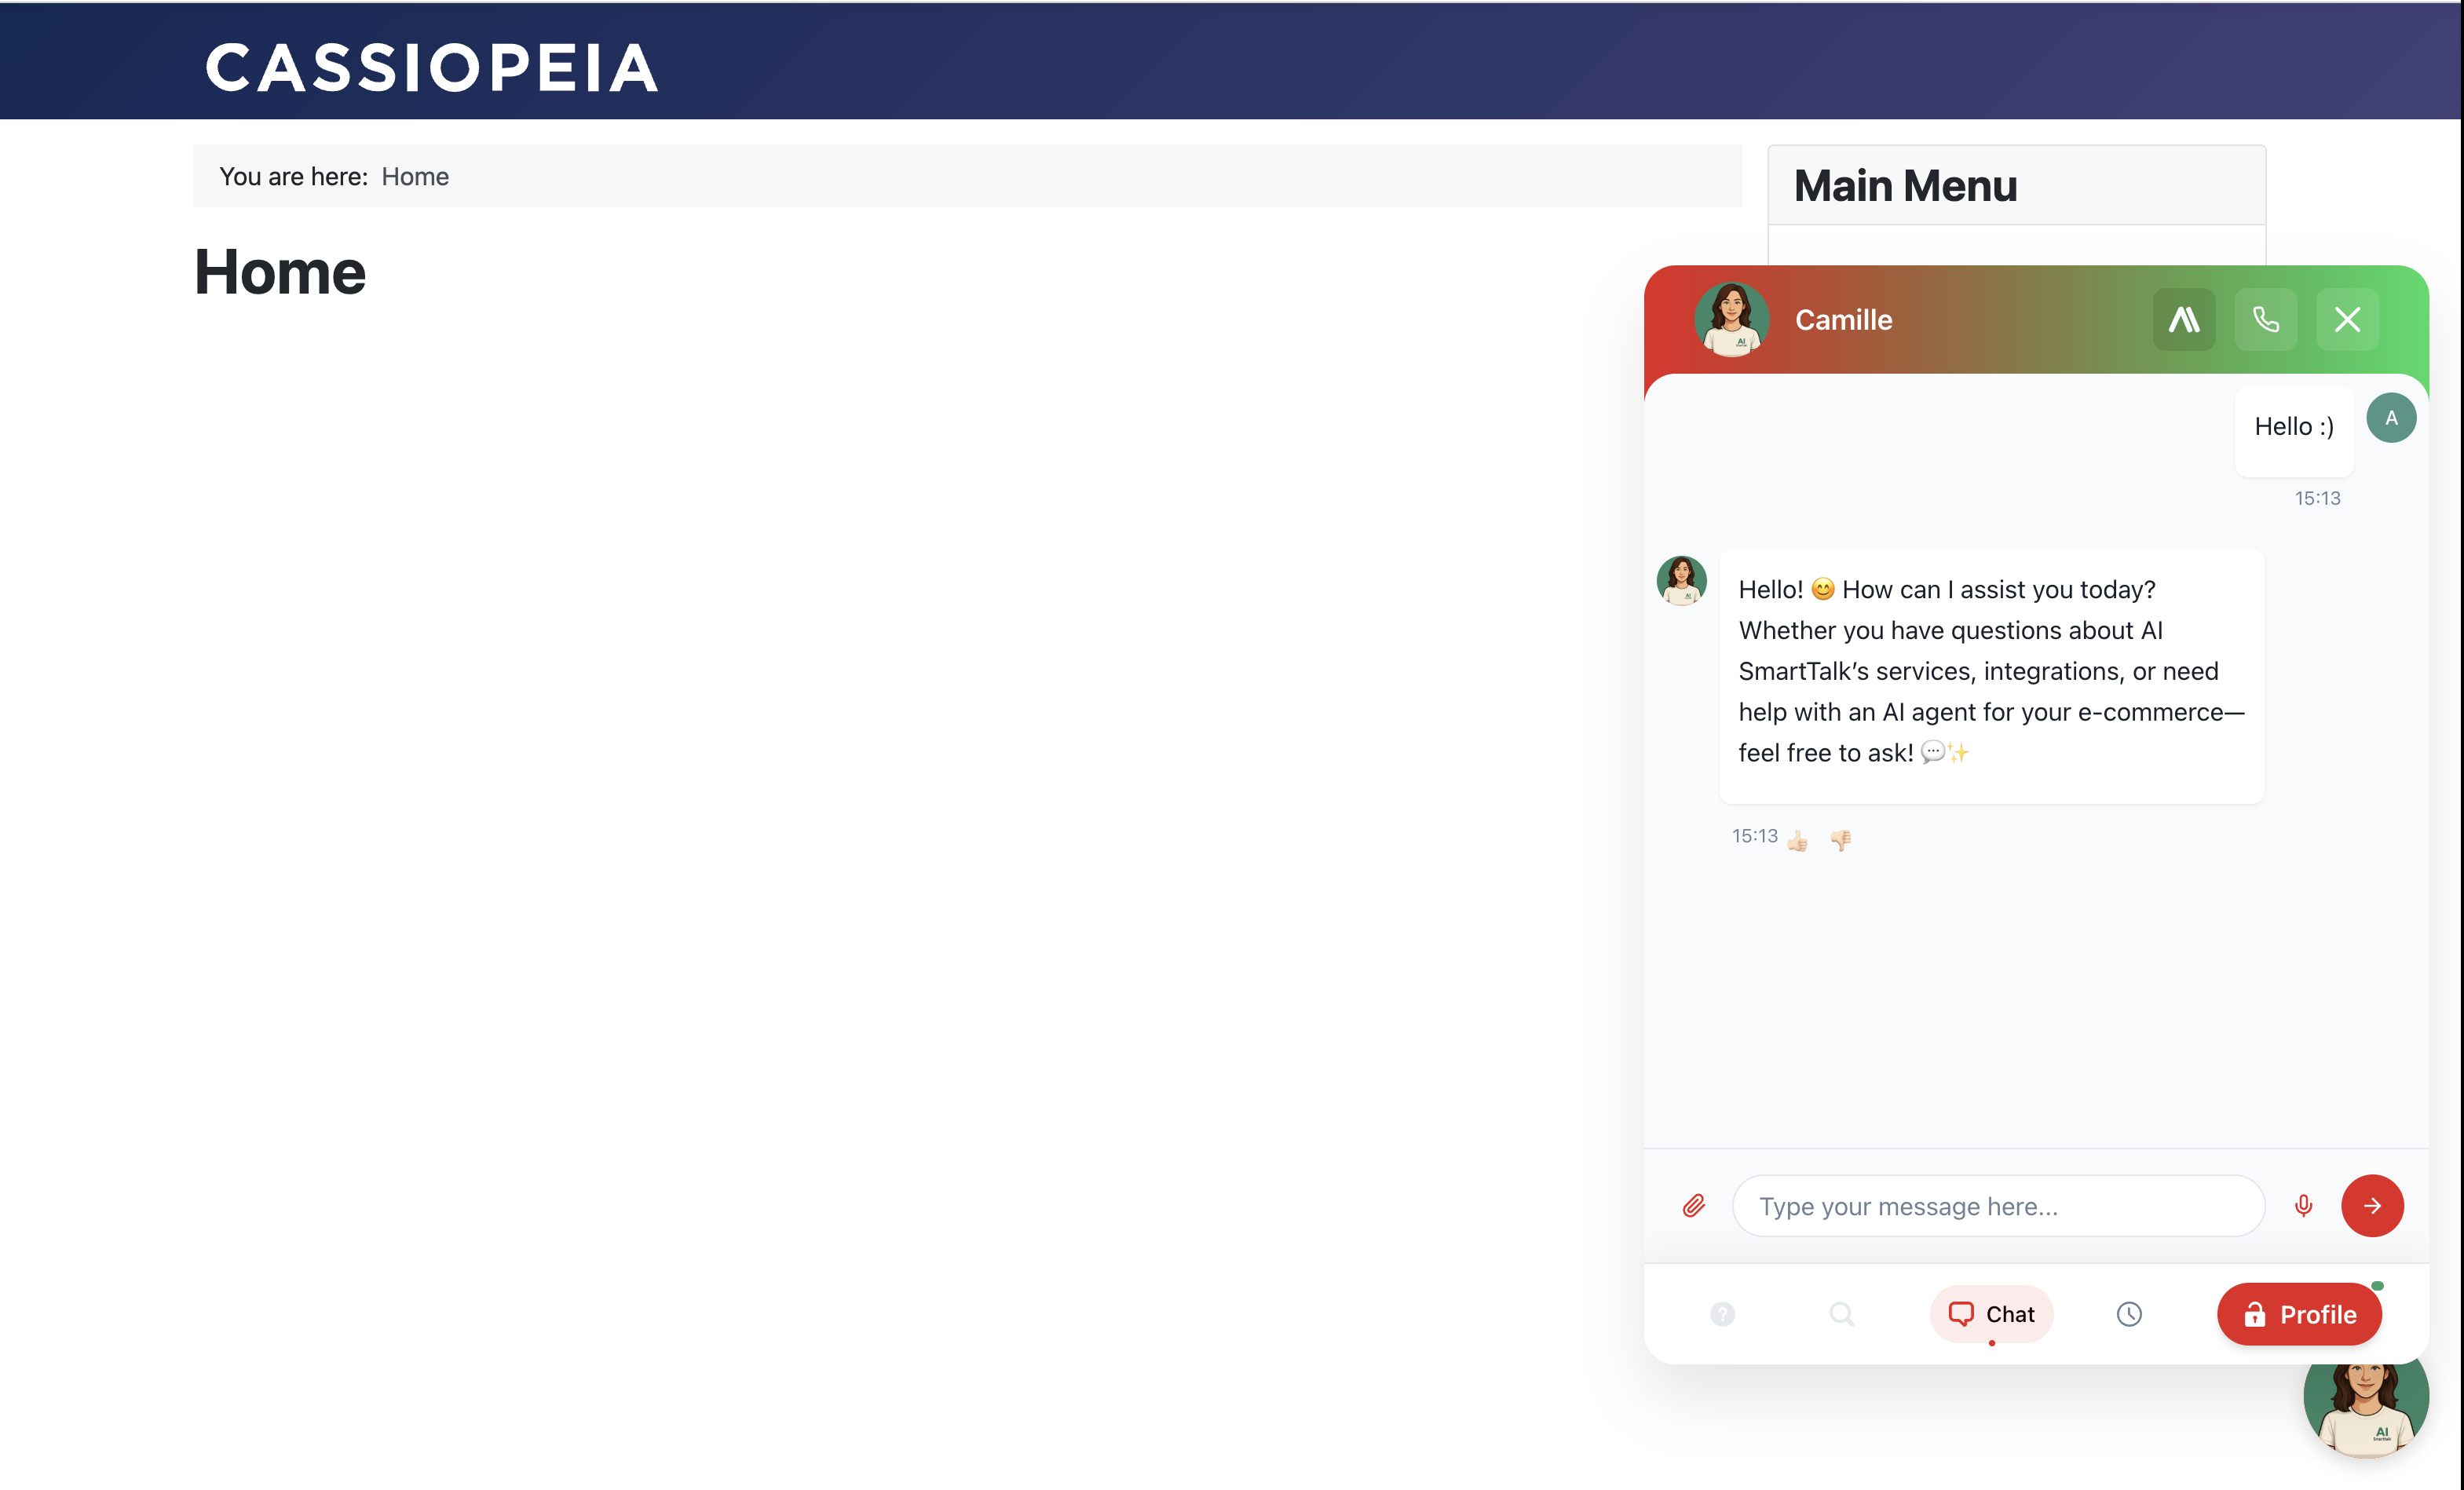
Your chatbot is now live! Look for the chat bubble in the corner of your site.
What Gets Synced
| Content | What's Included |
|---|---|
| Articles | Published, public articles with full content |
| Products | HikaShop products with stock, prices, descriptions |
| Categories | Published categories with descriptions |
When Auto Sync is enabled, changes sync automatically when you publish, update, or unpublish content.
Troubleshooting
Chatbot doesn't appear
- Verify the plugin is Enabled
- Check Enable Chatbot is set to Yes in Configuration
- Clear Joomla cache: System → Clear Cache
Content not syncing
- Enable Auto Sync or use manual sync buttons
- Ensure content is published with public access
- For products, check they have stock
Connection issues
- Verify outbound HTTPS connections are allowed
- Check cURL is enabled in PHP
- Try disconnecting and reconnecting
Uninstall
- Go to System → Manage → Extensions
- Search "AI SmartTalk"
- Select and click Uninstall
Synced data is automatically cleaned up.
Need help? Contact us at contact+support@aismarttalk.tech