Initial Installation
Welcome to the initial installation documentation for the email sending feature on the AI SmartTalk platform. Follow this step-by-step guide to properly set up your domain and start sending verified emails.
Prerequisites
- Administrator access to your domain.
- Access to the AI SmartTalk platform settings.
- Ability to modify the DNS fields of your domain (access to your DNS manager).
Installatiounsprozess
Zougang zu Quick Integration
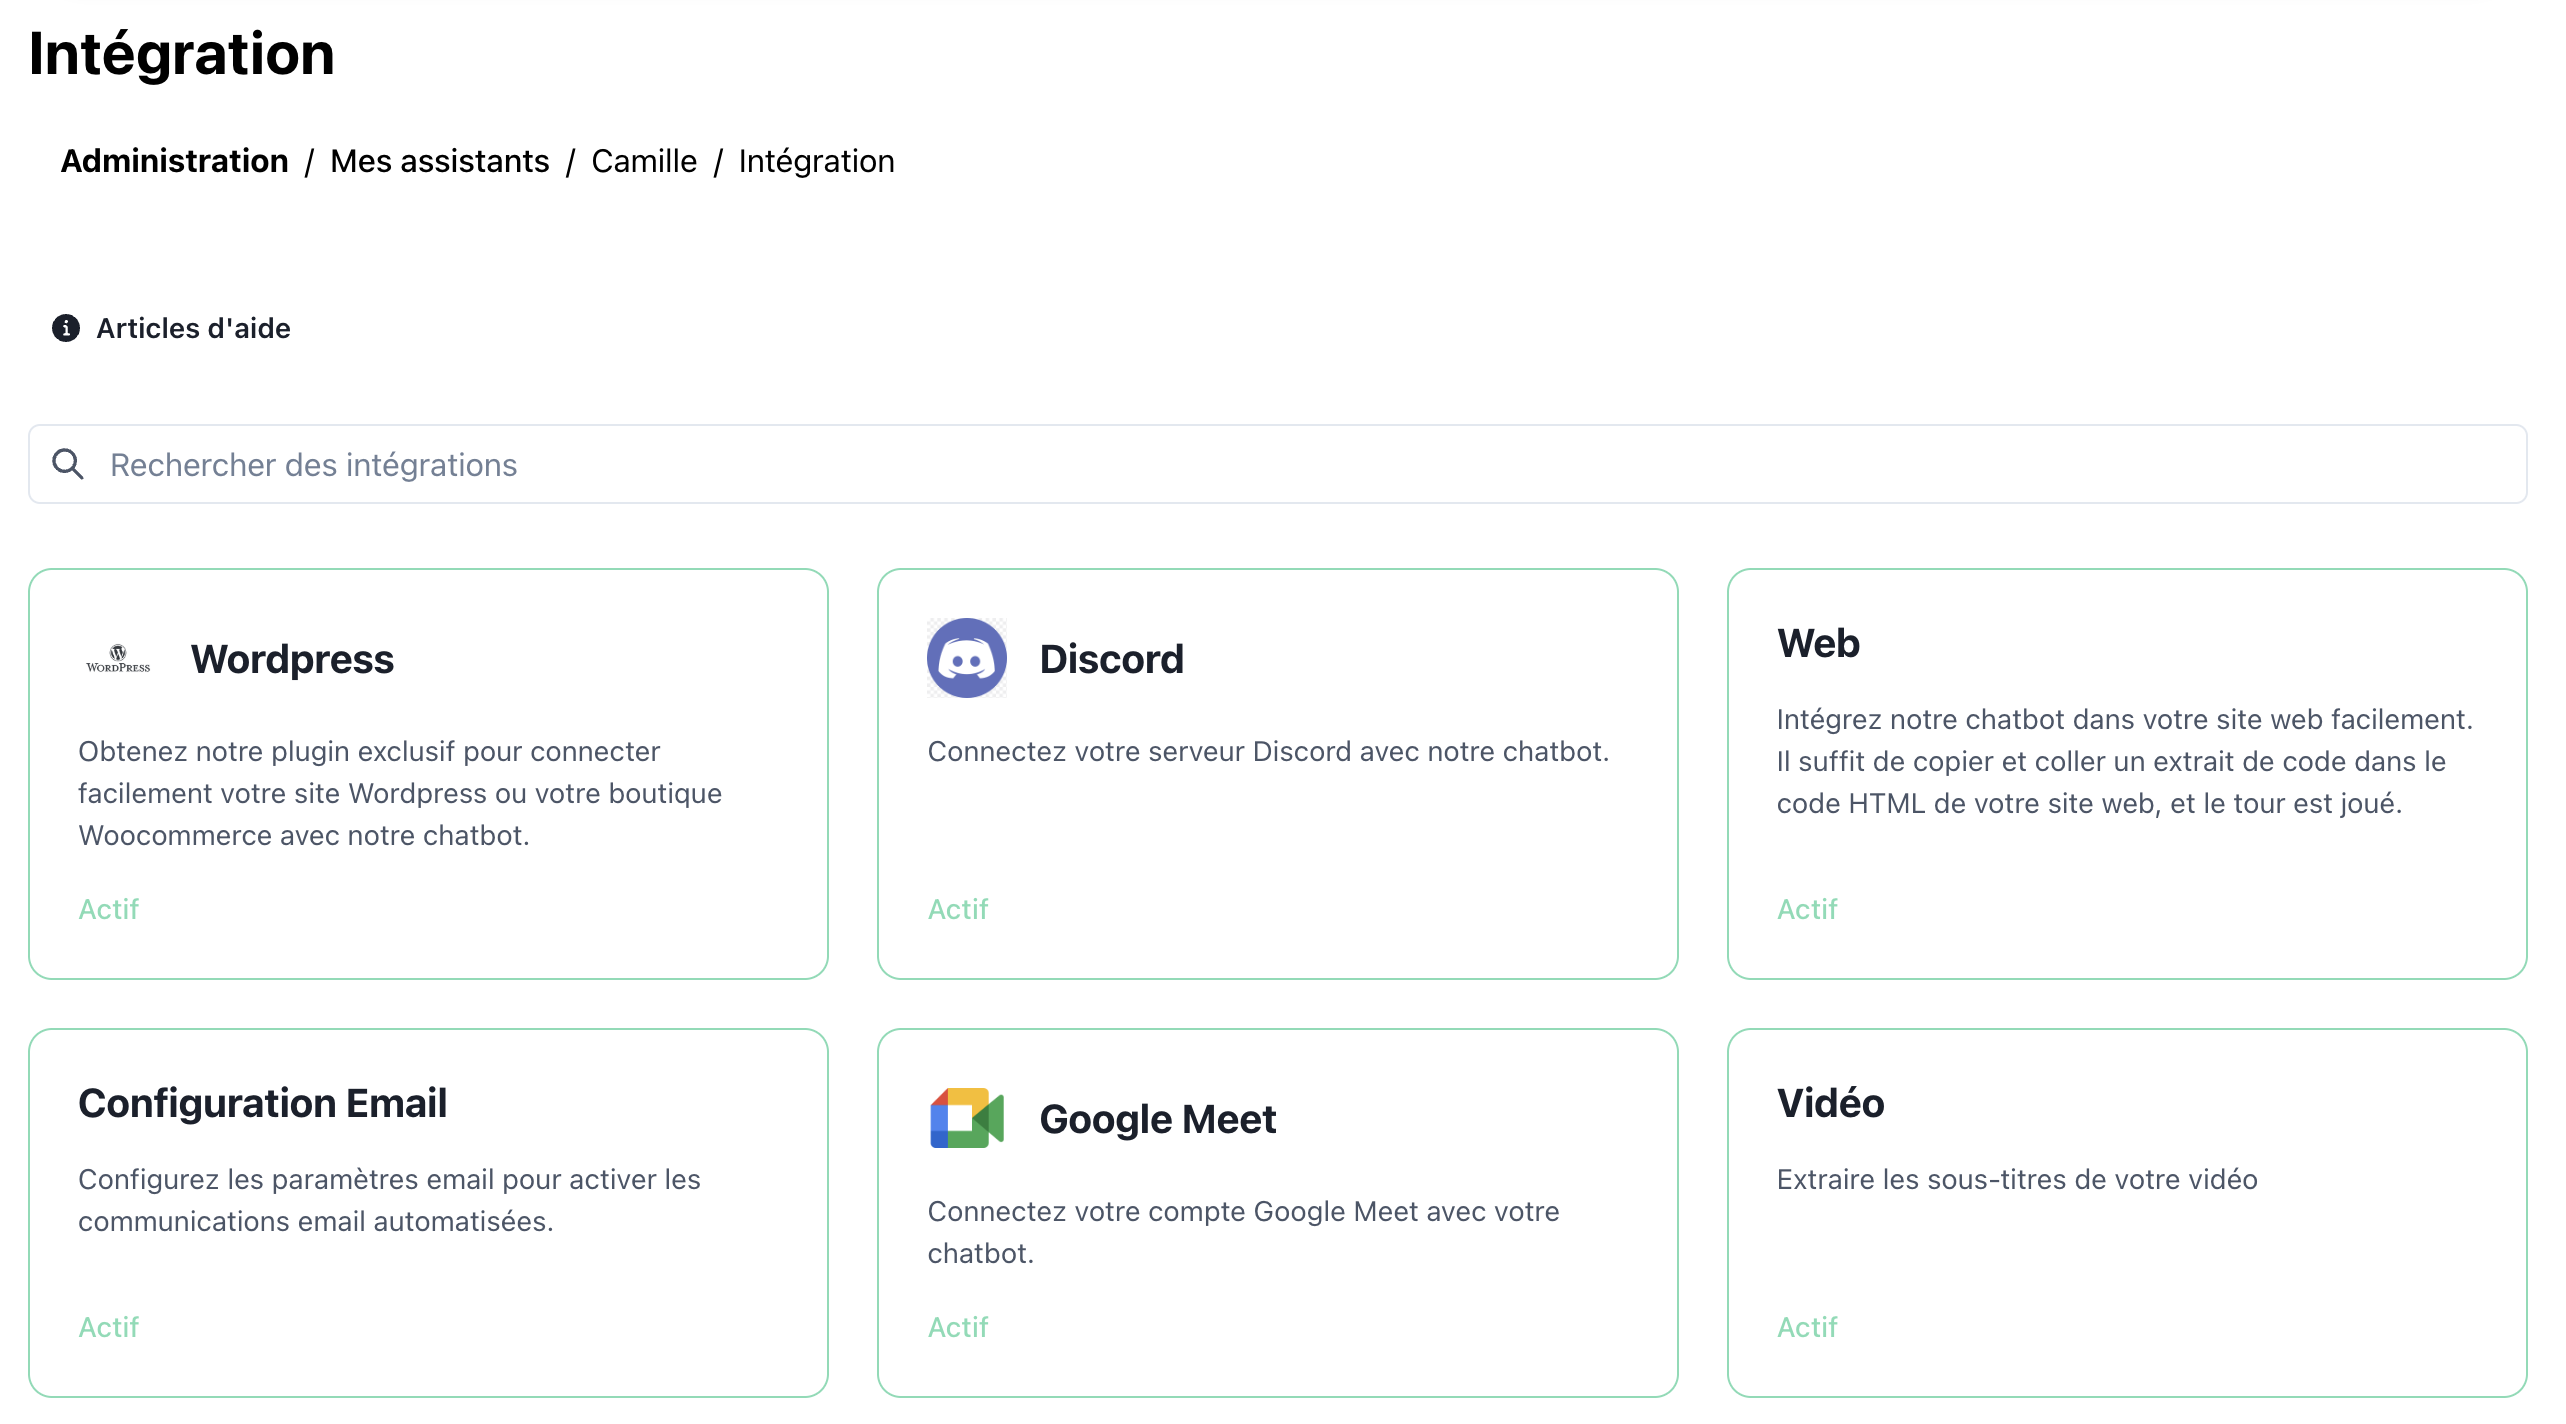
- Loggt Iech an Ärem AI SmartTalk Kont an.
- Geht op Einstellungen > Quick Integration > Email.
- Klickt op den "Setzt en Domain op" Knäppchen.
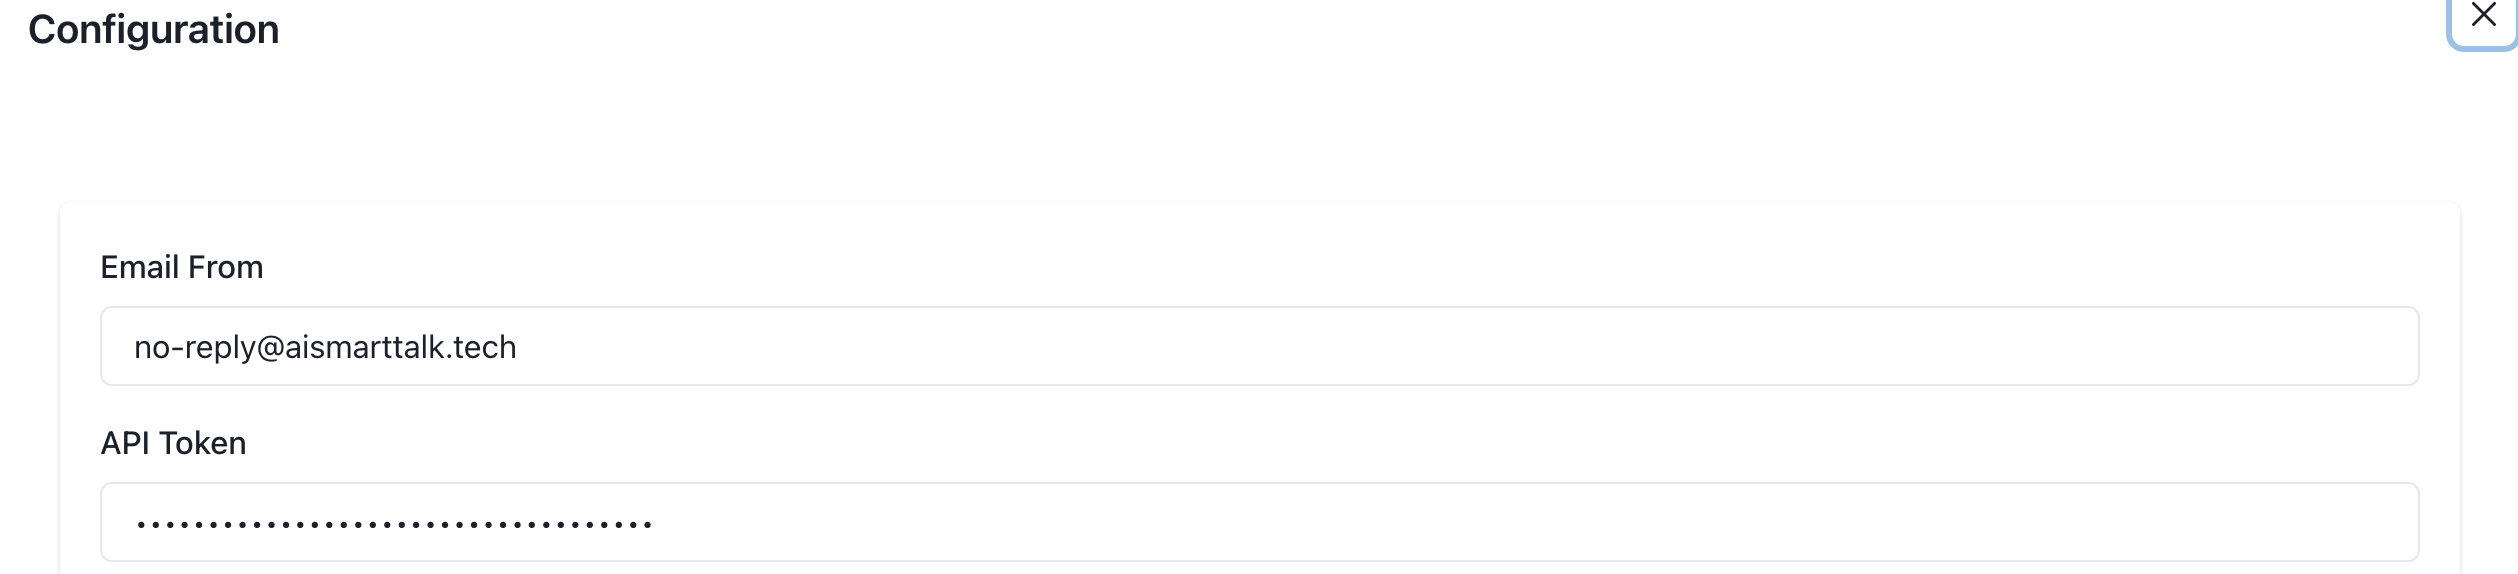
Gitt Domaininformatiounen un
- Gitt den Domainnumm an, deen Dir fir d'Verschécken vun E-Maile wëllt benotzen.
- Klickt op "Next" fir d'néideg DNS-Felder ze generéieren.
DNS-Felder derbäi fügen
-
Zougang zum DNS-Managementkonsole vun Ärem Domainprovider.
-
Füügt déi folgend Felder, déi vun AI SmartTalk zur Verfügung gestallt ginn, derbäi:
- TXT Field: Benotzt fir Domainvalidatioun.
- SPF Field: Sécherstellt d'Authentizitéit vun den verschéckte E-Maile.
- DKIM Field: Schützt géint Spoofing.
- DMARC Field: Bitt Berichter iwwer E-Mail-Aktivitéit.
Beispill DNS Entry:
Name: @
Type: TXT
Value: "v=spf1 include:_spf.mysmarttalk.com ~all" -
Späichert d'Ännerungen an Ärem DNS-Manager.
Verifizéieren d'Konfiguratioun
- Gehe zréck op d'AI SmartTalk Säit.
- Klickt op "Verifizéieren".
- Wann all Felder richteg konfiguréiert sinn, gesitt Dir eng Bestätegungsmeldung déi ugëtt datt Äre Domain bereet ass fir benotzt ze ginn.
Mermaid Diagram
Erwaart Resultat
Wann d'Konfiguratioun fäerdeg ass:
- E-Maile geschéckt vun Ärem Domain wäerten als verifiziert erschéngen.
- Dir kënnt ufänken déi fortgeschratt E-Mail Versandfunktiounen vun der Plattform ze benotzen.