CSV URL Integration
Import documents directly from publicly accessible CSV files via URL into your AI assistant's knowledge base.
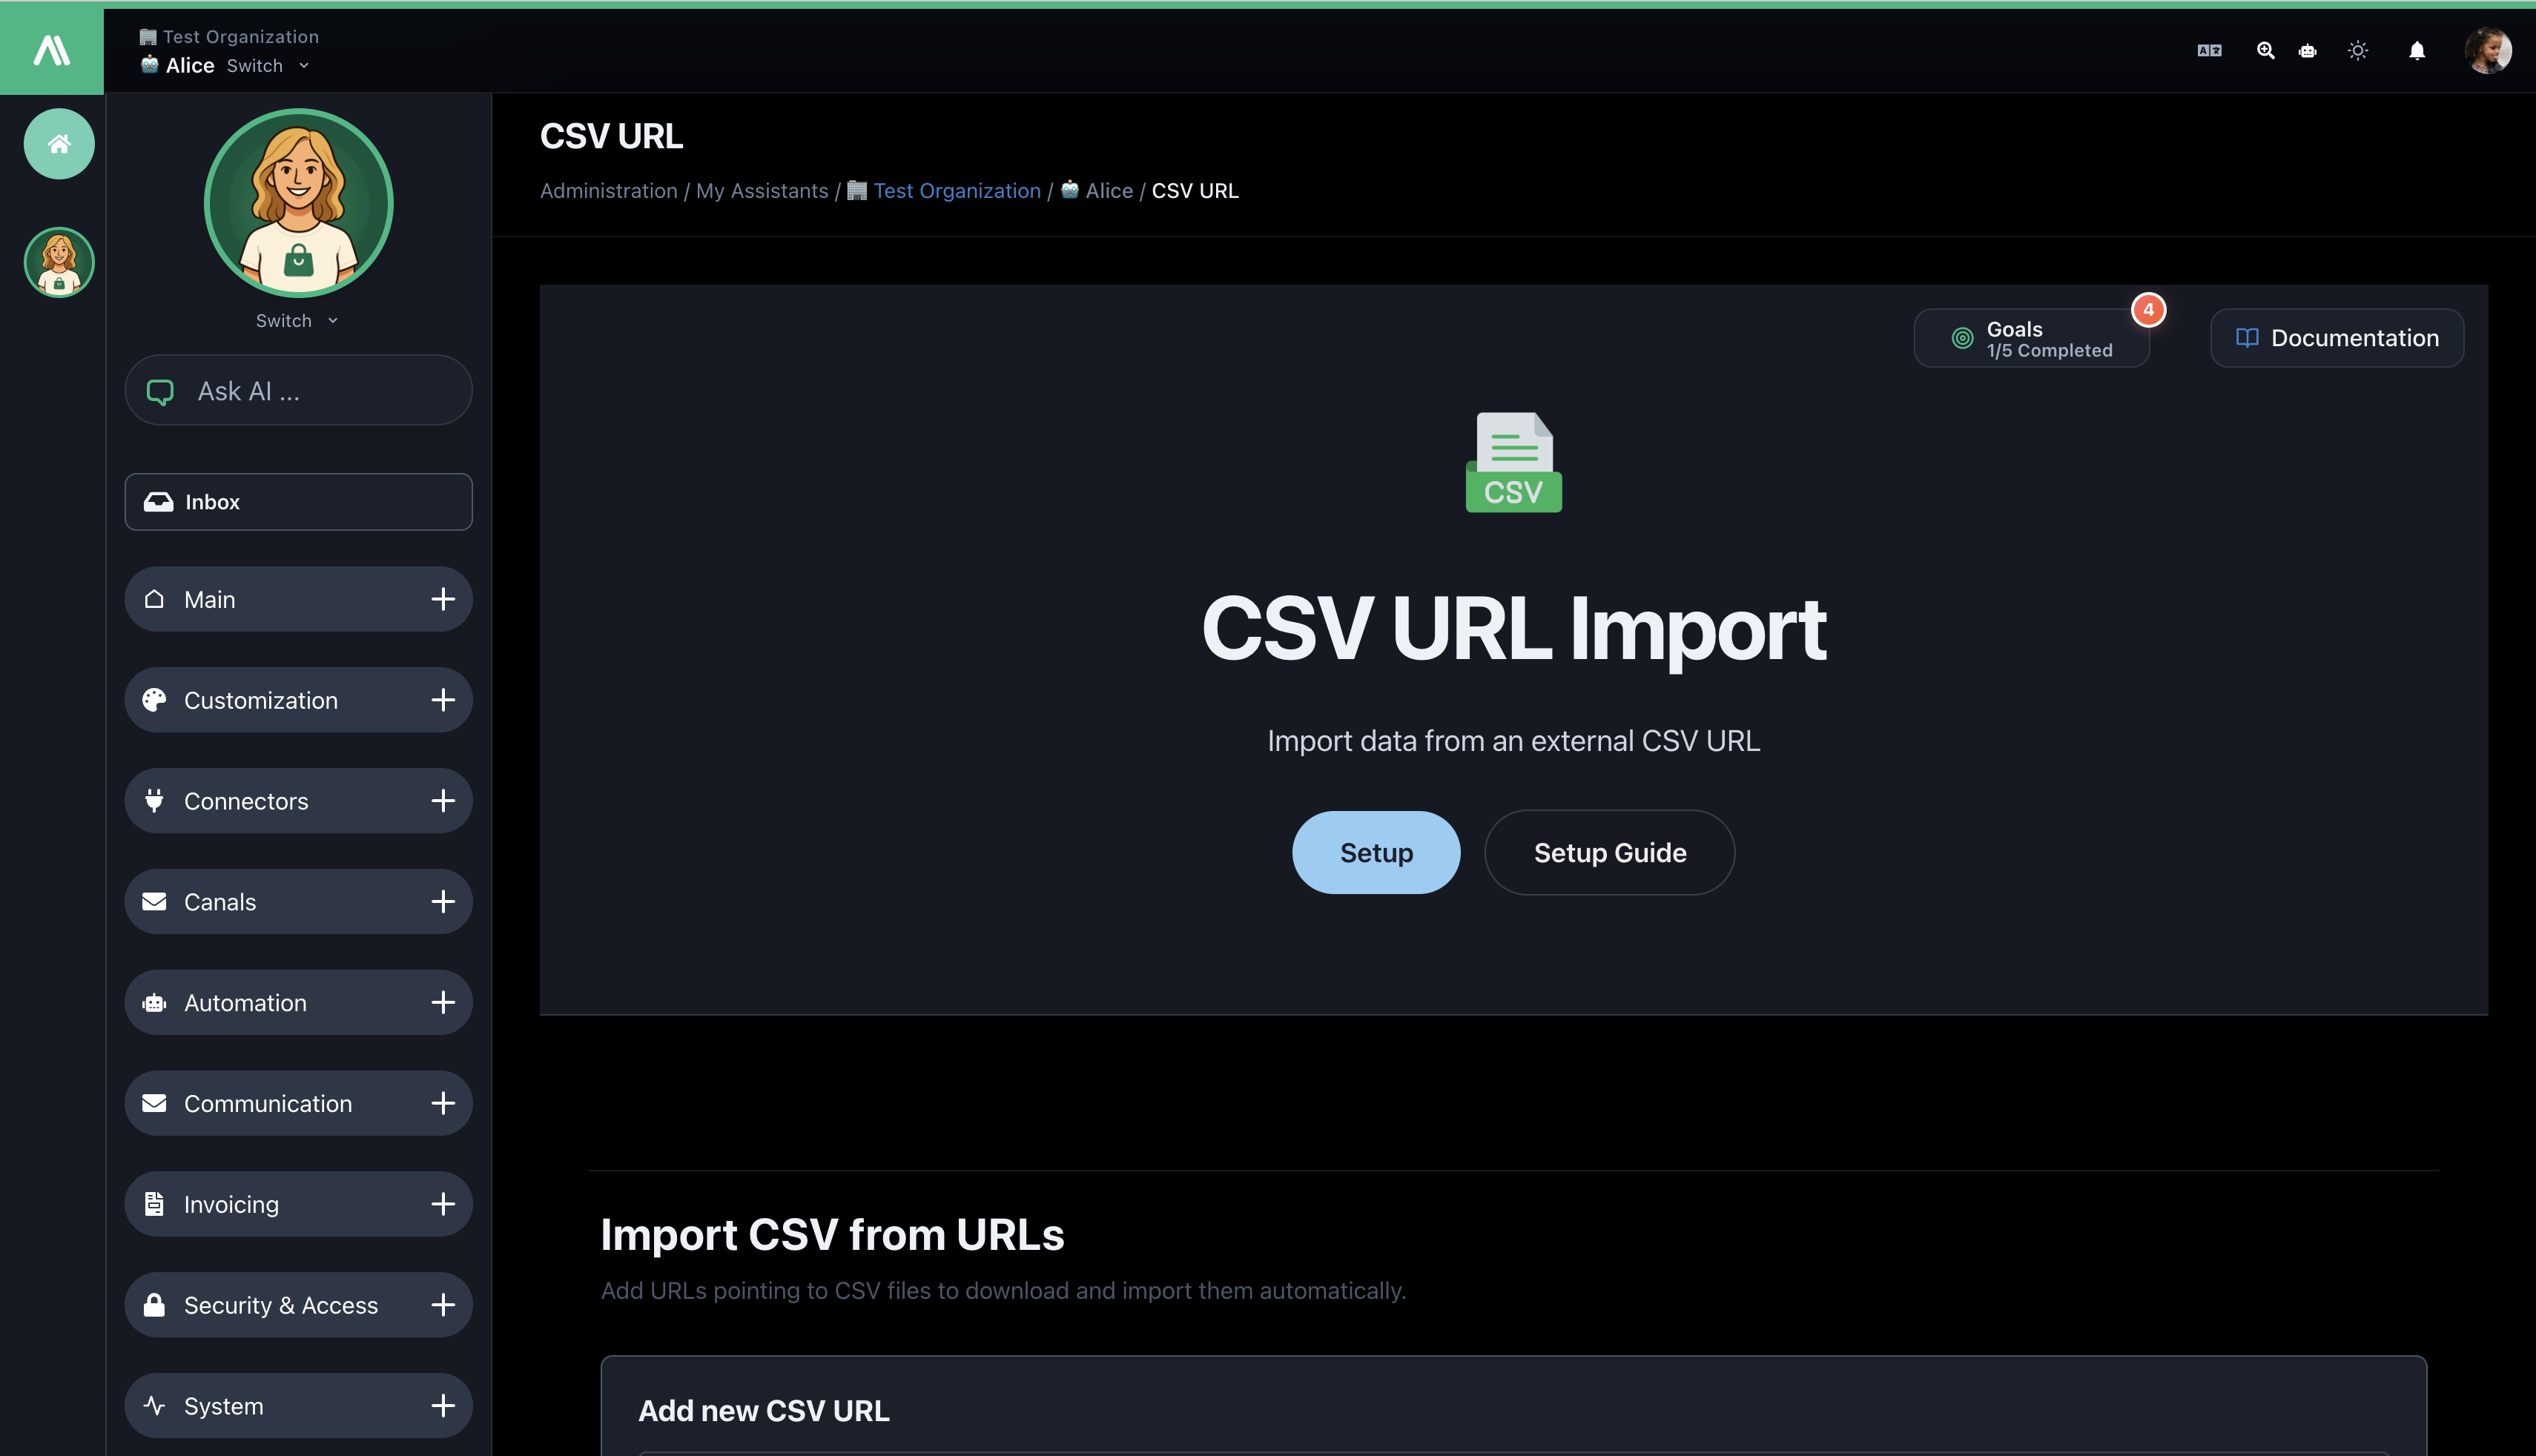
Quick Start
Get started in 3 steps:
- Navigate: Administration → My Assistants → [Assistant Name] → Integrations → CSV URL
- Add URL: Enter your public CSV URL and select import type (FAQ/Product/Default)
- Import: Click "Add URL" and monitor status
Tip: Test with a small CSV file first to familiarize yourself with the process.
What You Can Do
- ✅ Import from public HTTP/HTTPS CSV URLs
- ✅ Bulk import multiple URLs at once
- ✅ Auto-detect CSV structure (FAQ, Product, or Generic)
- ✅ Assign categories and map custom columns
- ✅ Track import status and history
Prerequisites
- Admin access to your AI SmartTalk assistant
- Publicly accessible CSV files (no authentication required)
- Proper CSV structure with column headers
- UTF-8 encoding recommended
Import Types
1. FAQ Import
Best for: Support documentation, knowledge bases
Required columns:
questionanswer
Example:
question,answer
"How do I reset my password?","Click 'Forgot Password' and follow instructions."
"What are your hours?","Monday-Friday, 9 AM - 6 PM."
2. Product Import
Best for: E-commerce catalogs, inventory
Required column:
idProduct(or custom mapped column)
Optional:
name(or custom mapped column)
Example:
idProduct,name,description,price
"PROD001","Premium Widget","High-quality widget","99.99"
"PROD002","Standard Widget","Basic widget","49.99"
3. Default Import
Best for: General content, mixed data
- Auto-detects FAQ or Product structure
- Falls back to generic document import
- Handles various CSV formats
Step-by-Step Guide
Step 1: Access Integration
- Log into AI SmartTalk
- Go to Administration → My Assistants → [Your Assistant]
- Click Integrations → CSV URL
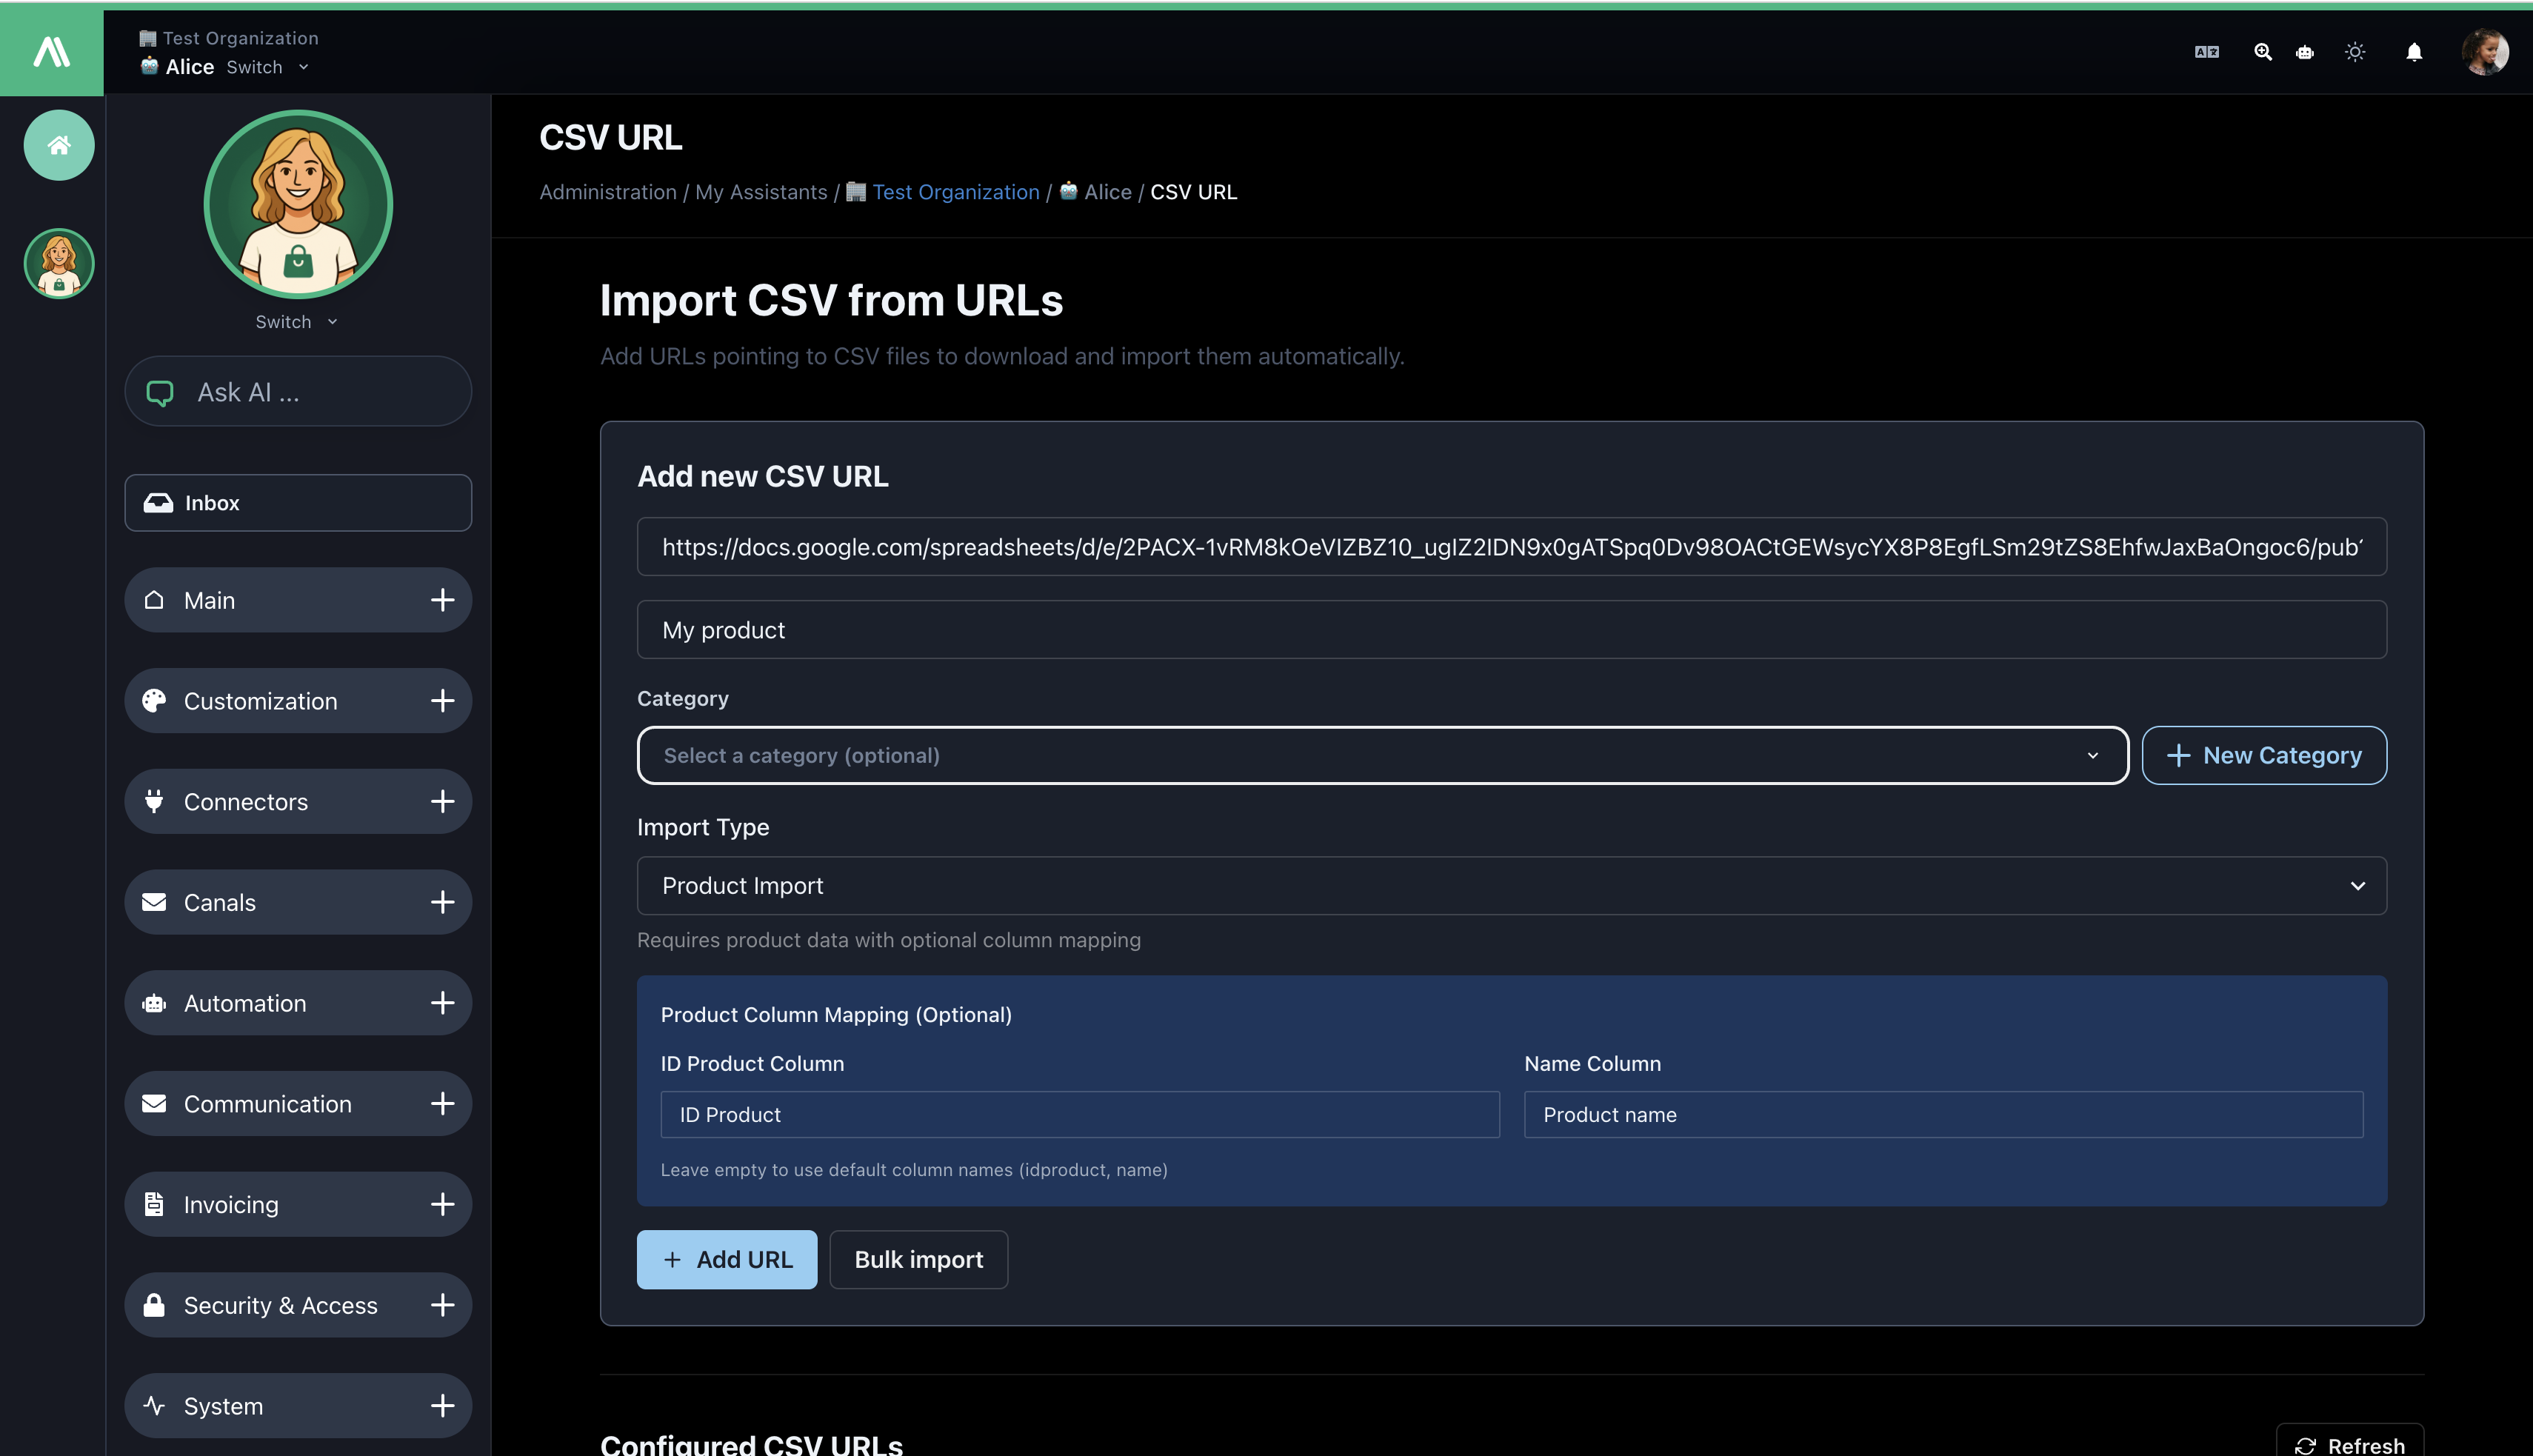
Step 2: Add CSV URL
Single URL:
- Click Add New CSV URL
- Enter CSV file URL
- Provide optional name
- Select import type (FAQ/Product/Default)
- Choose category (optional)
- Click Add URL
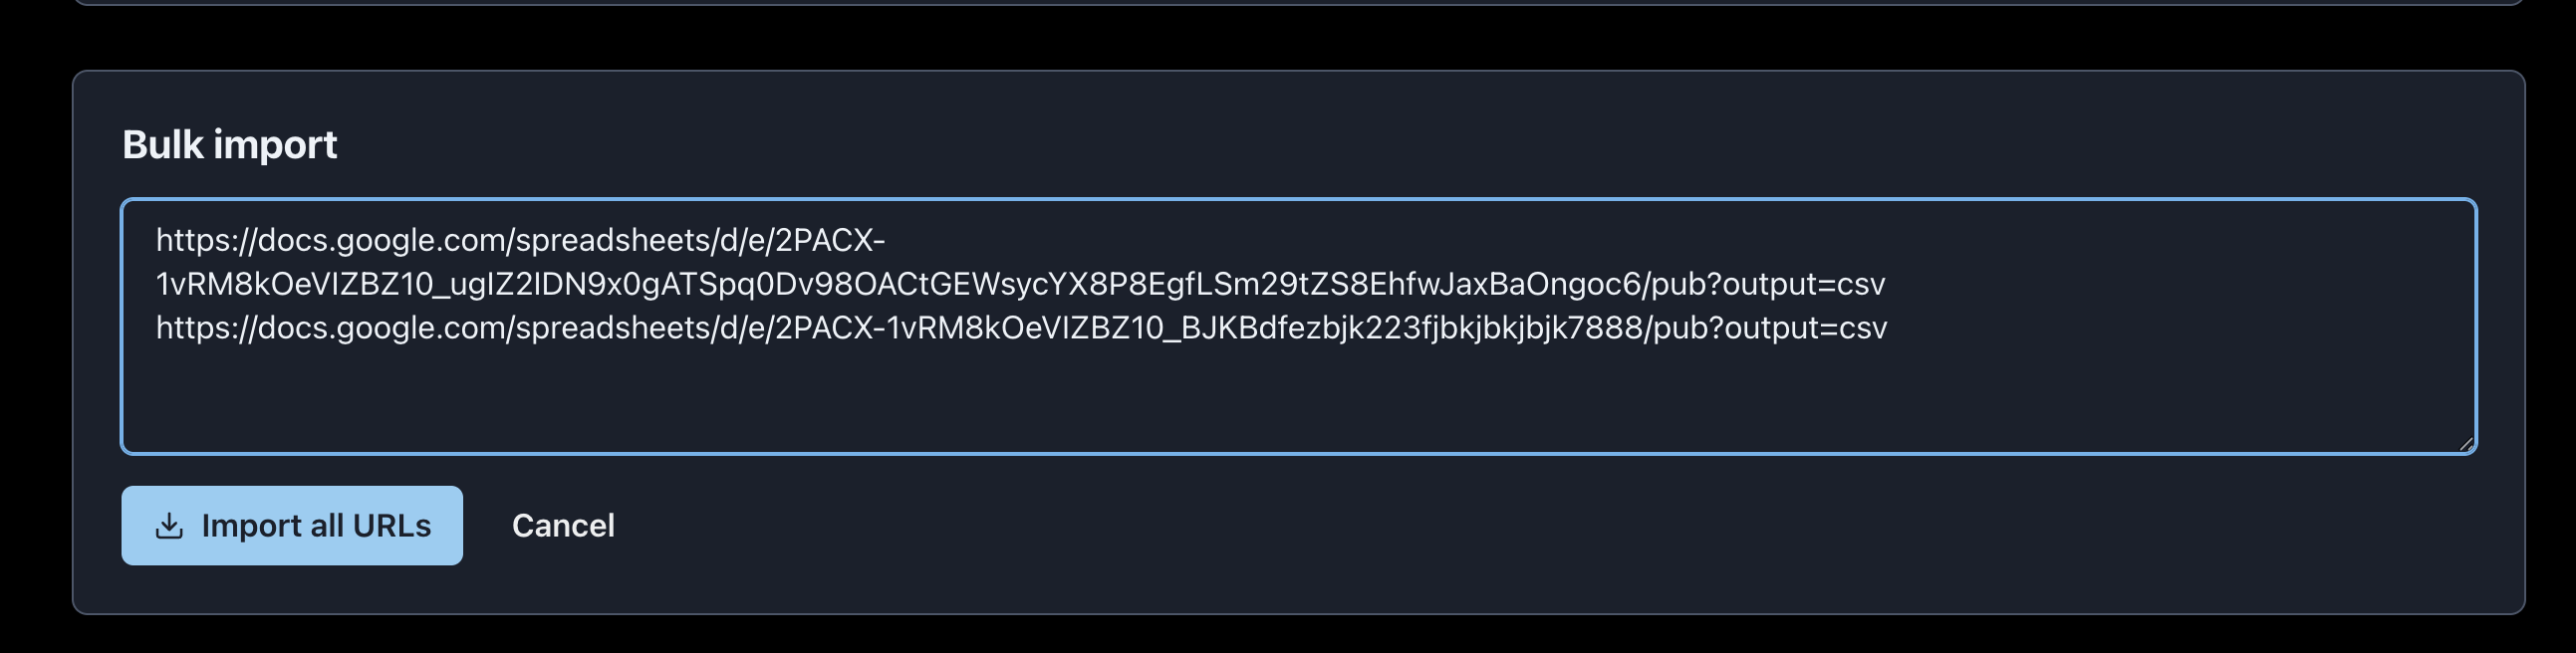
Bulk Import:
- Click Bulk Import URLs
- Enter URLs (one per line)
- Configure shared settings
- Click Import All URLs
Step 3: Configure Column Mapping (Product Only)
Map your CSV columns to expected fields:
- ID Product Column: Default
idProduct→ Map toproduct_id,sku, etc. - Name Column: Default
name→ Map toproduct_name,title, etc.
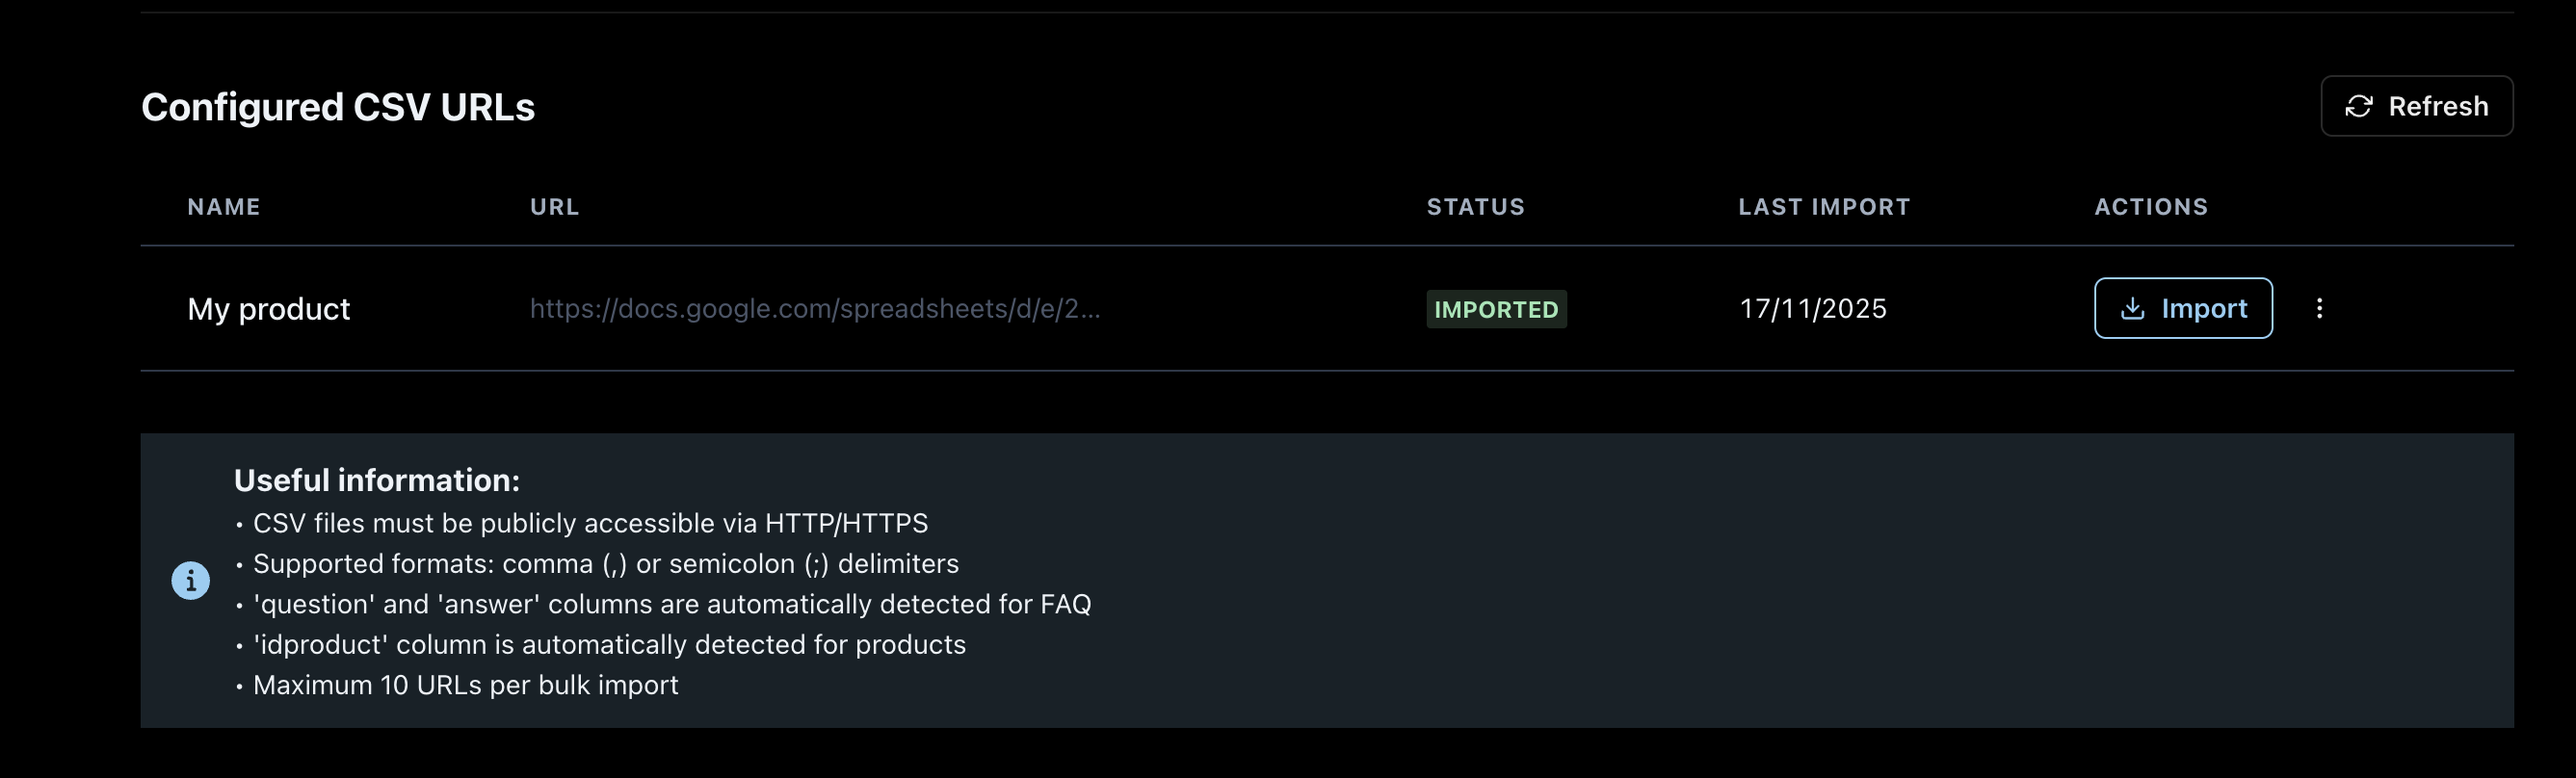
Step 4: Monitor Import
Track status in Import History:
- Pending: Waiting to process
- Imported: Successfully completed
- Error: Failed (view details)
Step 5: Re-import (Update Data)
- Find URL in history
- Click Re-import
- Confirm action
- Monitor updated status
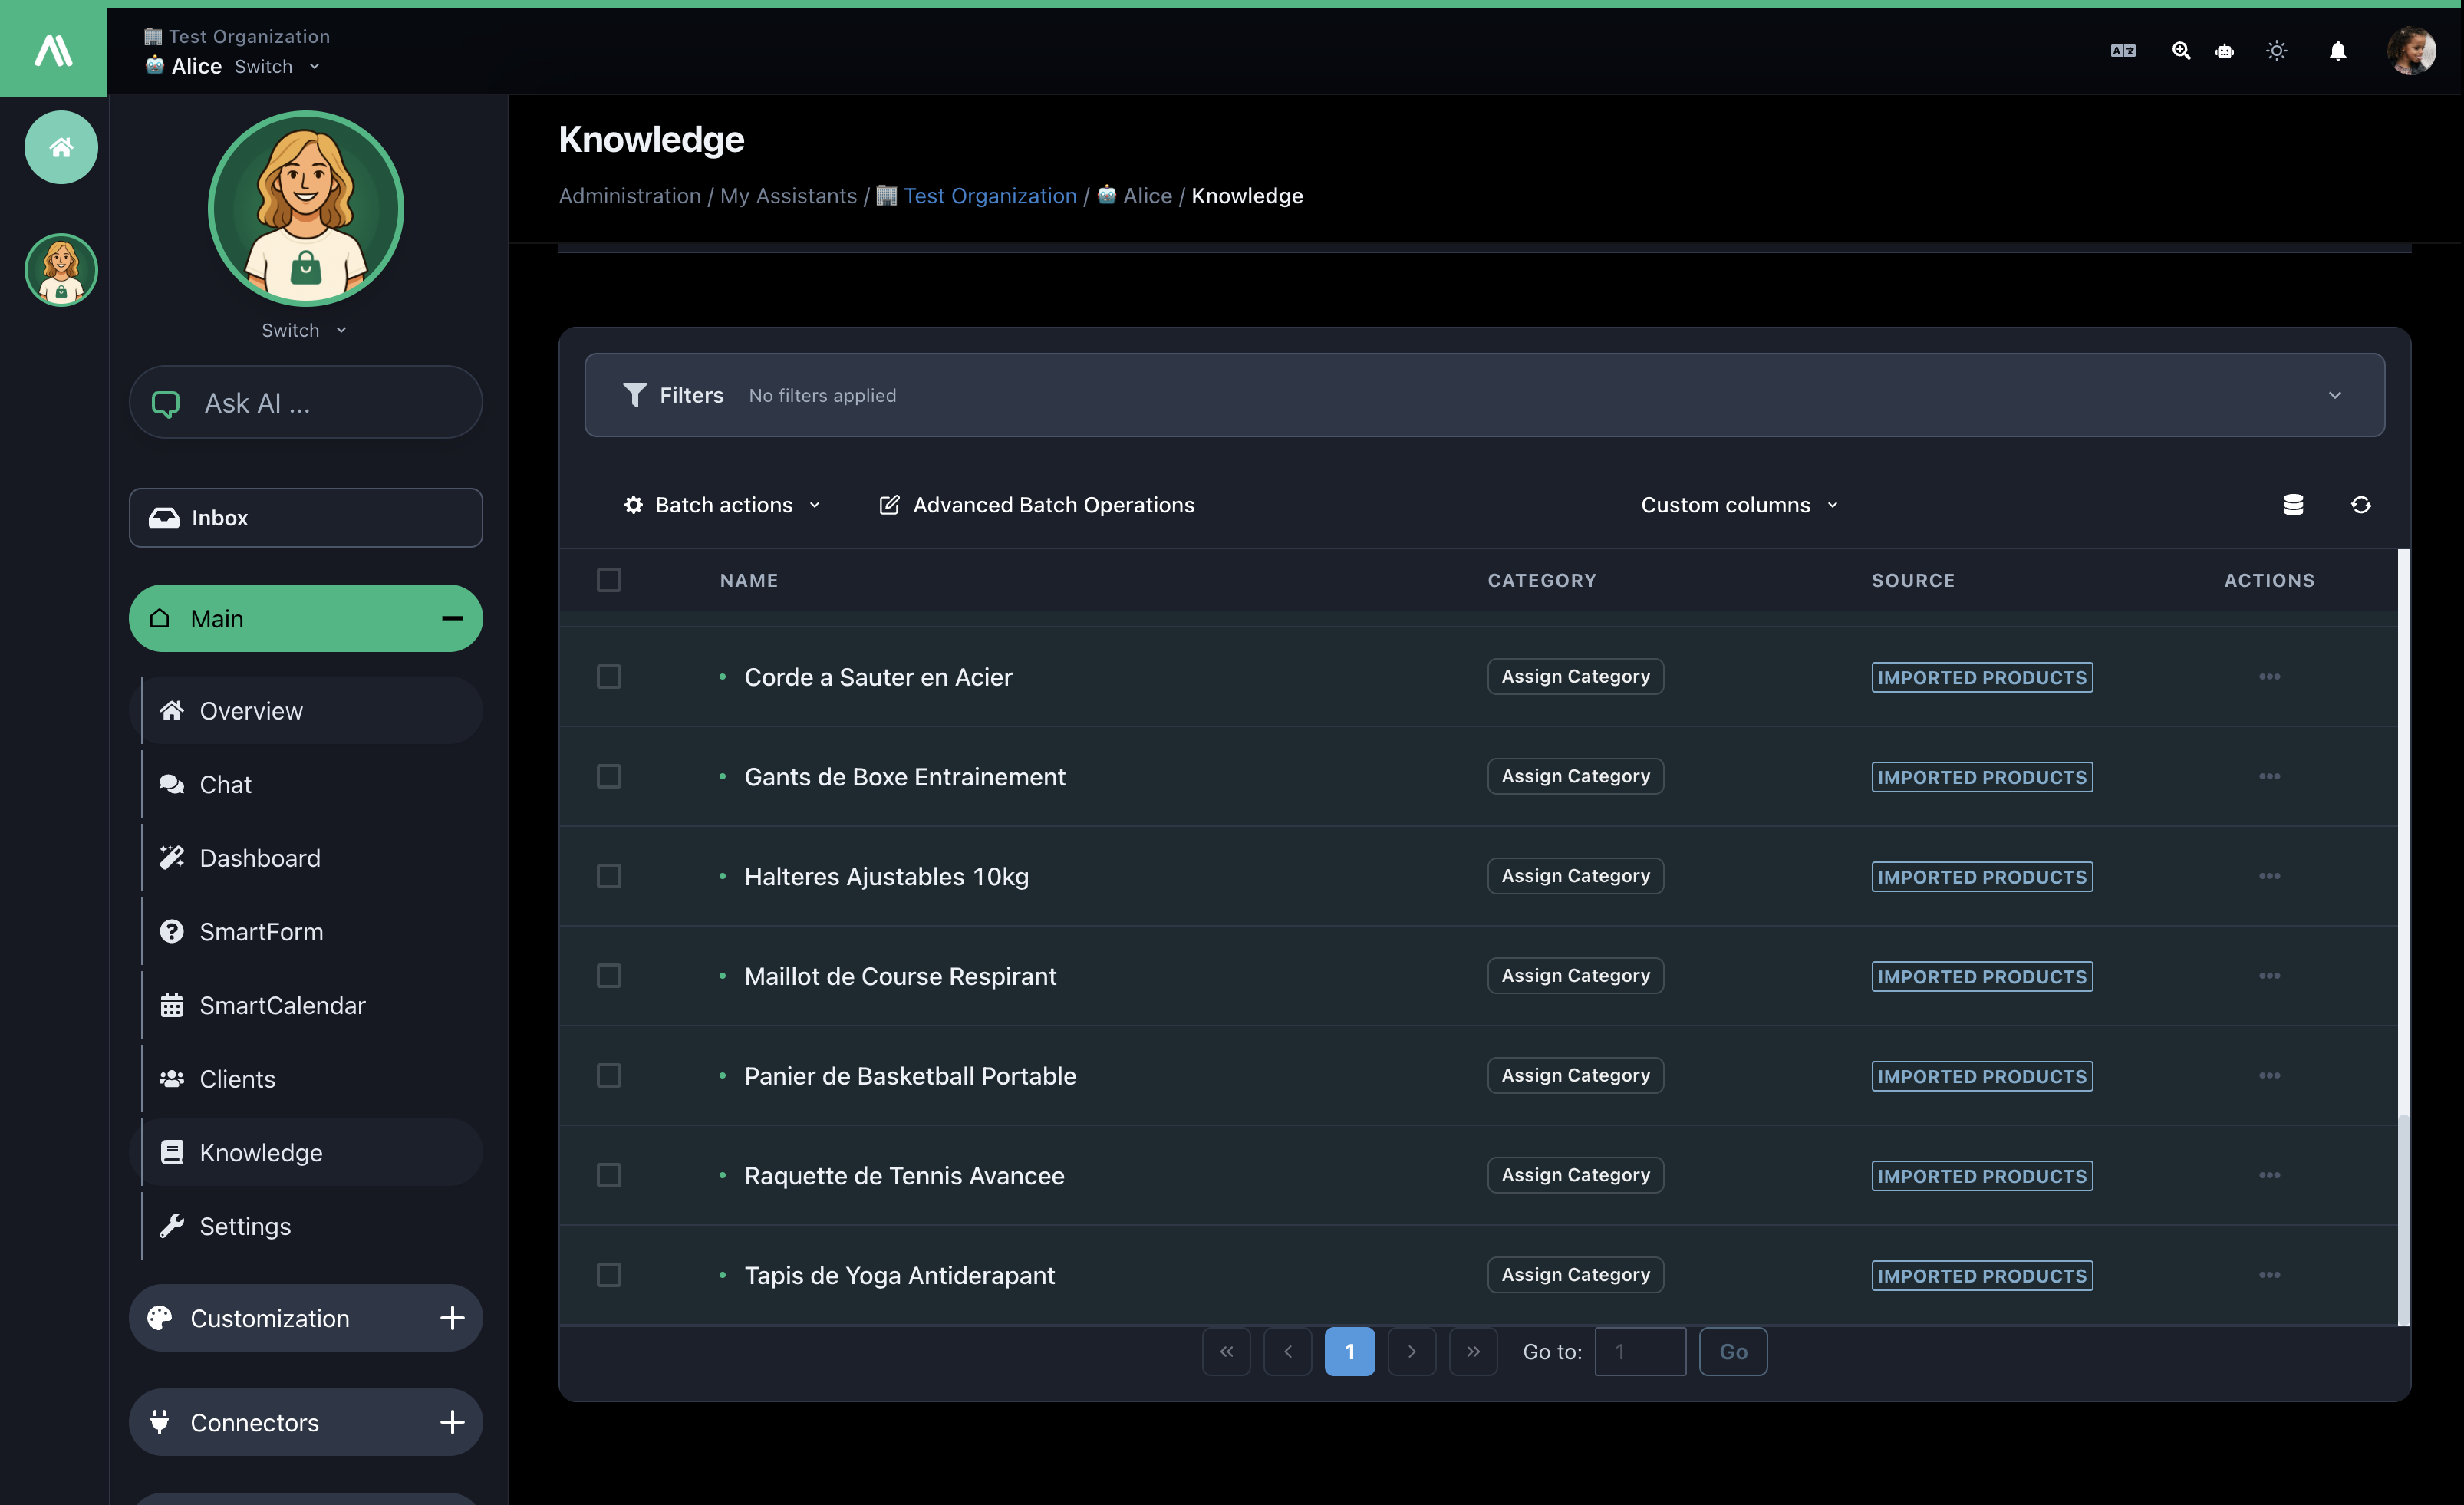
Step 6: Verify Import
- Check Knowledge Base for new documents
- Test chatbot with questions about imported content
CSV Requirements
Valid URLs
✅ https://example.com/data/products.csv
✅ https://cdn.company.com/catalog.csv
✅ https://raw.githubusercontent.com/user/repo/main/data.csv

❌ ftp://files.company.com/data.csv (FTP not supported)
❌ https://private.site.com/auth-data.csv (Authentication required)
❌ file:///local/data.csv (Local files not supported)
File Requirements
- Access: Publicly accessible via HTTP/HTTPS
- Headers: First row must contain column names
- Delimiters: Comma (
,) or semicolon (;) - Encoding: UTF-8 recommended
- Size: Maximum 10MB per file
Troubleshooting
Common Errors
| Error | Solution |
|---|---|
| URL Not Accessible | Verify URL is public and valid |
| Invalid Format | Check delimiter and headers |
| Missing Columns | Ensure required columns exist (question/answer or idProduct) |
| Large File Timeout | Split file or reduce size below 10MB |
Resolution Steps
- Test URL in browser
- Validate CSV structure and encoding
- Review error messages in import history
- Test with smaller sample file
- Contact support if issue persists
Best Practices
URL Management
- Use stable, permanent URLs
- Test URLs monthly for accessibility
- Use CDN for better performance
- Include version in filenames:
products-v2024.csv
Data Organization
- Use clear category names
- Maintain consistent CSV formats
- Clean data before import (remove empty rows)
- Keep files under 10MB
Performance
- Test with small samples first
- Process large imports during off-peak hours
- Use bulk import for multiple related URLs
- Monitor import success rate regularly
Security
- ✅ HTTPS encrypted transfers
- ✅ URL validation
- ✅ Permission-based access control
- ✅ Temporary file processing (no permanent storage)
- ✅ Automatic cleanup of old data
- ✅ Audit logs for all activities
After Import
Once imported, your data:
- Becomes searchable in knowledge base
- Powers chatbot responses immediately
- Appears organized by categories
- Can be verified in Knowledge Base section
Verify your import:
- Check Knowledge Base for new documents
- Test chatbot with questions about imported content
- Review categories and organization
Support
Need help?
- 📧 Email: contact@aismarttalk.tech
- 📚 Docs: https://docs.aismarttalk.tech/
Summary
You can now:
- ✅ Import CSV data from public URLs
- ✅ Handle FAQ, Product, and generic data types
- ✅ Bulk import multiple sources
- ✅ Map custom columns for products
- ✅ Monitor and manage imports
- ✅ Update data through re-imports
Next steps:
- Test with a sample CSV
- Import your production data
- Set up categories
- Schedule regular re-imports
- Monitor performance
Questions? Contact our support team anytime.