Custom SMTP
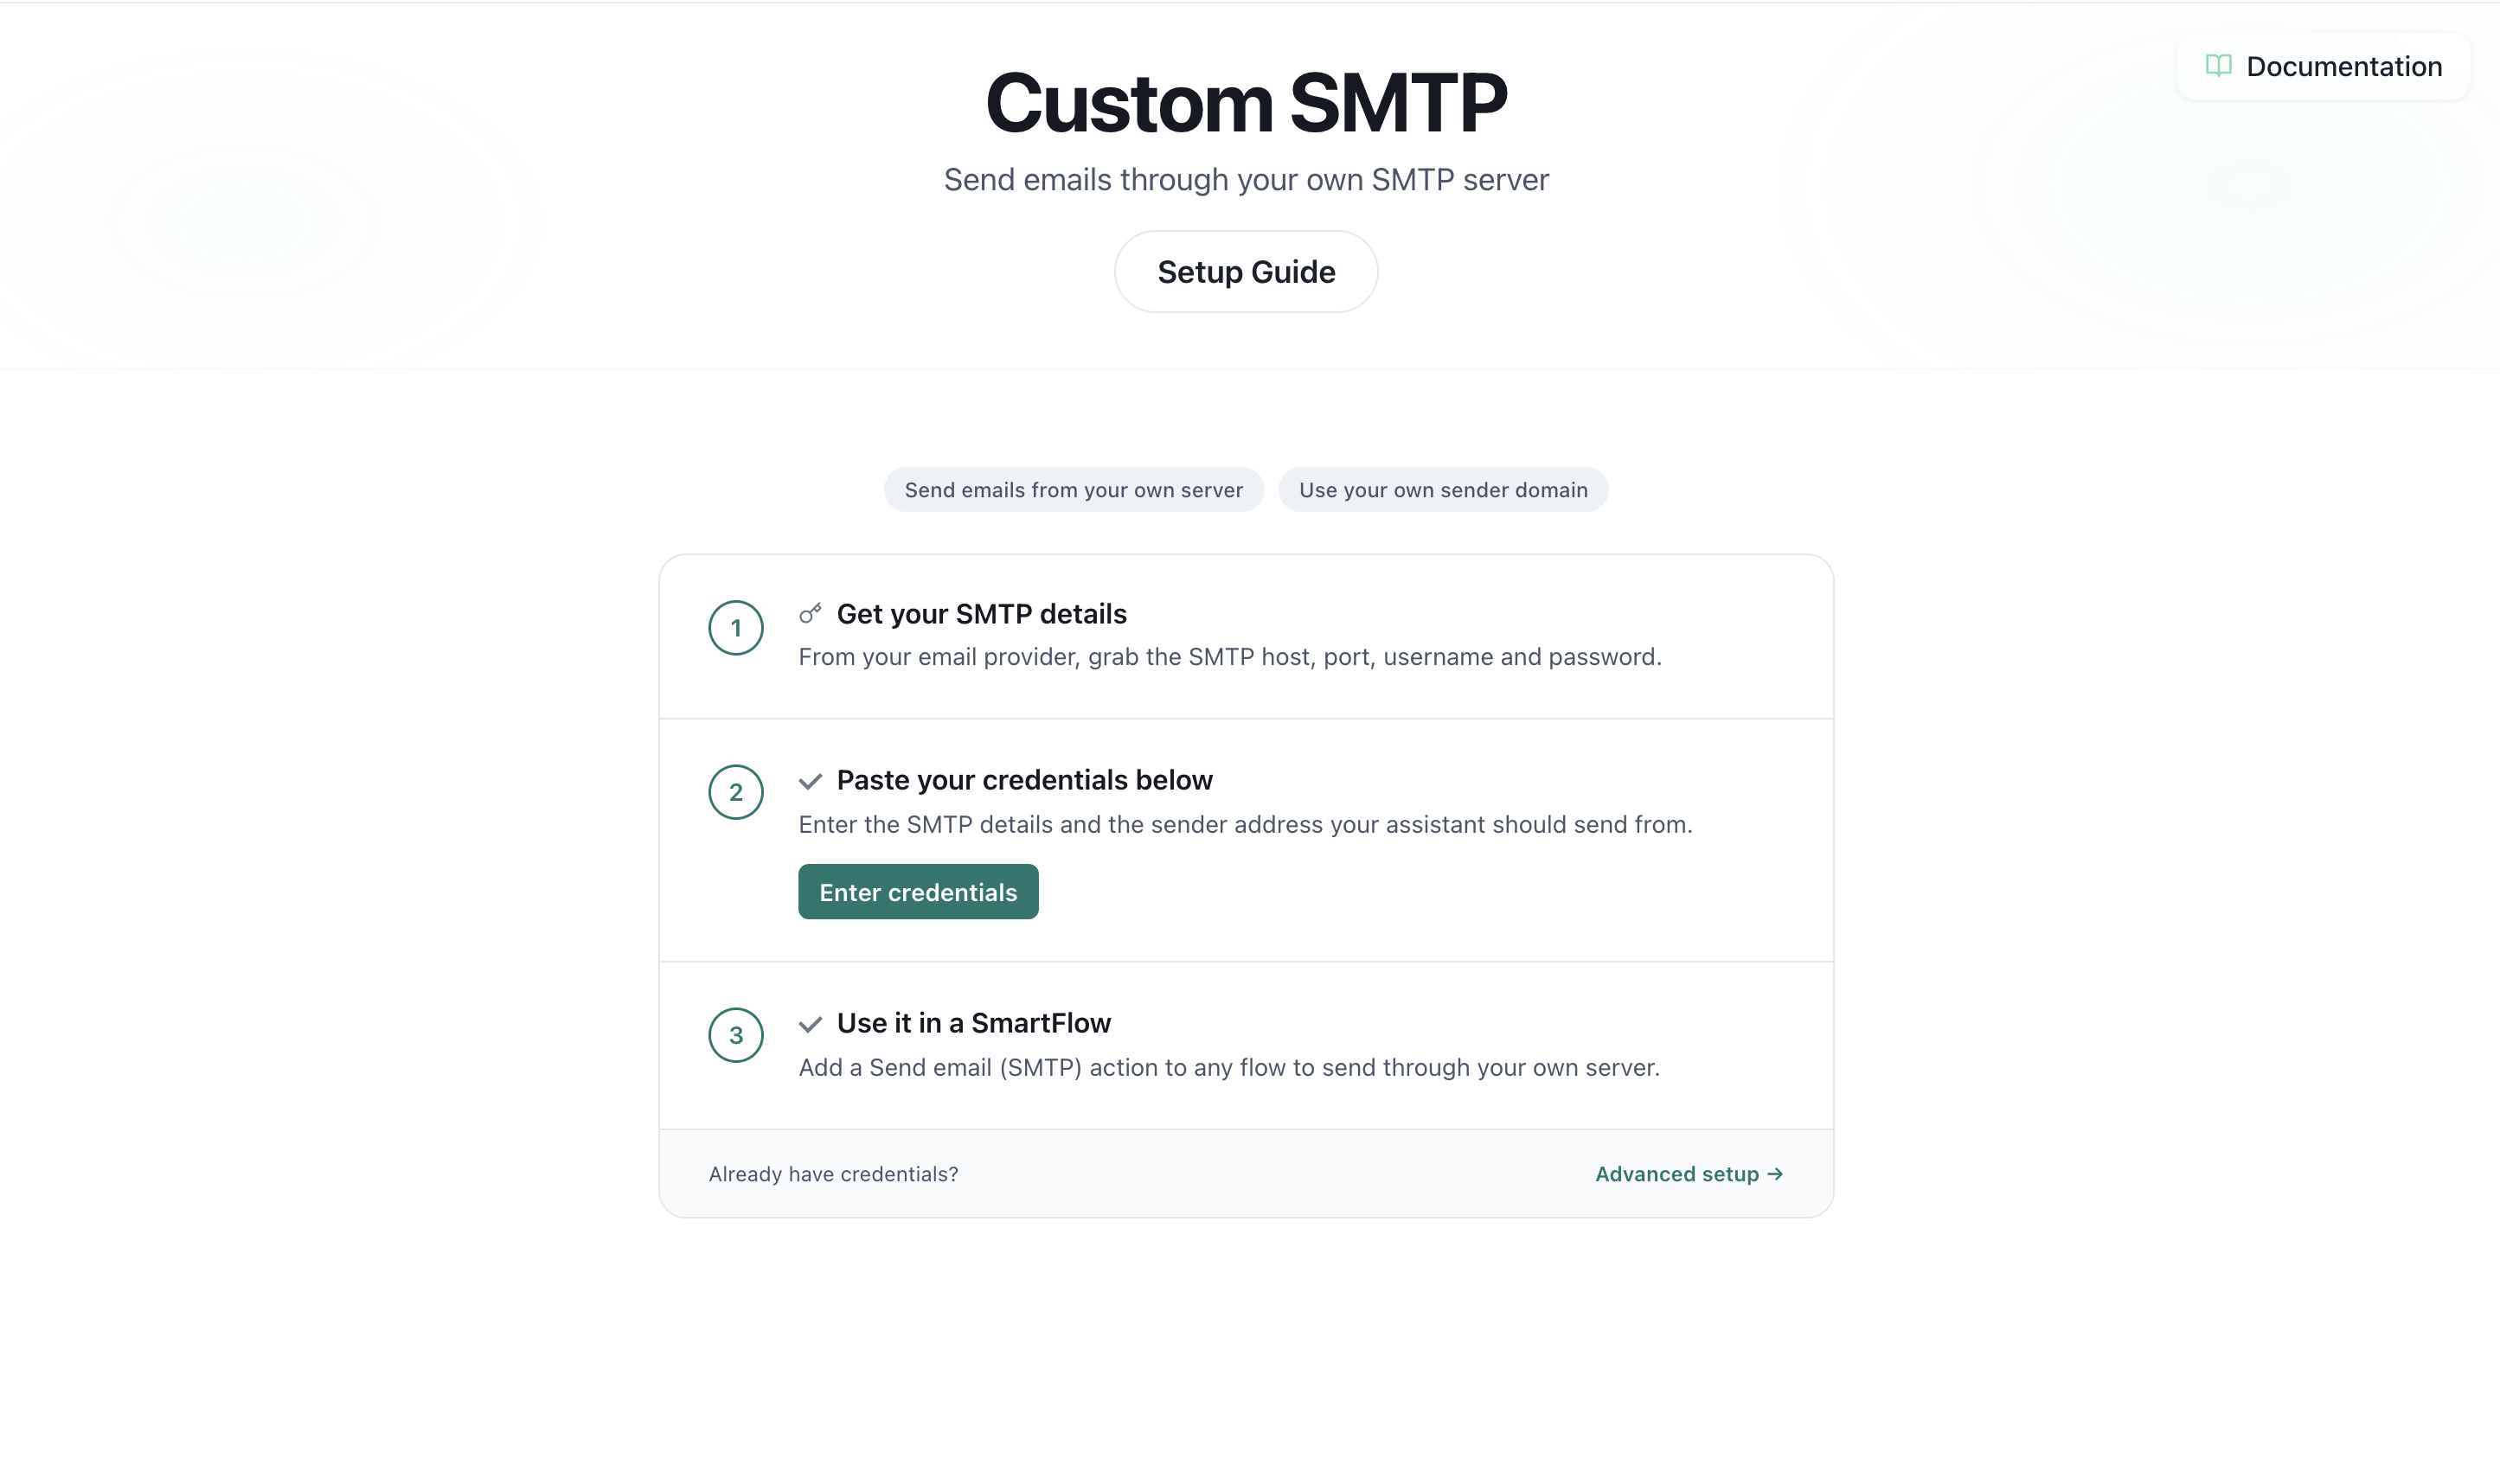
Connect your own mail server to AI SmartTalk so your assistant can send emails from your own address — confirmations, notifications, handoffs to your team — straight from a SmartFlow, using credentials you control.
Overview
The Custom SMTP integration lets your AI assistant:
- Send emails through your own server — your provider, your sending domain, your reputation.
- Use your own "From" address — recipients see
[email protected], not a generic sender. - Power SmartFlow automations — drop a Send email (SMTP) action into any flow to email a customer or your team based on the conversation.
- Keep credentials safe — your SMTP password is stored encrypted and never shown again once saved.
You configure the server once, then reuse it across as many flows and assistants steps as you like.
Who is this for?
This integration fits any organization that wants emails to come from its own domain rather than a shared provider:
- Businesses with their own mailbox (Google Workspace, Microsoft 365, OVH, IONOS, Zoho, or any host)
- Teams that need branded notifications — order confirmations, booking summaries, support follow-ups
- Anyone who already has SMTP credentials and wants the assistant to send on their behalf
If you can send email from a normal mail client, you can connect that same account here.
How it works
- You enter your SMTP server details once on the Custom SMTP page and save them.
- In a SmartFlow, you add a Send email (SMTP) action.
- When the flow runs, the assistant connects to your server and sends the email — to whoever you choose, with a subject and message you can build from conversation variables.
There is no shared inbox and no copy of your password in readable form — the password is encrypted at rest and only decrypted at the moment an email is sent.
Prerequisites
Before you start, get these details from your email provider (they're the same ones a desktop mail client asks for):
- SMTP host — e.g.
smtp.yourprovider.com - Port — usually
587(STARTTLS) or465(SSL/TLS) - Username — usually your full email address
- Password — your mailbox password, or an app password if your provider requires one (Google Workspace and Microsoft 365 typically do)
- Sender address — the "From" address recipients will see
If your account uses two-factor authentication, your normal password usually won't work for SMTP. Create an app password in your provider's security settings and use that instead.
Step-by-step setup
Step 1: Open the Custom SMTP integration
- Log into your AI SmartTalk account
- Navigate to Administration → My Assistants → [Your Assistant]
- Open your integrations and locate Custom SMTP
Step 2: Choose your encryption and port
- Set Encryption to match your provider:
- STARTTLS / None for port 587 (or 2525, 25)
- SSL/TLS for port 465
- Pick the matching Port from the dropdown.
When in doubt, 587 with STARTTLS works for the vast majority of providers.
Step 3: Enter your credentials
Fill in:
- SMTP Host — your provider's outgoing server
- Username — usually your full email address
- Password — your mailbox or app password (stored encrypted)
- Sender email — the address recipients will see
- Sender name (optional) — a friendly display name, e.g. Acme Support
Click Save. Required fields are checked before saving, so you'll be told immediately if something is missing.
When you come back to change a setting, leave the Password field blank to keep the one already stored — you only need to re-enter it if it changes.
Step 4: Use it in a SmartFlow
- Open or create a SmartFlow
- Add a Send email (SMTP) action
- Fill in:
- To — a fixed address or a variable like
{{userEmail}} - Subject and Message — plain text or built from conversation variables (e.g.
{{orderNumber}}) - Optional CC / BCC
- To — a fixed address or a variable like
- Save the flow
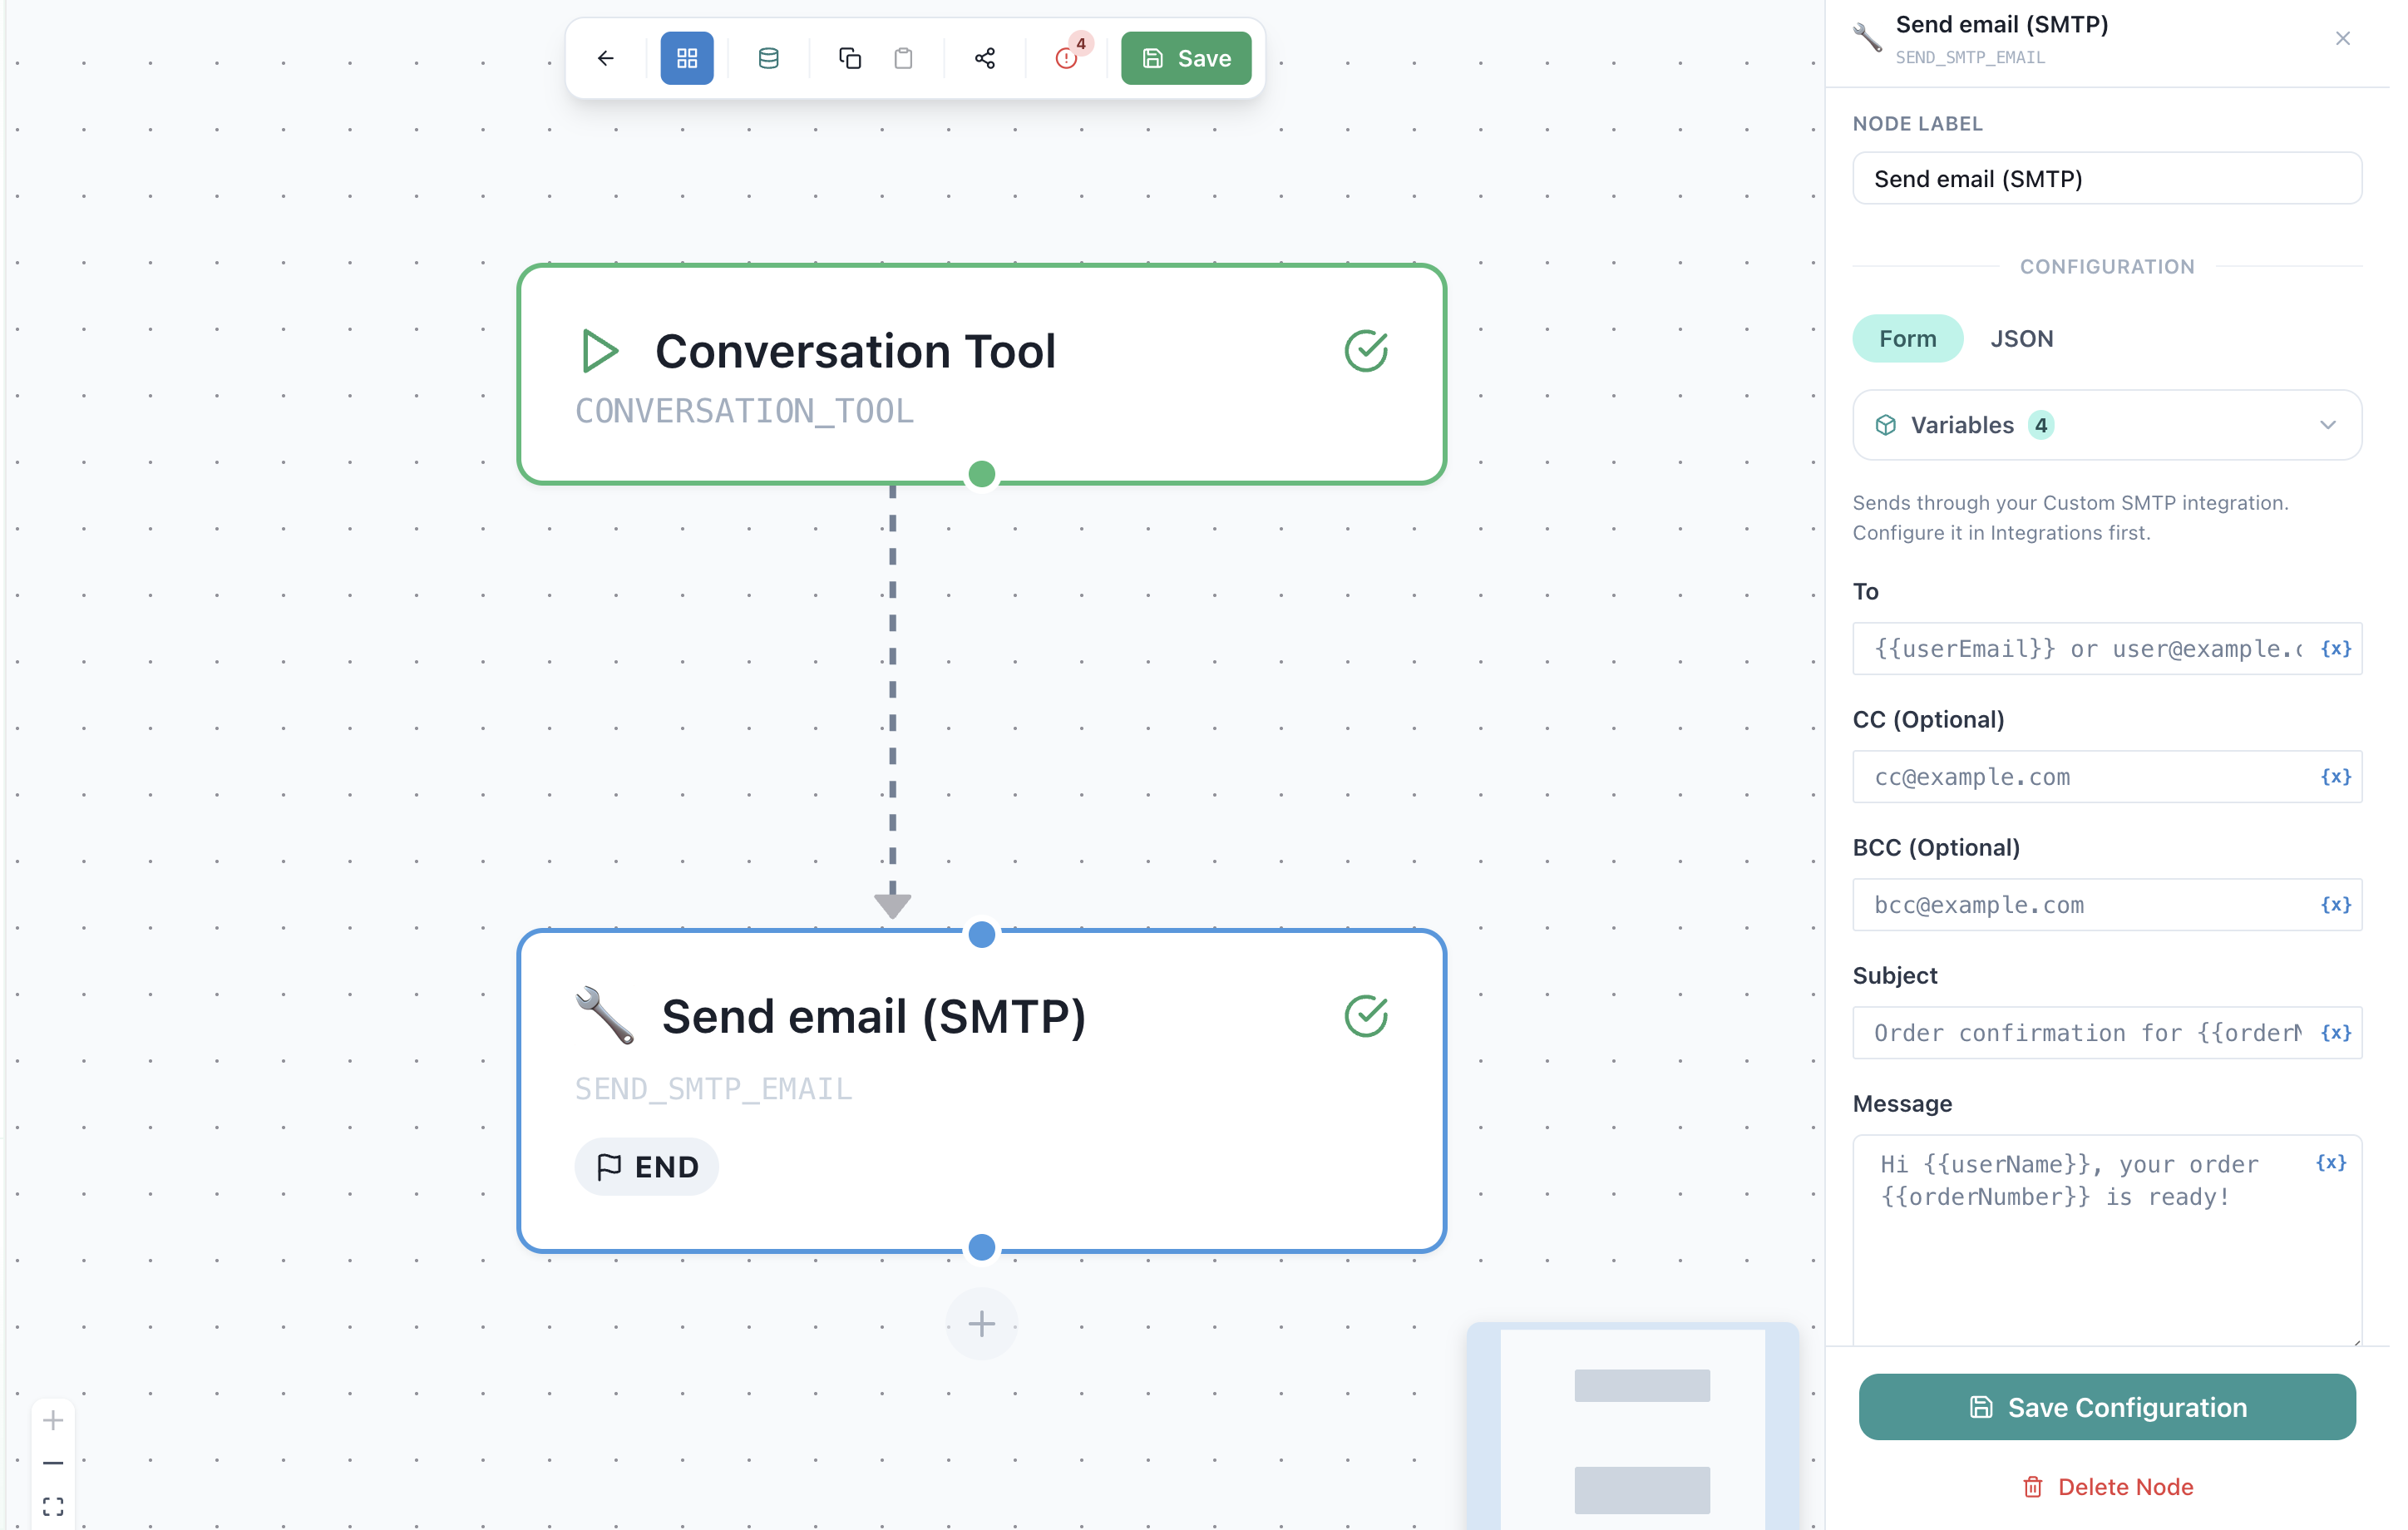
When the flow reaches that step, the email is sent from your server.
Common provider settings
| Provider | Host | Port | Encryption |
|---|---|---|---|
| Google Workspace / Gmail | smtp.gmail.com | 587 | STARTTLS (app password required) |
| Microsoft 365 / Outlook | smtp.office365.com | 587 | STARTTLS |
| OVH | ssl0.ovh.net | 587 | STARTTLS |
| IONOS | smtp.ionos.com | 587 | STARTTLS |
| Zoho | smtp.zoho.com | 465 | SSL/TLS |
These are common defaults — always confirm with your provider's own documentation, as some accounts differ.
Privacy & security
How your credentials are handled
| Detail | How it's stored |
|---|---|
| SMTP password | Encrypted at rest; decrypted only to send an email |
| Host, port, username, sender | Stored as plain configuration |
| Password display | Never shown again after saving — masked in the form |
What the assistant does
- Sends only the emails your flows trigger, to the recipients you define
- Uses your server and your sender address — nothing is routed through a shared mailbox
Removing the integration
Open the Custom SMTP page and clear or replace the credentials. Once removed, any Send email (SMTP) action will stop sending until new credentials are saved.
Troubleshooting
| Issue | Solution |
|---|---|
| "Authentication failed" | Double-check the username (usually the full email) and password. If 2FA is on, use an app password, not your normal one. |
| "Connection timed out" | The host or port is likely wrong, or your provider blocks the port. Try 587 with STARTTLS. |
| Emails send but land in spam | Set up SPF and DKIM records for your sending domain with your provider. This proves to inboxes that AI SmartTalk-triggered mail from your server is legitimate. |
| "Incomplete SMTP credentials" when a flow runs | A required field (host, port, username, password or sender) is missing on the integration page. Re-open it and complete the setup. |
| Encryption / port mismatch errors | Match them: 587 → STARTTLS, 465 → SSL/TLS. |
| Editing wiped my password | Leave Password blank to keep the stored one; only fill it to change the password. |
Best practices
- Use a dedicated sender — a
no-reply@ornotifications@address keeps automated mail separate from personal inboxes. - Set up SPF and DKIM — the single biggest factor in staying out of spam folders.
- Prefer 587 with STARTTLS — it's the most widely supported combination.
- Use an app password where available — it's safer and easier to revoke than your main password.
- Test with a real flow — send yourself an email from a SmartFlow before going live.
Related documentation
- SmartFlow automations — build the flows that send these emails
- Integrations overview