Web Chat
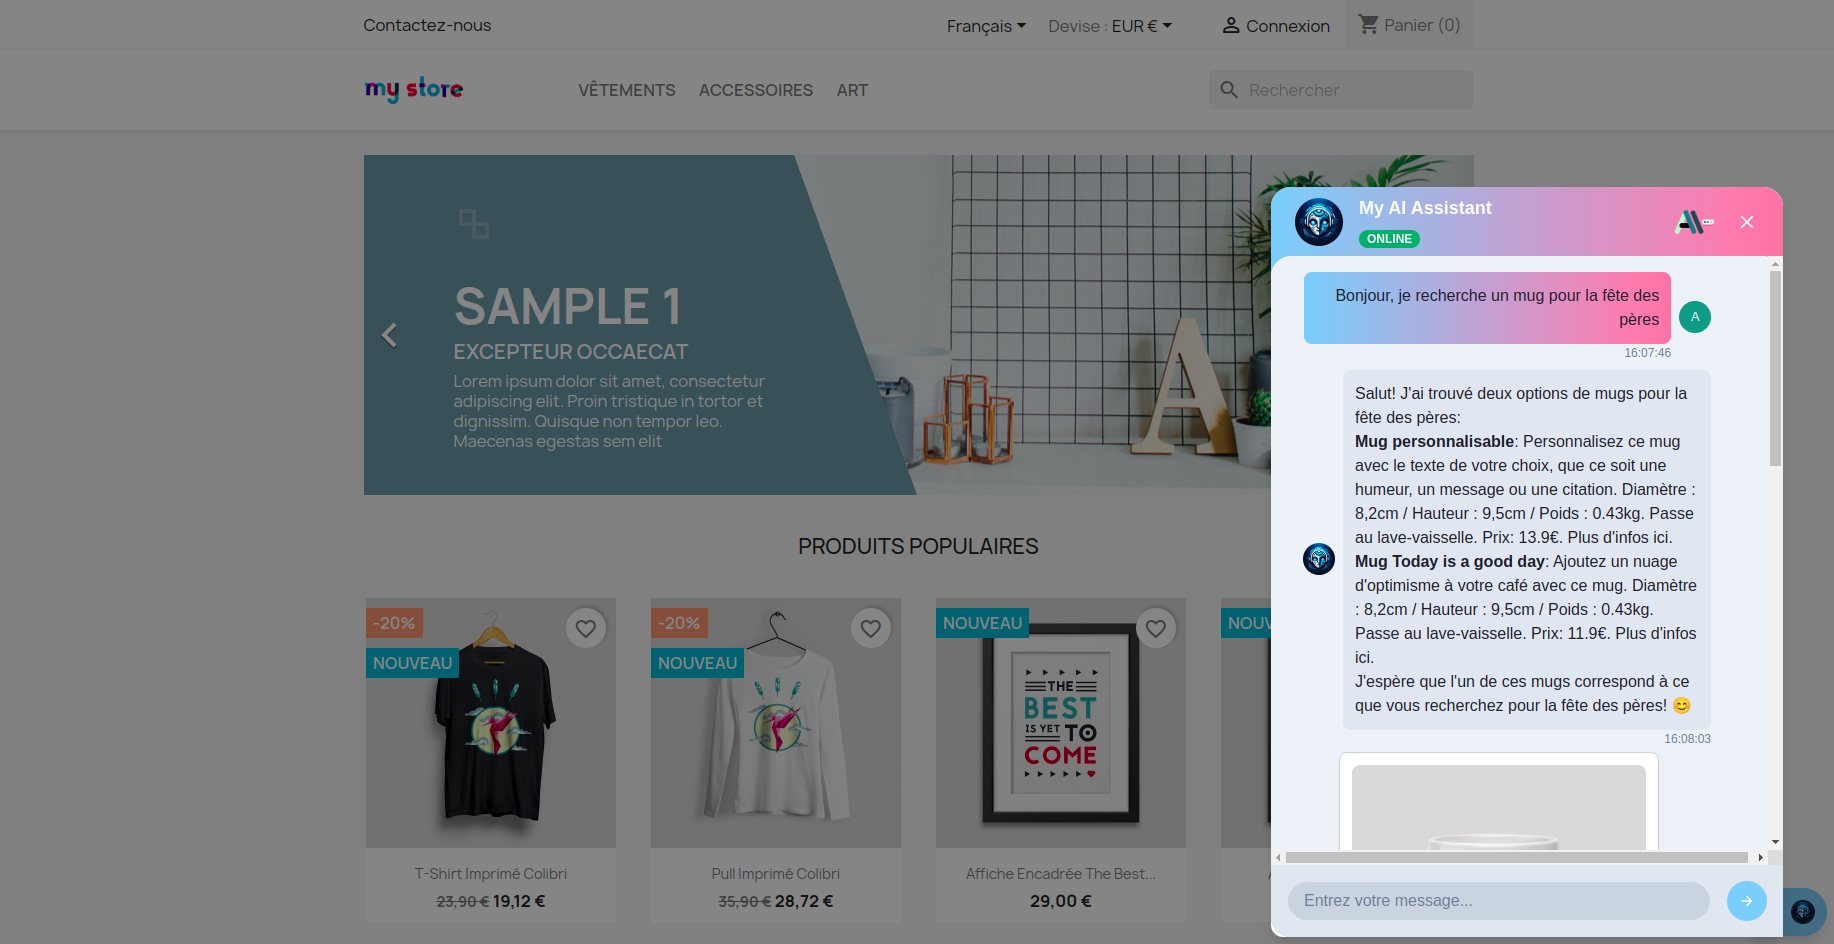
The web chat widget is the fastest way to put your assistant in front of customers. Paste a snippet on any page, and a floating chat button appears in the corner — branded with your colors, ready to answer.
Add it to your site
Open your assistant in the admin, go to Assistant → Integrations → Web, and follow the steps up to Deploy, where you copy the embed code. The full walkthrough is in Integrating the Chatbot.
Paste the snippet before the closing </body> tag of your site. The widget appears the next time the page loads.
Using WordPress, PrestaShop, Joomla or Shopify? You probably don't need the snippet at all — install the matching plugin or app and the widget is added with one click.
Make it look like your brand
Give the widget your two brand colours (or let AI SmartTalk read them from your website), then pick a style: Mirage (gradients and glass), Riad (warm and crafted) or Coufique (sharp and geometric). Every style uses your colours.
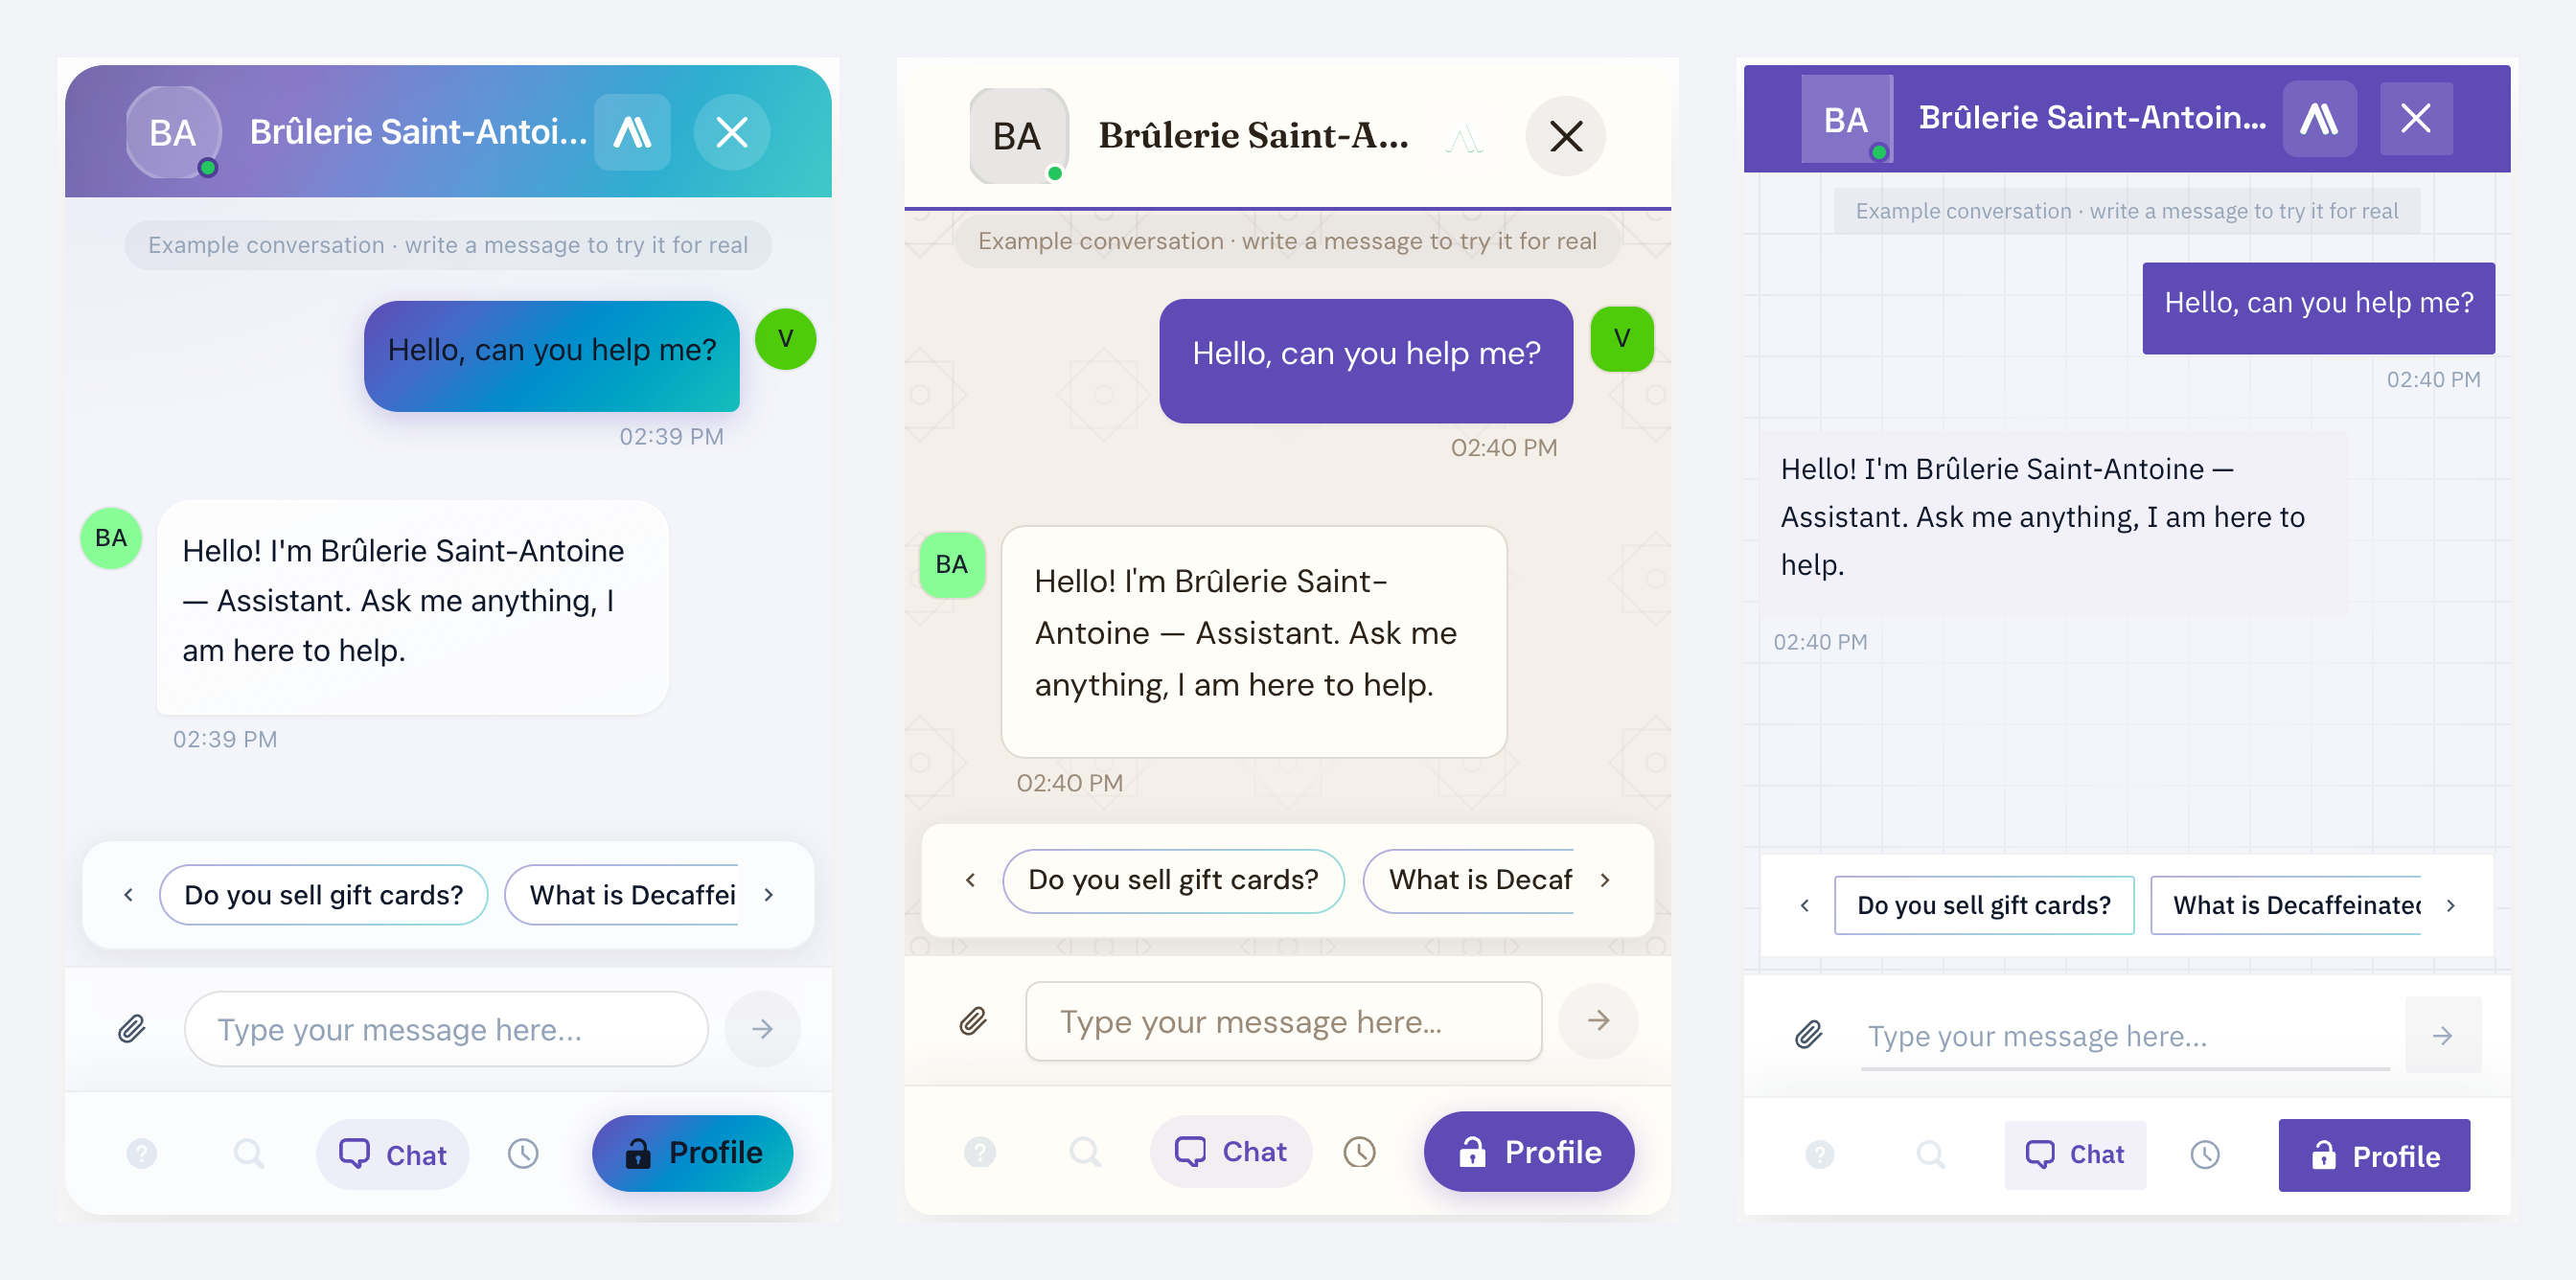
Hover a style or a setting to see it in the open chat preview, click to keep it. Fonts, shapes, messages and the chat button can all be adjusted. See Theme & Appearance for the full walkthrough.
Already using the widget? It keeps exactly its current look until you choose a style.
Invite visitors to talk
A short message can appear next to the chat button, with your assistant's avatar: "Hi! Have a question? I'm here to help." You choose when it appears and whether it comes back after the visitor closes it. Each visitor reads it in their own language, translated automatically. It never covers the page and disappears as soon as the chat opens.
Set it up in the Invitation step of the web integration.
GDPR consent built in
When a visitor opens the widget for the first time, they see a short consent screen explaining what data is processed. Nothing is recorded before they accept. This is enabled by default — no plugin, no extra setup.
You can customize the consent text from the Web integration page.
What customers can do
Out of the box, the widget supports:
- Text replies in your knowledge base's language(s)
- Rich product cards (perfect for e-commerce — comes from the assistant's
cardsoutput) - File uploads (PDFs, screenshots) — useful for support questions
- Voice input — visitors can speak instead of typing, from the very first message
- Voice mode (optional) — full hands-free voice conversation
Each of those can be turned on or off per channel from the integration page.
Visitors and conversations
Opening a page with the widget does not create a conversation: one is created when the visitor sends their first message. If a SmartFlow greets visitors when they arrive, the conversation starts right away so the greeting can be sent.
On the assistant's Overview, Visitors who wrote to it only counts the conversations where the visitor wrote, and the Inbox only shows those. After 30 days, web conversations where nobody but the assistant wrote are deleted.
What you can do from the admin
Every web chat conversation appears in the Inbox just like any other channel. You can:
- Read, search, filter web conversations
- Take over from the AI when needed
- See which page the customer was on when they opened the chat (Navigation events)
- Block abusive visitors
Multiple sites, one assistant
You can paste the same snippet on as many sites as you want, but for security you'll want to whitelist the domains in Configuration → Allowed Domains. Only the domains you list can use your assistant — anyone else gets blocked.
Related
- Theme & Appearance — colours, style, avatar
- Integrating the Chatbot — embed code, allowed domains, plugin install
- WordPress · PrestaShop · Shopify · Joomla — auto-inject via plugin
- Inbox — handle the conversations
- Voice Call — turn the chat into a phone-style conversation